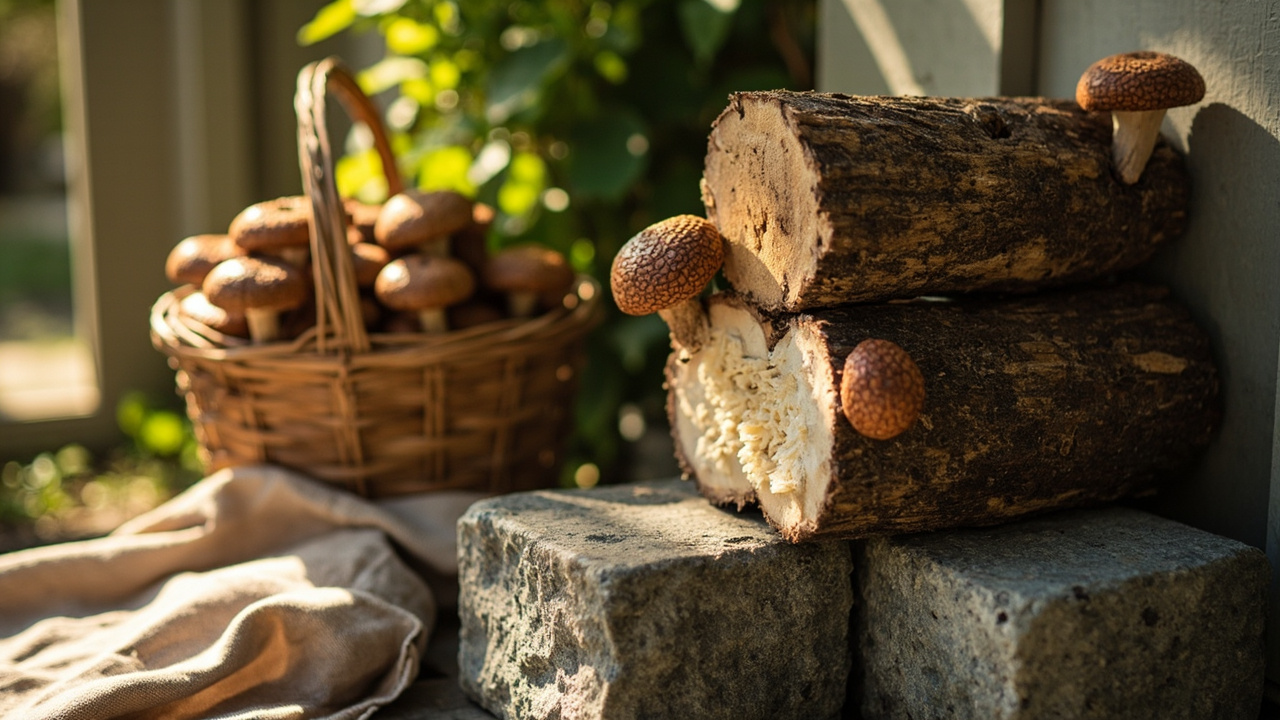
A 3-foot log sits under the eave, white threads under the bark, nothing on your counter yet. That’s the normal middle of a log, not a failure, but only if you knew the wait runs eight to eighteen months.
Quick answer
Log-grown shiitake is a different food, not a bigger block: thinner cap, denser flesh, and it follows the weather, not your watering can. Logs need 8–18 months of colonization before the first soak, then fruit outdoors in cool, wet weather. Rest cut wood 2–4 weeks, drill every 4–6 inches, plug and seal in one session. Your first plate lands about a year out.
| Number | What it sets | Get it wrong and |
|---|---|---|
| 2–4 weeks | resting cut wood before plugging | spawn goes into wet wood and thins |
| 4–6 inches | hole spacing, plus one at each end | one heavy flush, not a steady crop |
| 5/8 inch | hole depth, plug length plus a hair | shallow holes starve, deep ones split |
| 8–18 months | colonization before the first soak | you soak an unfinished log |
| 12–24 hours | one overnight soak once colonized | you skip a window rain gives free |
| 1–3 weeks | pins after that soak | you dig up a slow log |
What this is / is not
What this is
A kitchen-first method for one food: log-grown shiitake. You get a block you fruit indoors in weeks, or a log that fruits outdoors a year later.
What this is not
- Not a forestry or land-management page. No felling permits, chainsaw setup, woodland siting, or timber-yard planning. Where the wood comes from is one paragraph; growing the fungus is the rest.
- Not an indoor method. Logs live outside, rain and all. Countertop only? The honest answer is kit vs DIY growing.
- Not a farm plan, and not a supplements page. Growing and cooking only.
This guide covers gourmet and edible species only — oyster, lion’s mane, shiitake, king oyster, pink oyster, chestnut. It does not cover actives, psilocybin, or psychedelic species, and it can’t read potency on dried material.
Do this first
Check you have shade and a wood plan
Logs need a shaded, humid-but-airy spot that stays damp through a dry week. If your only space is a paved patio in full sun, say so now.
Count the plates, not the logs
One 3-foot log gives you more shiitake than most households eat in a month, and they don’t ripen together. Three logs is a project; thirty is a chore. No marketplace sells properly sized inoculation logs, so sourcing locally — a firewood cutter or tree service — is the only way to get raw wood at these dimensions.
Have a fallback food in mind
A log that fruits in month 13 is a bad plan if you needed shiitake last week. With a deadline, buy a colonized shiitake block or a pre-inoculated log and start yours for later.
Decision tree
Branch A — I want shiitake this season
IF you need mushrooms in the next 3–8 weeks THEN logs are the wrong instrument. Buy a colonized shiitake block, or skip inoculation with a pre-inoculated log. It buys twelve months, at a higher price per pound.
Branch B — I have shade and I want the strongest flavor
IF you have shade, humidity, and a willingness to wait a year THEN log cultivation is right, and the rest of this page serves it.
Branch C — I have no usable outdoor space
IF shade, humidity, or wood access is the constraint THEN stop and read kit vs DIY mushroom growing. The indoor route gets you mushrooms in weeks; the flavor gap is smaller.
Branch D — My logs are inoculated and nothing is happening
IF you skipped the colonization window THEN don’t add water or drill new holes. Go to When something looks wrong. An unfinished log isn’t a sick one.
Why log mushrooms taste different from kitchen-kit mushrooms
Flavor and texture
Log-grown shiitake runs thinner-capped and denser-fleshed than block shiitake. The block is engineered for a fast, even crop; the log is not. A spring flush tastes different from an autumn one.
Seasonality you can’t schedule
A block follows your calendar. A log follows the weather: most species fruit after sustained rain and a cold snap. You get a window, not a date — a real cost, and why people wait.
Yield, honestly
Per pound of wood a well-run log out-produces a block over its multi-year life. Per pound of your time, it does not. You’re buying a different food.
Why the trade is still worth it
If you’ve eaten block shiitake and thought “that’s fine,” the log version makes it worth cooking.
What you’ll need
The wood
Fresh hardwood, 3 feet long and 4–8 inches thick. Shiitake runs on oak, maple, beech, alder, birch, hickory, chestnut, and sweetgum; avoid conifer, whose resin fights shiitake. No online marketplace sells logs cut to those dimensions — source locally, same caveat as above.
The spawn
Shiitake plug spawn: small colonized dowels sized for a drilled hole. A 100-count pack covers one to two logs. The all-in-one spawn, wax and dauber box saves the shopping list, though only a handful of reviews sit on it — a convenience box, not a proven one. If you own daubers, the plug, bit and wax set does the same job; it carries no brand name and reads 3.6 stars across 13 reviews.
The tools
A drill with a bit sized to your plugs, a hammer or mallet, and wax plus something to daub it. Wax won’t stick alone, so wool daubers are the cheap part.
Not needed
A pressure cooker, a laminar-flow hood, a sterile bench, or a grow tent. None transfers here: the inoculating surface is a log, not a jar.
Step-by-step: choose → rest → drill → inoculate → seal → colonize → soak → harvest
Step 1 — Choose and cut the wood
Cut to about 3 feet and write the date on the end grain. You won’t remember when you inoculated, and every timeline below needs a starting point. There’s no pre-sized log to buy — the saw and the date mark are the guesswork insurance.
In the kitchen: the day your first plate’s calendar starts.
Step 2 — Rest the logs (2–4 weeks)
Stack cut wood off the ground and let it dry until the cut ends show a hairline, roughly 2–4 weeks. Fresh wood holds too much water and spawn takes poorly.
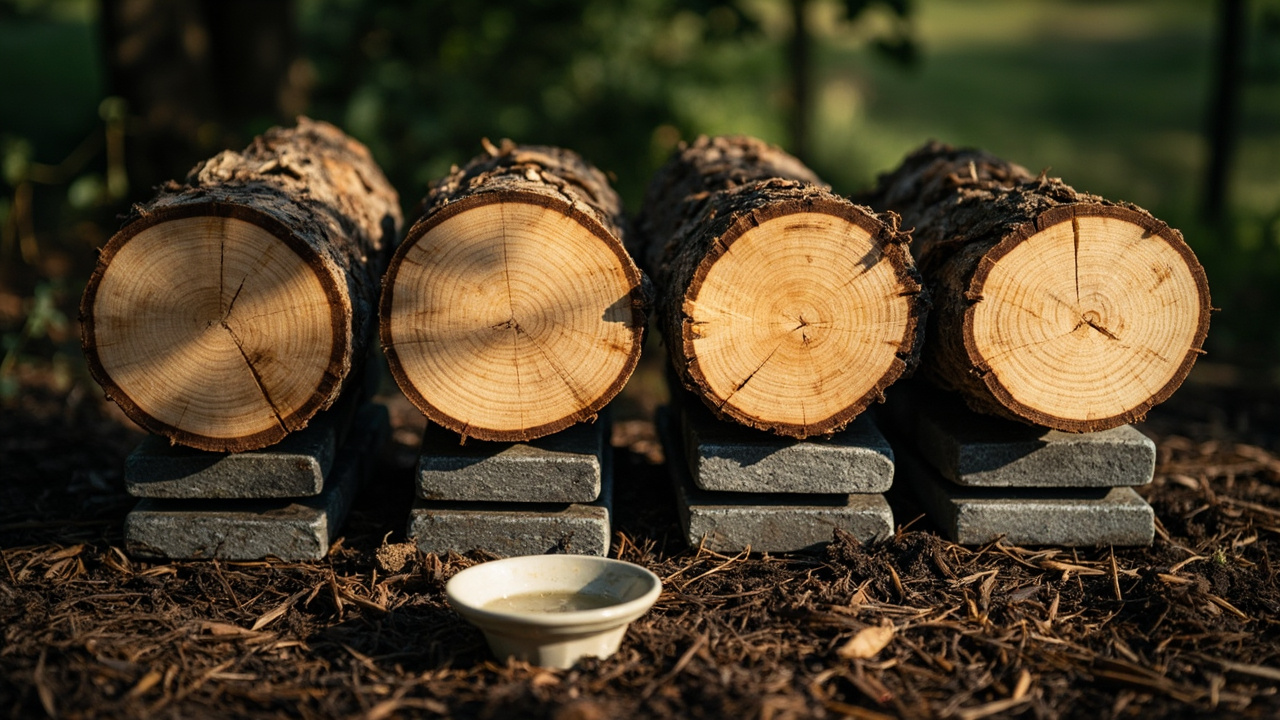
In the kitchen: the difference between logs that work and logs you compost in year two.
Step 3 — Drill the holes
One hole every 4–6 inches, plus one at each end, about 5/8 inch deep. Work across a grid for an even flush rather than one heavy one. Guessing your bit size? The plug, bit and wax set pairs the two.
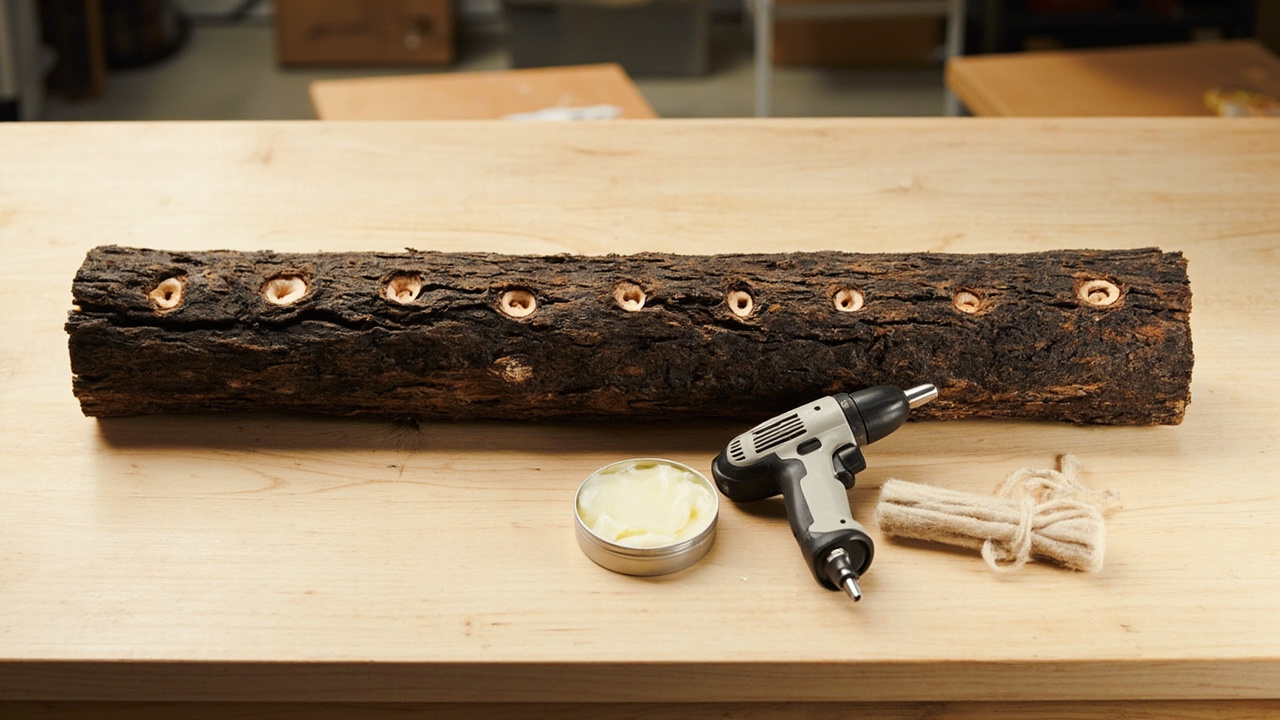
In the kitchen: hole count decides how evenly they arrive, which decides one big dinner or five small ones.
Step 4 — Inoculate on the same day you drill
Hammer each plug in on the spot. Wounds close overnight and the spawn loses its window. Keep plugs sealed until you need them; see spawn storage otherwise. A 100-count plug pack covers one to two logs.
In the kitchen: nothing here is visible later. This decides whether year one pays off.
Step 5 — Seal the holes
Daub wax over every plug. Unsealed holes are open doors: the hole is an infection site and the wax is the door lock. Wool daubers make the wax stick.
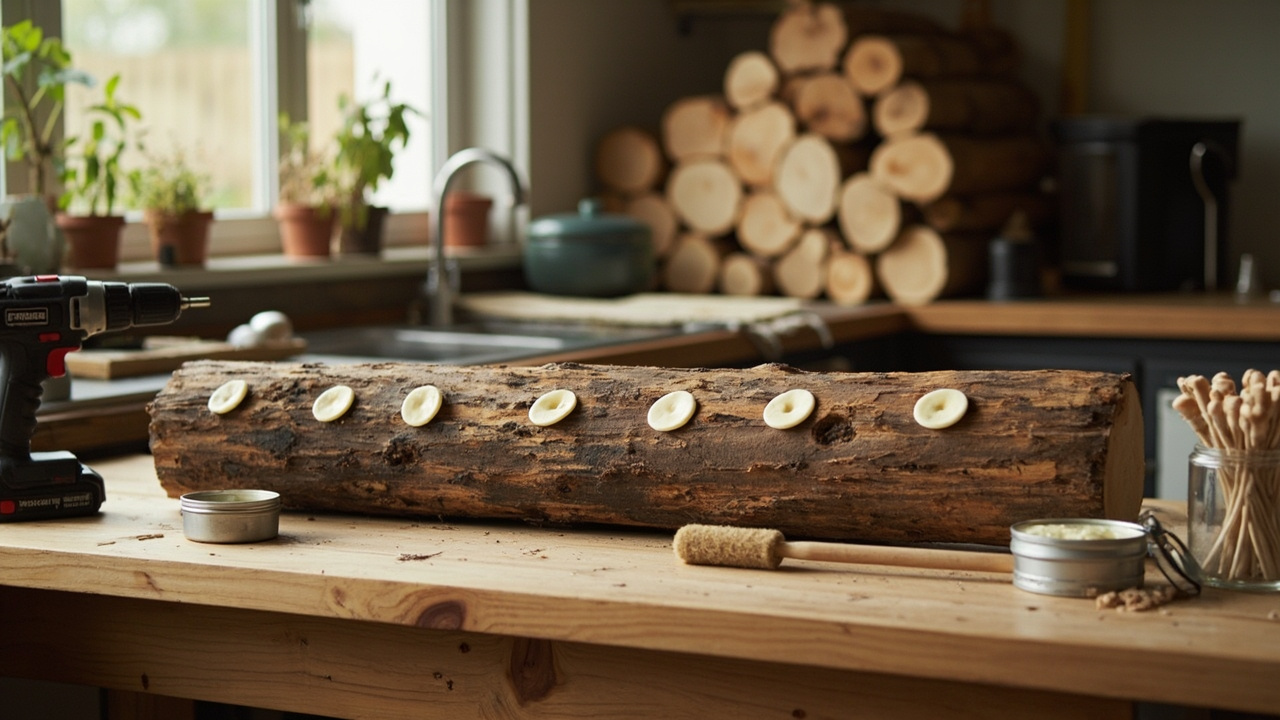
In the kitchen: the cheapest ten dollars in the whole project.
Step 6 — Colonize (8–18 months)
Stack logs off the ground, leaning rather than flat, in shade with airflow. White mycelium fills the bark within months; species vary widely, so expect 8 to 18. Grain spawn preparation shows healthy spawn.
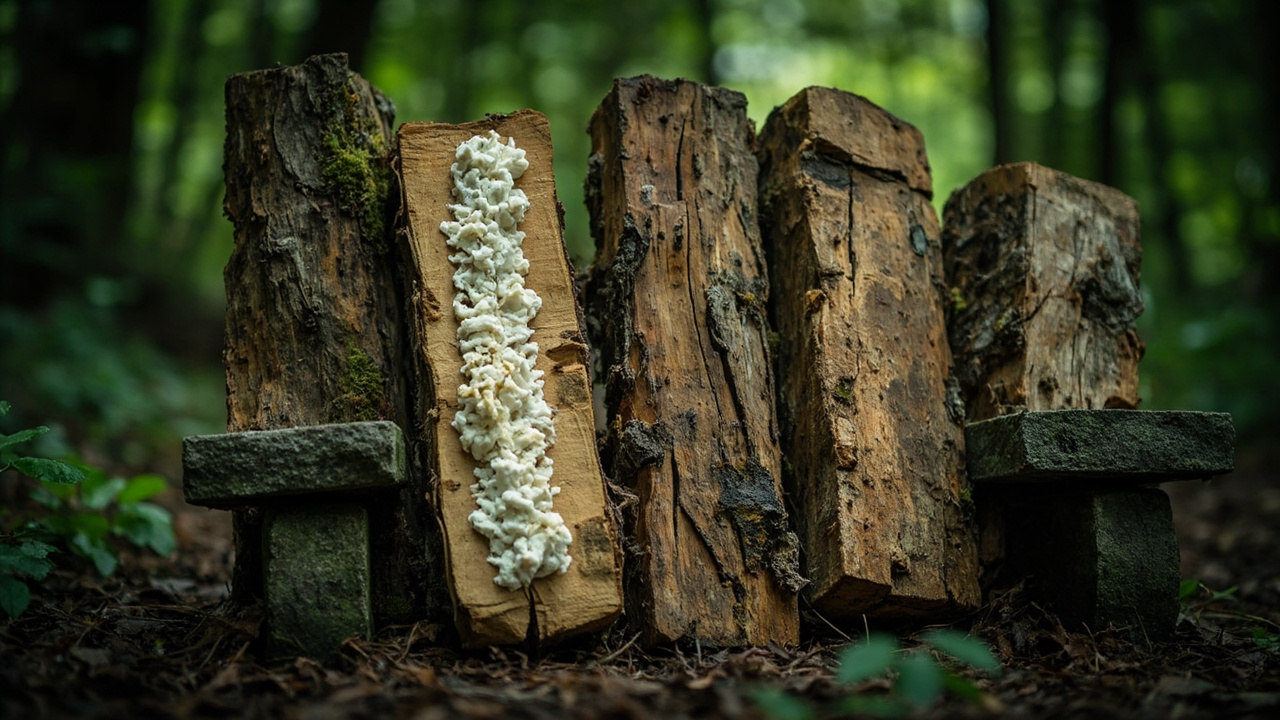
In the kitchen: the month where you buy mushrooms like anyone else, and where the log starts paying back.
Step 7 — Soak and wait for fruit
Once colonized, soak overnight in clean cold water, 12–24 hours, or skip it and wait for sustained rain. Look for pins within 1–3 weeks. Readers ask this most; the answer is overnight, in water, or not at all.
In the kitchen: a soaking log is about to feed you for three weeks.
Step 8 — Harvest for the kitchen
Twist or cut clusters at the base, never pull, because pulling tears mycelium and costs flushes. Brush caps clean before the pan; a stiff-bristle mushroom brush does it dry. Full technique is on mushroom harvest.
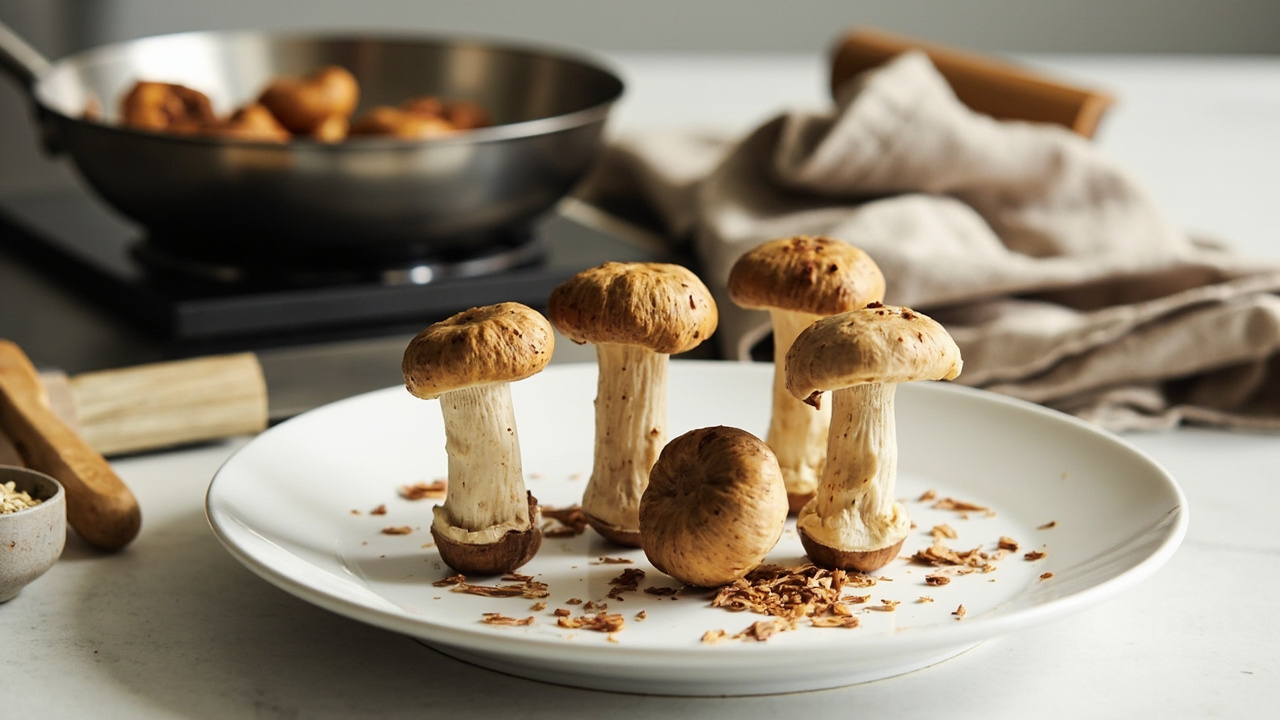
In the kitchen: the whole reason for the year.
Minimum outdoor conditions
Shade, moisture, and airflow
No direct sun all day. Constantly soaked is as bad as bone dry, so aim for damp, shaded, moving air off bare ground.
Temperature and season
Most log species fruit when it turns cool and wet, roughly 45–65°F. After that, timing is the weather’s call. Fruiting conditions has the light, humidity, and air numbers.
When something looks wrong
White fluff is not mold
White mycelium through the bark is what you paid for. Green, black, or grey-pink patches are not. Isolate a suspect log and read the contamination overview first.
Logs that never fruit
Underwatered, sun-scorched, drilled too few holes, or not done colonizing. Check green mold signs before assuming failure. White wood inside needs more time.
Bugs and bore holes
Beetles and shothole borers are near-universal and cosmetic. Chip away the tunneled wood.
Common mistakes
Mistake 1 — Inoculating fresh-cut wood the same week
Skip the 2–4 week rest and you seed spawn into wet, drying wood. It takes partially and flushes thin for two years.
Mistake 2 — Drilling too few holes
One hole per foot feels efficient and isn’t. 4–6 inch spacing is the difference between a flush and one lonely mushroom.
Mistake 3 — Leaving the holes unsealed
The most common way a good log goes bad. Wax isn’t optional, and daubers make it stick.
Mistake 4 — Running a log like an indoor block
Misting on a schedule, or bagging a log, are indoor-block reflexes. Logs are soaked, not misted: one overnight dunk, then weather. Dry-brush the harvest with a stiff mushroom brush rather than washing; wet caps turn slimy.
Mistake 5 — Starting more logs than you can eat
Five logs means far more shiitake than a household uses, in the wrong week. Start with two.
Related species & essentials
- Shiitake growing basics — the indoor block route
- Grow kits explained — the faster route
- Grow bags after your first kit — the other DIY route
- Kit vs DIY mushroom growing — decide before buying wood
- How to store fresh mushrooms — for a bigger harvest
- Second flush on a log — logs fruit over years
- How to choose a grow kit — if you took Branch A
Key takeaways
- Log mushrooms are a different food, not a bigger block: thinner cap, denser flesh.
- The calendar is 8–18 months. Buy a block if you need mushrooms this season.
- Rest wood 2–4 weeks, drill every 4–6 inches, plug and seal the same day.
- Soak overnight once ready, then wait 1–3 weeks for pins.
- Never pull a cluster. Cut or twist at the base, then brush it clean.
- Count the meals before you drill.
We do not promise rankings, indexing, traffic, or results from this page.