The block has been bulging for three days and the caps are the size of coffee beans. Guess the flush early and the mushrooms go limp and grey in the fridge before the week is out.
Quick answer
Harvest when caps flatten and edges lift, gills turn grey-tan, and stems still feel firm — oyster blocks run ready seven to ten days from pinning. Twist loose clusters off at the base, or cut dense fused ones clean at the substrate line, leaving a 1-2 cm stub behind. Take no more than two-thirds of the flush at once, mist the block, and most kitchen kits fruit again inside two weeks.
Who this is for
- You have a block on a kitchen counter with fruit on it, and you want to take this flush without wrecking the block.
- You are growing a gourmet edible species from a kit or a bag: oyster, lion’s mane, shiitake, king oyster, pink oyster, pioppino, or chestnut.
- You have run one cycle and you’re trying to tell a resting block from a finished one.
- Not you yet: if you haven’t opened a block at all, start at the first grow kit walkthrough. If you’re still on the kit steps, how grow kits work comes first. Harvest is step four of five.
What this is, and what it is not
What this is
- A kitchen-scale decision manual for one moment: is this flush ready, and how do I take it off the block.
- A readiness check you can run with your eyes, your fingertips, and a hygrometer. No lab, no microscope.
- Species-differentiated, because ready means something different on an oyster fan and a lion’s mane ball.
What this is not
- Not a wild-mushroom foraging guide. A species page owns identification and legality. Everything below assumes a block you grew.
- Not a grow-from-scratch manual. Substrate prep, sterilization, and inoculation each have their own pages.
- Not a drying or storage page. This one stops when the mushrooms are in your hands.
- Not a bulk or outdoor setup. A monotub, a shotgun fruiting chamber, or a Martha tent is a different hobby with a different contamination profile, so skip all of it and stay with a bag, a counter, and a clip.
- Not a health or wellness page. Nothing here is a claim about what mushrooms do for you.
This guide covers gourmet and edible species only — oyster, lion’s mane, shiitake, king oyster, pink oyster, pioppino, chestnut. It does not cover actives, psilocybin, or psychedelic species, and it won’t read potency on dried material. Not sure you’re looking at a flush? Check the contamination overview first.
Do this first
Run these five before you reach for a knife. If any of them trips, stop — a harvest isn’t worth a contaminated block or a food-safety scare.
- Don’t harvest from slime, wet rot, or a sour smell. Those are bacterial, not gourmet.
- Don’t harvest a flush that is white fuzz only. Untapped pins look like thick cotton; mature fruit has a visible stem and a cap. If you can’t find a stem, it’s a pinning problem, not a harvest.
- Don’t cut into green, black, or olive growth, and don’t scrape it over your counter. Isolate the bag first.
- Don’t pull a mushroom that won’t release. If it fights the twist, it’s anchored deep — switch to a clean cut.
- Don’t empty the bag to reach a cap growing inside the plastic. That’s how a working block meets every contaminant in your kitchen.
Step 1 — Check humidity and air before you cut
Cap quality is decided days before the cut, by the air the block sat in.
Put a number on the air
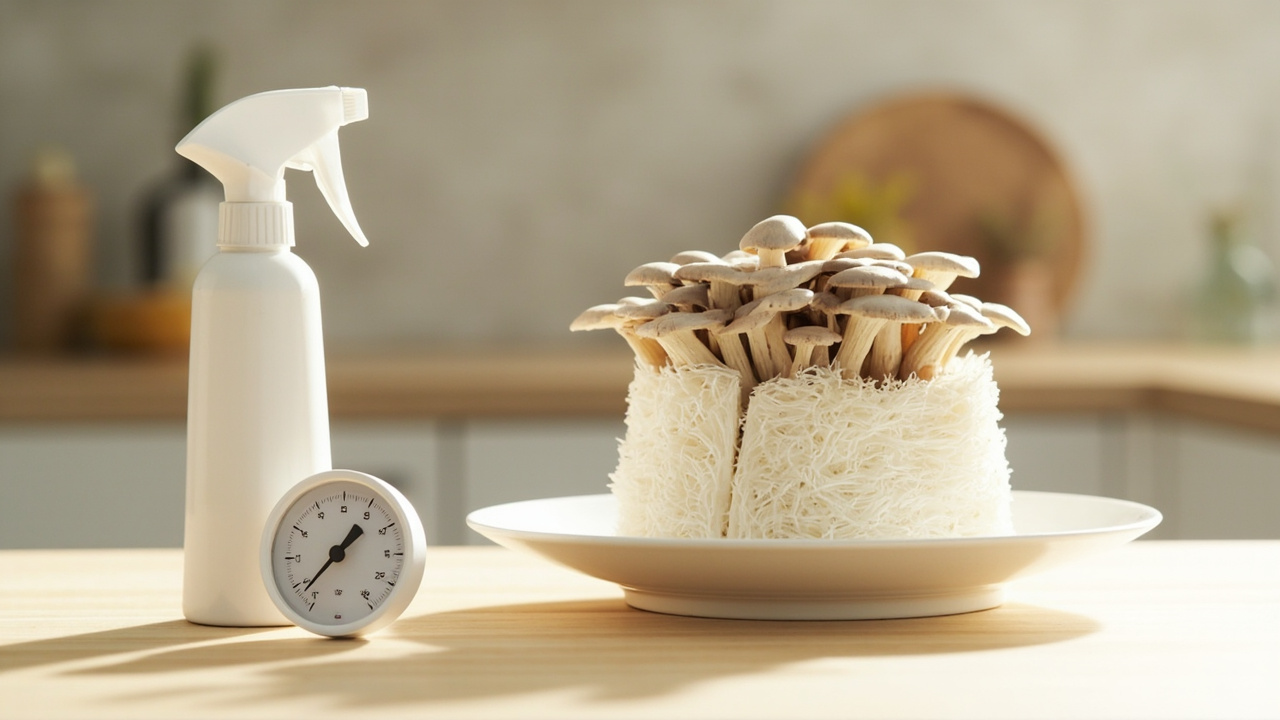
Set a hygrometer in the bag or beside it for a minute. Under roughly 85% RH the cap edge dries, cracks, and browns first, and you get an over-mature, dusty harvest. Over roughly 95% with poor air exchange the cap goes glossy and slimy and shelf life drops. A cheap digital hygrometer is enough; here’s what actually matters in one.
Read the cap with your fingers
Do the two-finger test. Dry and matte means the block is running low — give it a fine mist and two or three more days. Beaded with water means ease off, increase air, and let it drink in. If the fruit stalls partway instead of finishing, that’s a pinning problem, and humidity is the first thing to check.
Step 2 — Read the cluster: three readiness cues
Run all three, in this order, on a single mushroom rather than on the whole bag.
Check the cap shape
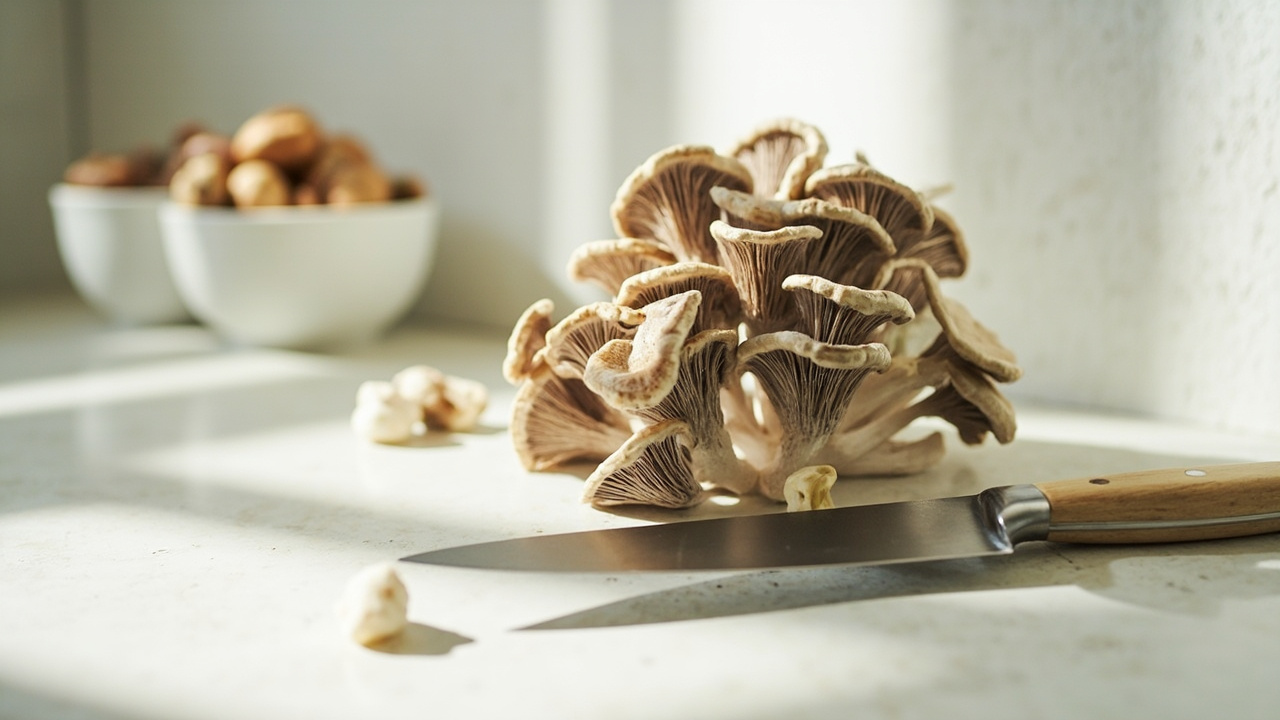
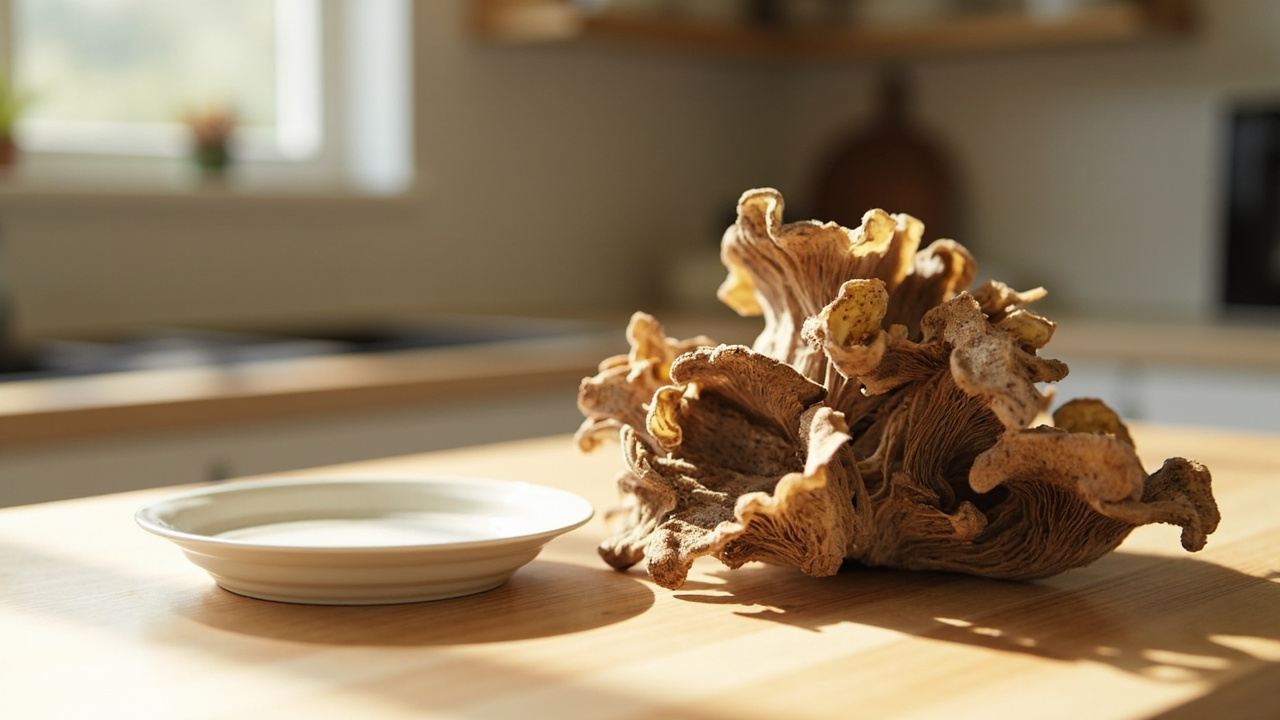
Has the cap lost its rounded top? A cap still domed like a thumbprint is immature. A cap that’s flat, or starting to curl down at the margin, is mature. One that’s gone past flat into a funnel with a dark, dusty underside is over-mature.
Check the gills or the veil
Oyster, shiitake, and chestnut show gills, and the colour is the signal. Pale cream or white means early. Grey, tan, or olive-brown means ready. Black or bruised purple-brown means you waited too long. Lion’s mane, enoki, and pink oyster hide their gills — use shape and the surface for those.
Check the stem
Firm and slightly rubbery is right. Limp, hollow-feeling, or stringy means over-mature. Dry-brush one mushroom before you read it — vermiculite on the gills hides the exact colour cue you’re after.
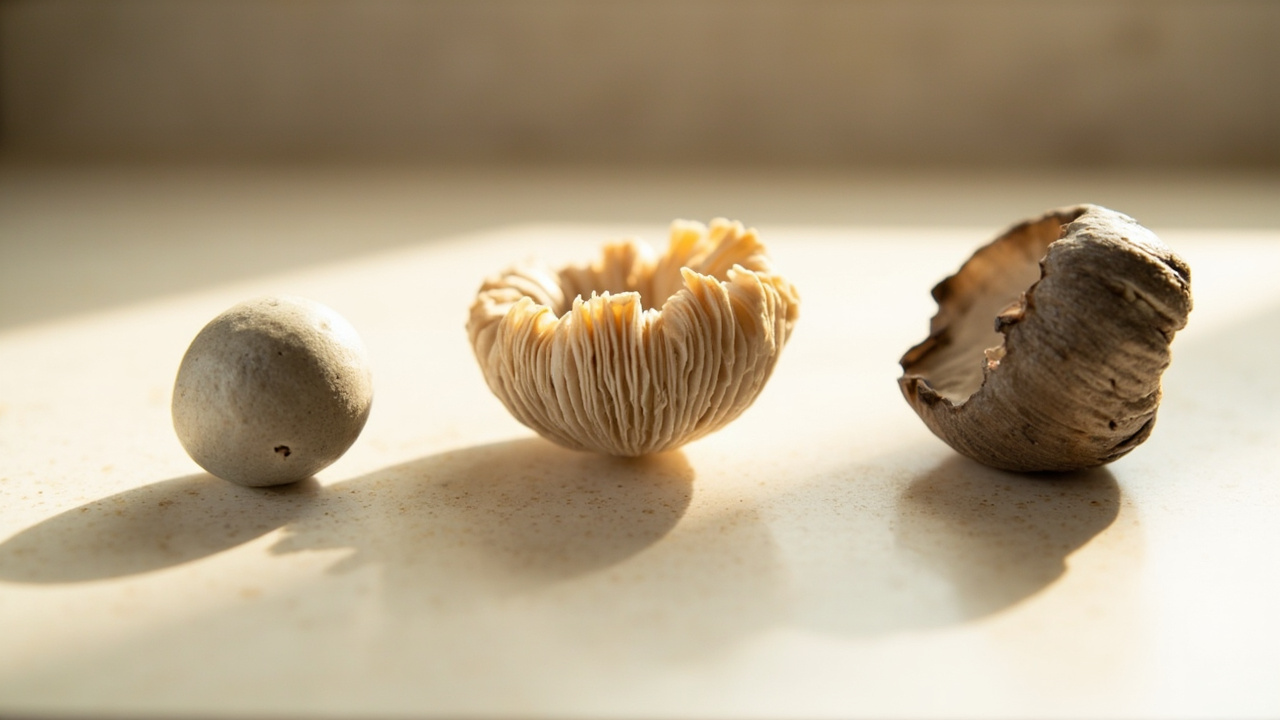
One cue alone is never enough. Shape right but gills still white is the classic “I waited two days too long,” and the classic “I cut a week too early” lands in the same spot.
Step 3 — Choose twist-and-pull or clean cut
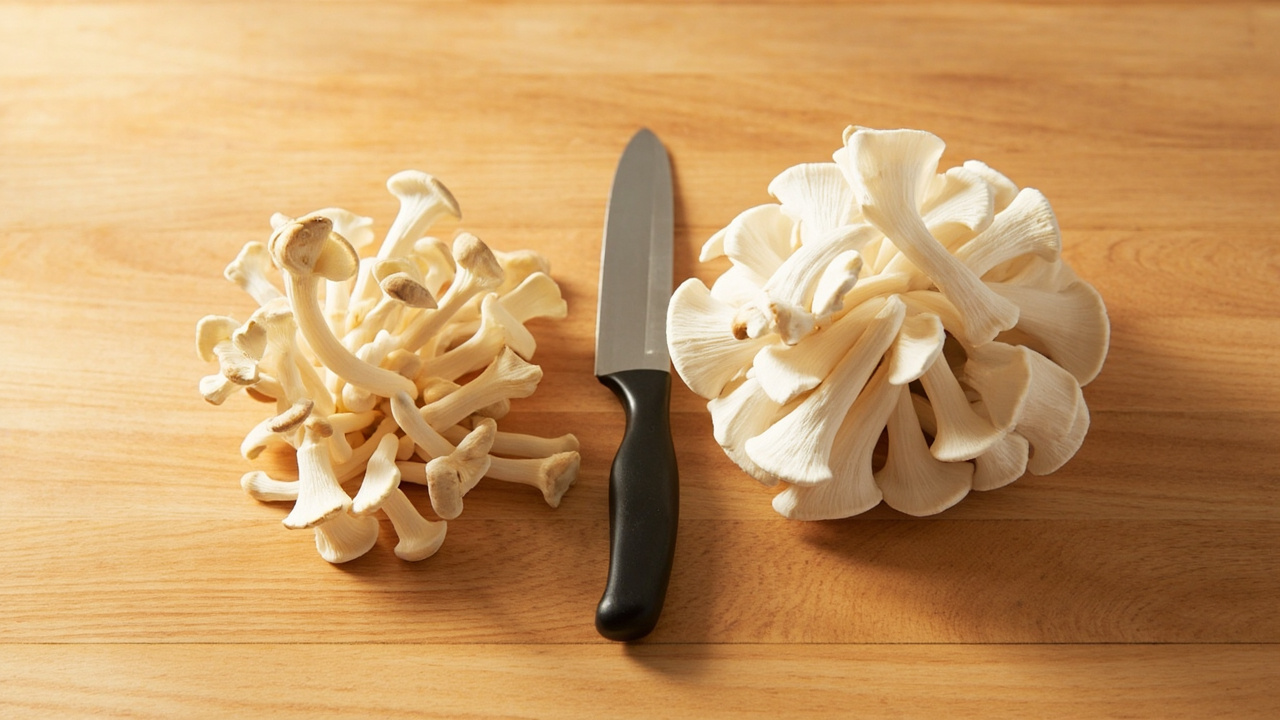
The decision is about how dense the cluster is fused to the substrate, not about preference.
- Twist and pull a loose cluster out of a slit or an X-cut. Grab the base, not the cap, give a firm quarter turn, and let the mycelium hold the block instead of your hand. If it comes away with the whole base attached, that’s right.
- Clean cut a dense, fused mass: one slice with a sharp blade at the substrate line, in a single motion, no sawing. A curved mushroom knife fits a slit or an X-cut.
- Twist-and-pull fails on exactly one kitchen species. King oyster grows as one thick-stemmed mass welded to the block, and pulling rips the face open. Shiitake clusters fuse into a dense shelf for the same reason, so cut those too.
- A clean cut on a loose cluster isn’t wrong, just unnecessary — you shave off stem you could have eaten.
Loose cluster or fused mass?
Step 4 — Cut, and leave the right thing behind
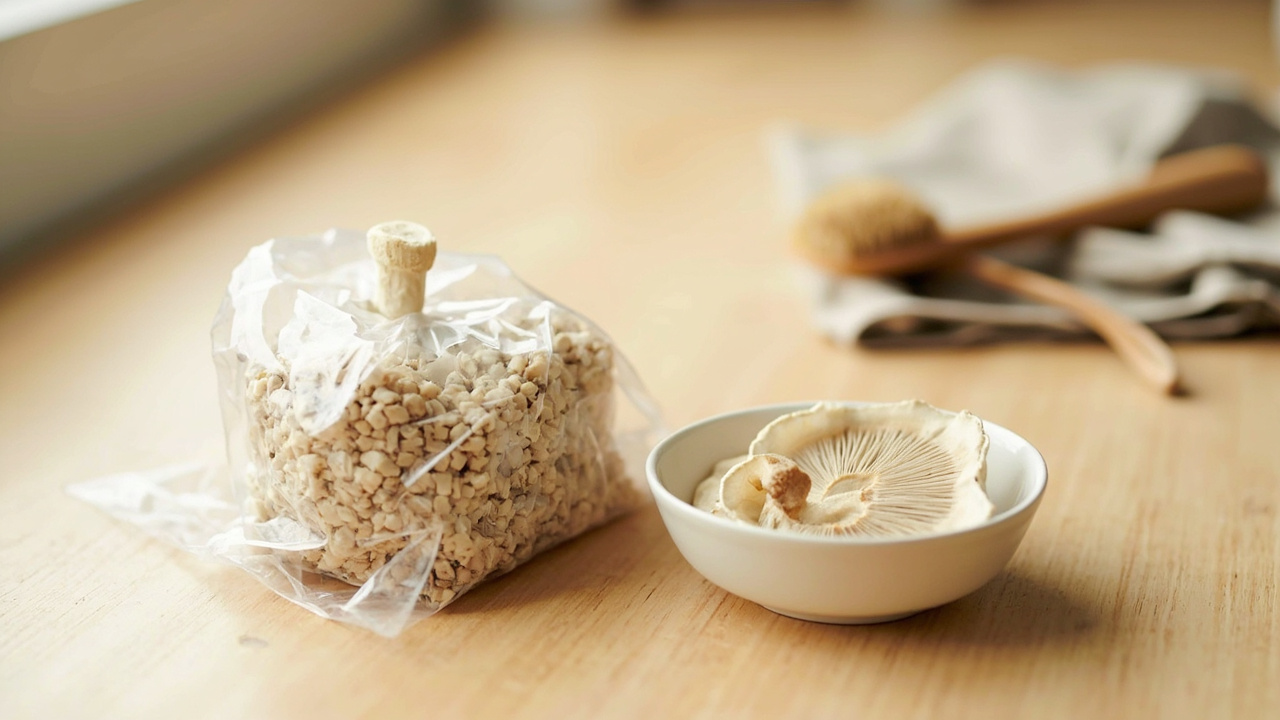
- Leave a stub of one to two centimetres of stem on the block. It’s the scar the next flush pushes from, and a flush taken flush to the substrate costs you the second one.
- Never take more than two-thirds of the visible flush, and never strip a block bare on day one.
- Dry-brush the harvest over a bowl before it goes near a pan. Vermiculite and substrate flecks on the gills are the difference between a kit harvest and a grocery-store mushroom.
- Keep species in separate bowls if you grow more than one. Don’t wash at this stage.
The stub you leave behind
Step 5 — Close the bag and reset
- Fold the bag opening closed and clip it. Leaving it wide open for hours lets the block dry out and the cut face go crusted.
- Weigh the block and write the number on a scrap of tape. Half of that harvest weight is the number that decides the next round.
- The block is now a second-flush block, not a finished one. Once the bag is open again, the soak-and-restart routine is a different job with its own page.
Readiness signals by species
One row per species you’re most likely to have. Full grow conditions stay on the species pages.
Oyster — the fastest and most forgiving flush
Ready seven to ten days from pinning. Caps fan out and go from round to flat in about a day, so an oyster block can go from not-yet to over-mature inside thirty-six hours. Watch the gills: cream turning grey-tan is the go signal. Oyster tears easily, so twist. Species page: how to grow oyster mushrooms.
Lion’s mane — where under- and over-harvesting look identical
First pins show fourteen to twenty-one days after fruiting starts; kit maker Fungi Akuafo puts the pin-to-pick run at four to seven days. The ball is ready when it stops being round and shows shaggy tiers with separation between them, usually eight to twelve centimetres across, spines lengthening before they droop. The over-mature version is the same size but uniformly brown or yellowing — that’s the spore bloom you were avoiding. Wait on colour, not size. Species page: how to grow lion’s mane.
Shiitake — the one where cutting technique matters
Ready three to six weeks, and the caps stay domed much longer than oyster. Kit blocks fruit after their cold shock, pins showing five to ten days later. A cap that has flattened and whose white veil has just broken is ready; if the gills have gone brown and the edge curled under, you’re a week late. Clusters fuse into a dense shelf, so cut rather than pull.
King oyster — the twist-and-pull exception
Ready when the stem is thick and firm and the cap is still small and dark, before it flattens. Don’t read the small cap as not-ready — the stem is the harvest, the cap is a bonus. Slice the thick-stemmed mass with a clean blade and never pull it.
Decision tree: do I cut today, and how?
ROOT question: there’s something on my block. Do I cut today, and how?
- Q1 — Stems with caps, or just white fuzz and bare substrate?
- Branch A — white fuzz, no stems. Don’t harvest. Untapped pins; see pinning problems.
- Branch B — slime, wet rot, green, black, or a sour smell. Don’t harvest. See the contamination overview, then isolate the bag.
- Branch C — real stems with caps. Go to Q2.
- Q2 — Is the cap still domed AND the gills still pale or white?
- Branch D — both yes. Too early. Wait two or three days and recheck humidity.
- Branch E — cap flat or curled, gills grey-tan-brown. Ready. Go to Q3.
- Branch F — cap past flat, gills dark, or a dusty brown bloom. Over-mature, still edible, shorter shelf life. Go to Q3 anyway.
- Q3 — Loose out of a slit, or a dense fused mass?
- Branch G — loose cluster. Twist and pull at the base. If it tears, switch to Branch H.
- Branch H — dense fused mass, meaning king oyster, a shiitake shelf, or a nearly covered block. One clean cut at the substrate line. Don’t pull.
- Branch I — one mushroom inside the bag, unreachable. Leave it. Don’t cut the bag open; check again next flush.
- Q4 — Is the block lighter than half its harvest weight?
- Branch J — heavier than half. Live block. Close the bag, run the second-flush routine.
- Branch K — lighter than half, soft, or shrinking. Spent. Skip the soak, compost it, start fresh.
| After Q2 | After Q3 | Action |
|---|---|---|
| Too early | — | Wait two or three days |
| Ready or over-mature | Loose | Twist and pull, leave a one to two centimetre stub |
| Ready or over-mature | Fused | Clean cut at the substrate line |
| Contaminated | — | Don’t harvest; isolate and diagnose |
| Any | Block under half weight | Spent; compost, don’t soak |
Branch F — past flat
The 60 seconds after the cut
Product advice stops here. The harvest ends here. What to do in the next hour is a separate question — paper bag versus container, fridge body versus crisper, one species per bag. A last dry brush is worth it; a rinse at this stage isn’t.
How to tell a spent block from a resting one
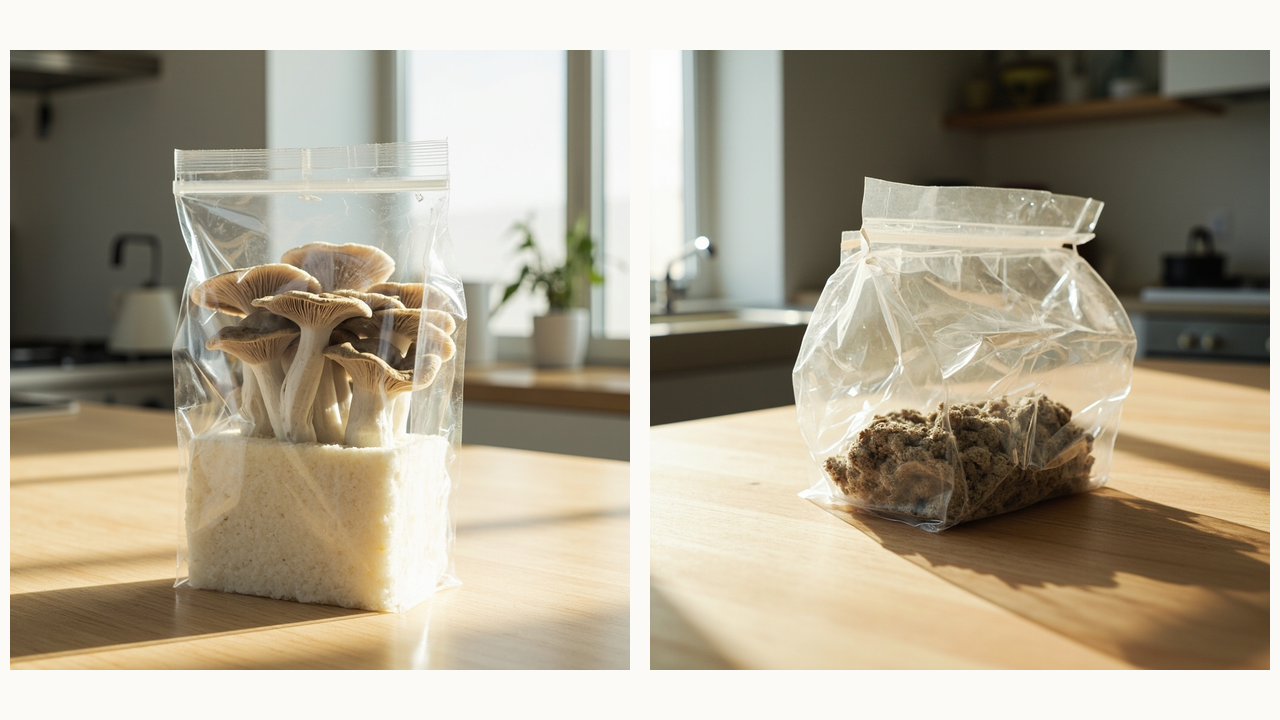
- Spent: under half its harvest-time weight, soft or springy instead of firm, shrinking rather than holding shape, dry inside the bag, or sour-smelling. Skip the soak, compost it.
- Resting: still heavy, substrate pale and cohesive inside, cut face re-sealed rather than crusted and green. It will fruit again.
- The number to trust is the weight on the tape, which a kitchen scale turns from a guess into a comparison.
- If the answer is genuinely done, the next kit is a different decision — a start decision, not a harvest one.
Firm and full versus deflated
What you’ll need
Role-based, and only reached after you’ve decided the flush is ready. Each slot names the job, not the product.
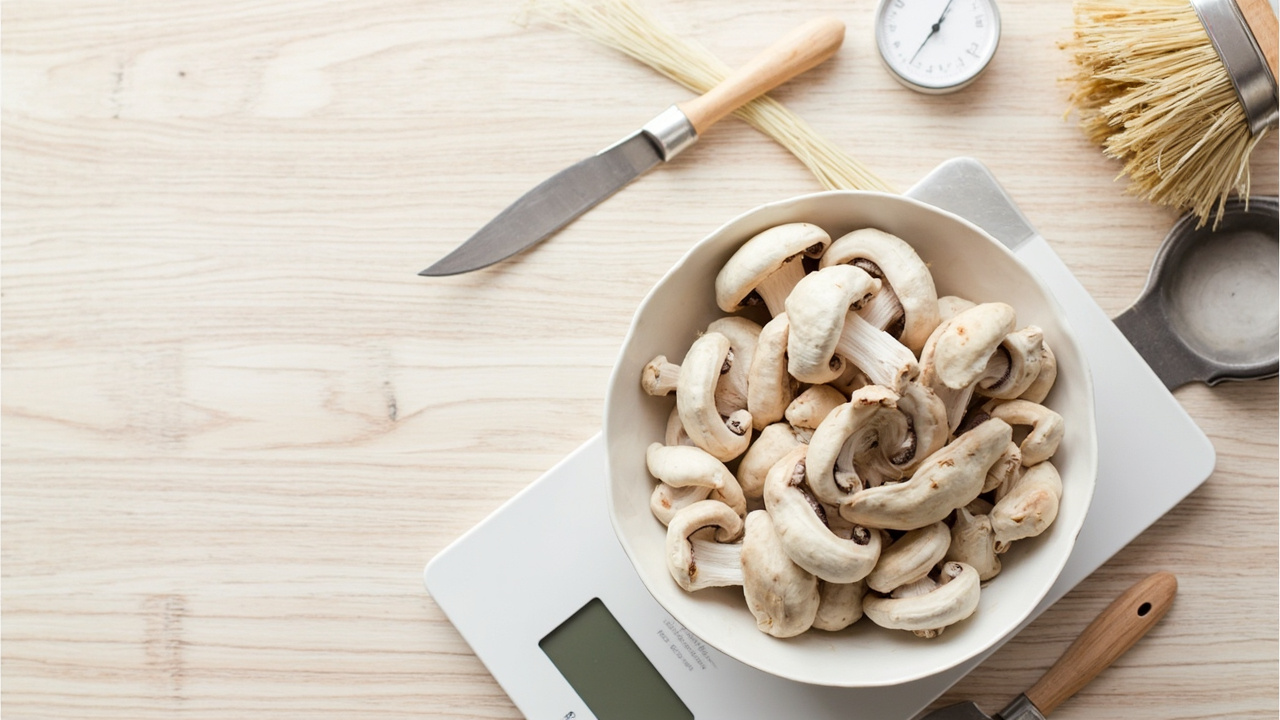
- A sharp blade for a fused cluster — one clean slice at the substrate line, no sawing. → OPINEL No. 08 curved mushroom knife
- A stiff-bristle brush for the last half minute — dry, no water, so caps don’t go limp. → Redecker natural pig bristle brush
- A scale, if you want the decision to be numeric — a harvest weight you can compare next time turns “is it spent?” into arithmetic. → Etekcity digital kitchen scale
- A fine-mist bottle and a hygrometer for the readiness check — only if you don’t own them; the two-finger test is free. → TempPro TP50 hygrometer and a continuous fine-mist sprayer
The four tools that matter
No grow kits here on purpose. A kit is a start decision, and choosing the right one is a different page.
Common mistakes
Mistake 1 — Cutting the whole flush at once
The block can only push what it has. Taking two-thirds leaves mycelium something to rebuild from; stripping it bare on day one costs the second flush. If you want more, the second flush is a separate routine.
Mistake 2 — Pulling a mushroom that won’t release
Force it and you tear the substrate face open, which is the best way to contaminate a working block. If the twist doesn’t release it in one clean motion, that’s a clean-cut case with a sharp blade, not a strength problem.
Mistake 3 — Harvesting on the cap alone
Cap shape alone gets you wrong in both directions. Run all three cues together.
Mistake 4 — Cutting flush to the substrate
Leaving no stub is why some people get one flush from a kit that should give two or three. Leave a stub of one to two centimetres of stem every time.
Mistake 5 — Leaving the bag open after cutting
An open bag for hours dries the cut face and lets the humidity escape. Fold it closed and clip it the same day.
Key takeaways
- Run three cues together: cap shape, gill colour, stem firmness. One cue alone gets you wrong both ways.
- Twist loose clusters, cut dense ones. King oyster is never pulled.
- Leave a one to two centimetre stub and take no more than two-thirds. That’s what buys the next flush.
- Cap quality is set by humidity days before the cut, not on the day.
We do not promise rankings, indexing, traffic, or results from this page.