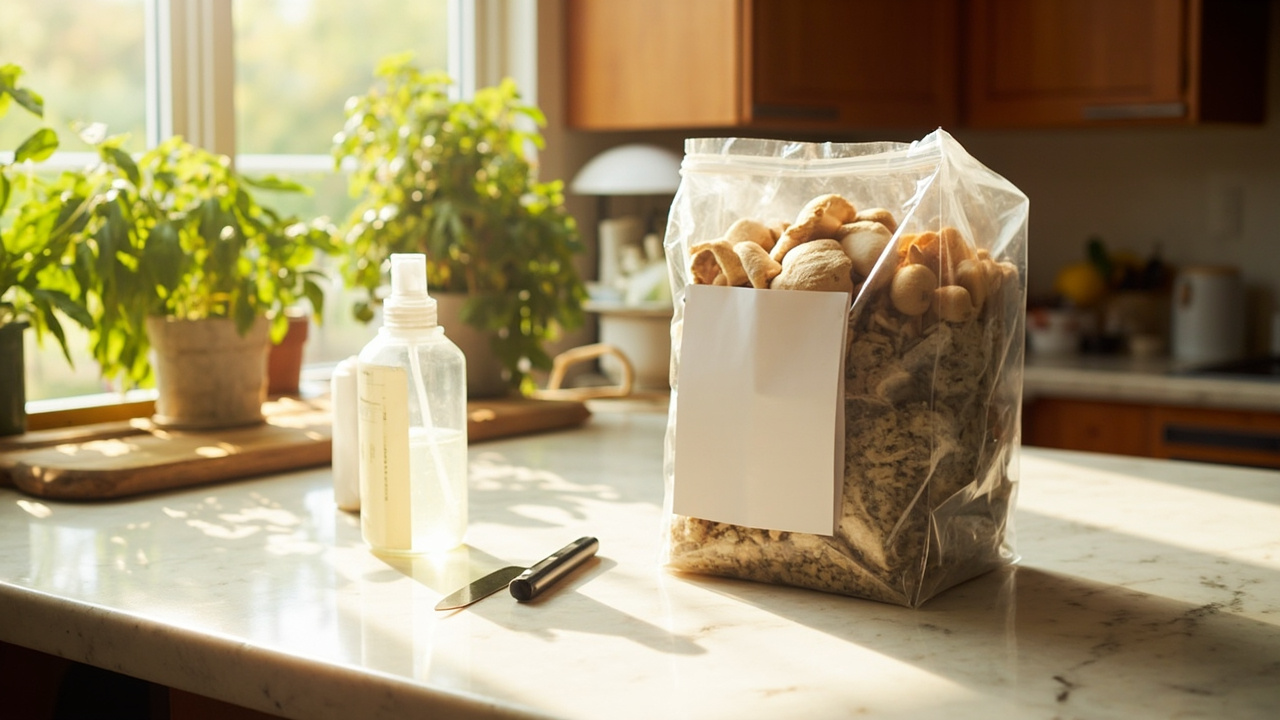
Your first gourmet grow kit just landed on the kitchen counter, and you’re wondering if you need a tent, a lab, or just patience. The good news: most first-time growers harvest a clean flush with the kit bag, a sharp knife, and a fine-mist spray bottle. The cost of getting it wrong is small - a dried-out block or a stalled face - and the fix is usually one or two misting adjustments away. Below is the smallest setup that produces a clean first flush on a real kitchen counter, not a grow room.
Quick answer
Open the shipping box, set the block on a clean counter away from sun, cut a 1-2 inch X in the bag face, and mist the cut twice daily so the opening stays dewy. Pins appear in 5-10 days; harvest in clusters before caps flatten. A small humidity dome is the optional add-on if misting dries out within hours.
Who this is for
You have one counter, ten minutes a day, and zero contamination experience
This page covers the smallest possible setup that produces a clean first flush. No spawn, no liquid culture, no autoclave. Everything below assumes you bought a ready-to-fruit block from a reputable brand, opened the shipping box, and want to know what to do next.
You want to cook the harvest yourself within two weeks
The harvest is the goal. If you want to save spores, clone, or expand to multiple blocks, that path lives in the methods section and uses grain spawn, substrate bags, and a clean inoculation space. That is a separate project, not a first-flush project.
You are not planning to clone or save spores
Cloning and spore prints are advanced paths. They require sterile work and a separate workspace. A ready-to-fruit kit assumes you’ll cook the cluster and compost the spent block when it stops fruiting.
What this is not
This page is not for growers who want to start from spores, liquid culture, or grain spawn. That path requires a pressure cooker, a still-air box, and a separate clean workspace. It lives in the methods section under expand-from-spawn projects. A ready-to-fruit kit is the opposite end of that journey: the manufacturer has already done the inoculation and run the colonization, so the block is ready to fruit the day you open the box.
This page also does not cover monotub tek, shotgun fruiting chambers, or bulk substrate pasteurization. Those work for dung-loving species and need a different humidity, fresh-air-exchange, and contamination protocol. A kitchen counter, a kit bag, and a fine-mist spray bottle is the smallest setup that produces a clean first flush of a gourmet block.
This page is not a substitute for species-specific tuning once you’ve completed a first flush. Oyster, lion’s mane, and shiitake each have their own pinning windows, harvest cues, and second-flush rhythm. Those details live in the species guides once you’ve finished a clean first cluster.
What you need before opening the box
A clear counter spot away from direct sun
Indirect natural light keeps the kit around 65-72°F. Direct sun heats the bag past 80°F and stalls pinning - the mycelium stops producing mushrooms because it thinks it’s summer, not fruiting season.
A fine-mist spray bottle
A 10 oz continuous-mist pump bottle is the right tool. Trigger spray bottles deliver a jet that disturbs pins; fine-mist pump bottles deliver a soft cloud that lands on the cut face without soaking it. The 8 oz fine-mist pump bottle is the cheapest working option and lasts through several flushes.
A small bowl or tray under the block to catch drips
Water pools under the bag without a tray, which soaks the counter and invites bacterial contamination on the next block you place there. A simple saucer or shallow bowl works.
Optional - a small humidity dome if your kitchen runs dry
If your kitchen RH stays below 60% for hours, a small tabletop dome holds humidity around the cut surface between mists. Skip this for the first block and add one only if the cut face dries out before the next misting.
Open the right way - the X-cut
Why the manufacturer scored the bag where they did
The scored lines mark where the cut should go. Cutting elsewhere can damage the inner mycelium structure and stall pinning. The score is usually on the face with the most visible white mycelium through the plastic.
How to make a clean X-cut with a sharp knife
A sharp paring knife makes a cleaner cut than scissors. Cut about 1 inch long across the scored lines, in an X pattern that flaps open like four small doors when the bag relaxes. Sanitize the knife blade with isopropyl alcohol first.
Why you do NOT remove the block from the bag
The bag is the fruiting chamber. Pulling the block out dries it out and stalls pinning. Leave the block in place - the X-cut is your window into the chamber, not a way to escape it.
Mist, don’t drown
Twice a day is the starting rhythm
Mist once in the morning and once in the evening. If the surface is still glossy from the morning mist, skip the evening one. Two mists is the ceiling, not the floor; one good mist is often enough on humid days.
What “the surface glistens” looks like
The cut surface should look like a wet leaf after a light rain - visible moisture, but no beads or puddles. Beads mean mist more sparingly next time. A puddle in the X-cut means stop misting for 24 hours and let the surface dry to a glisten. A fine-mist pump bottle is the only spray type that delivers this kind of cloud on a kitchen block.
When pooled water means stop misting
If water collects in the X-cut or pools on the surface, stop misting for 24 hours and let the surface dry to a glisten. Standing water inside the X is the fastest path to bacterial wet rot, which shows up as a dark slimy patch around the cut.
Wait for pins - and what they look like
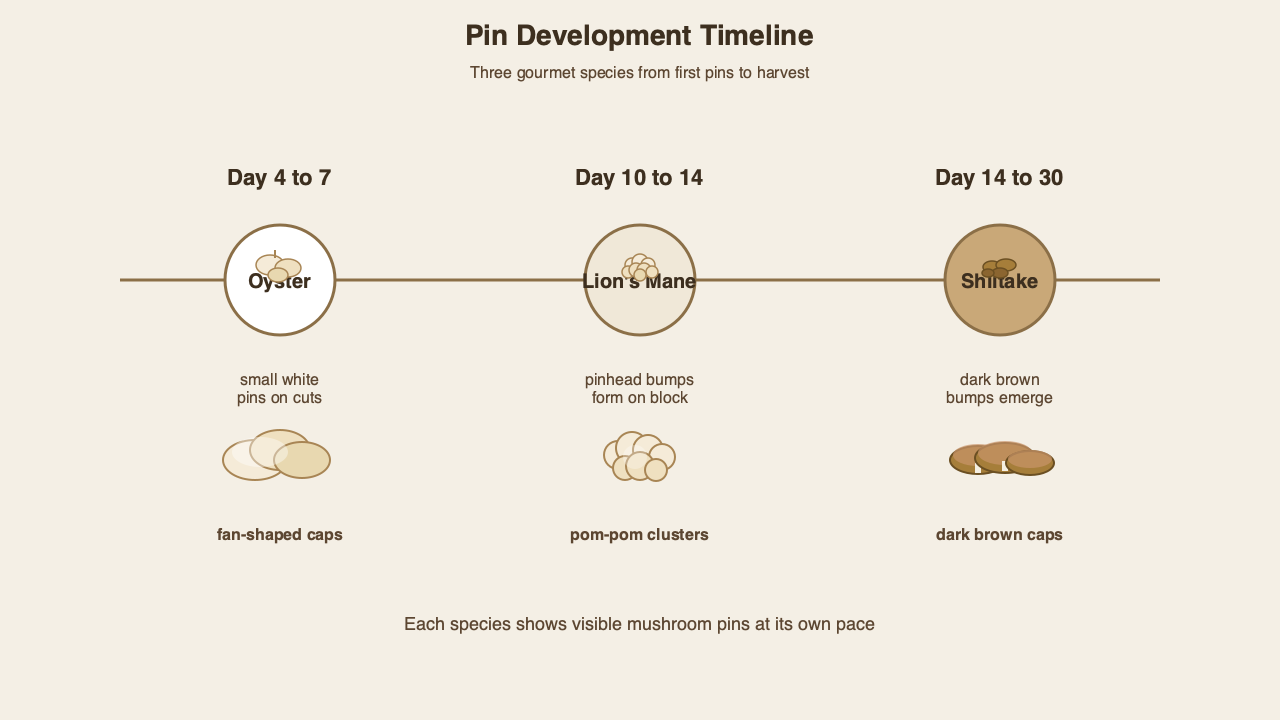
Oyster pins: tiny white tufts, day 4-7
Oyster pins start as small white tufts along the cut. They grow into recognizable caps by day 7-10. Pink oyster pins start slightly earlier than blue oyster and show a faint pink tinge by day 5.
Lion’s mane pins: pinhead nubs, day 10-14
Lion’s mane pins are tiny round nubs that look like grains of rice at first. They grow into pom-poms by day 18-21. The nubs are denser and rounder than oyster tufts.
Shiitake pins: brown bumps, day 14-30
Shiitake pins are dark brown bumps that emerge slowly. The cap is recognizable by day 30-45. If you’ve waited 30 days with no pins, see pinning problems before giving up.
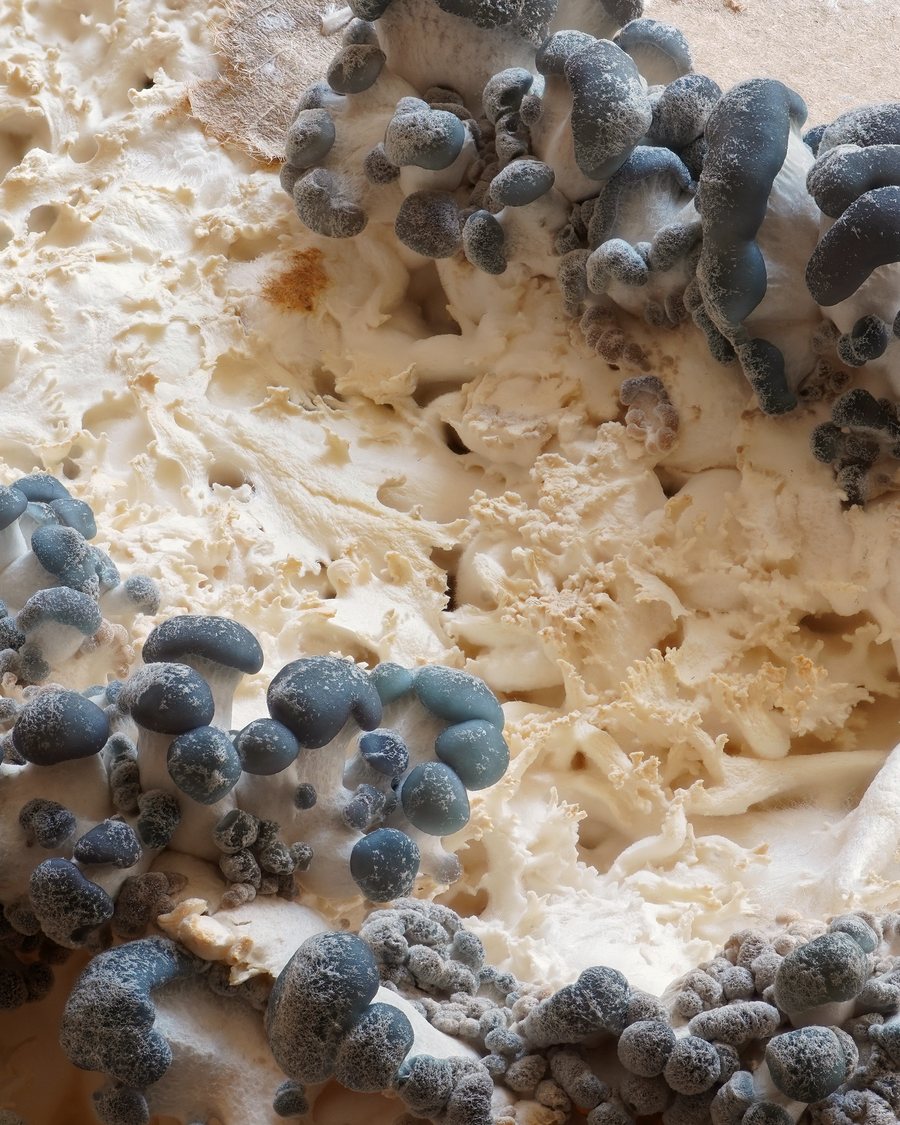
The white-fluff lookalike
White fluff that grows in damp clumps and stops growing is usually aerial mycelium, not contamination. White fuzz that spreads quickly and turns green or black is contamination - see the contamination overview for next steps.
Harvest - the right moment
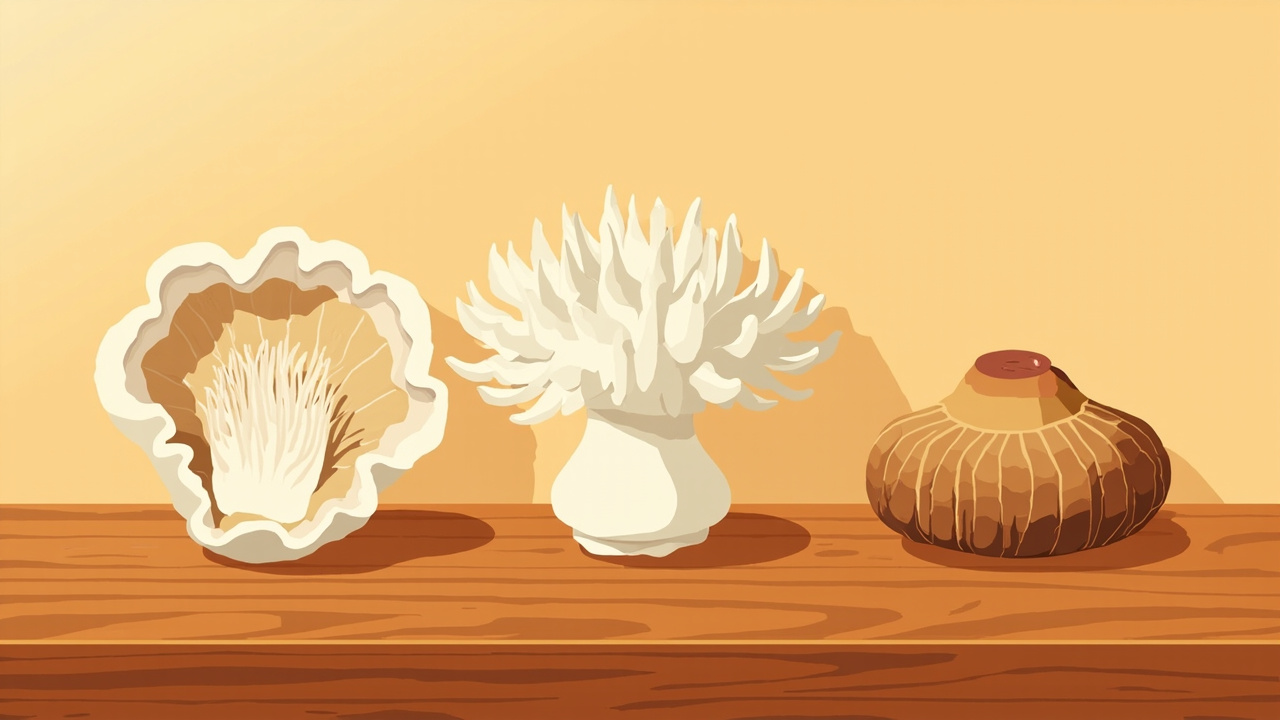
Oyster: caps flatten at the edge
Harvest oyster when the cap edge has flattened but the cap is still curled slightly under. Past this point the cap drops spores and the flavor fades. Twist the whole cluster off the block at the base rather than cutting individual caps.
Lion’s mane: pom-poms reach golf-ball size
Harvest lion’s mane when the pom-poms reach golf-ball size and the teeth are still short (under 1 cm). Long teeth mean the pom-pom is past prime and the texture turns stringy when cooked.
Shiitake: caps open but edges still curl under
Harvest shiitake when the cap has opened but the edges still curl under. Fully flat caps drop spores and have a tougher texture. Cut or twist the cap off at the base of the stem.
What you’ll do with the harvest
Most first-flush clusters weigh between 100 and 400 grams depending on species. Tear them into bite-sized pieces, sauté in butter over medium heat for 5-7 minutes, and finish with salt and a squeeze of lemon. Lion’s mane is the closest kitchen substitute for crab - pan-fry it the same way.
Second flush (optional)
Rehydrate the block in cold water overnight
Submerge the harvested block in cold water for 8-12 hours. The block absorbs water and primes for flush 2. Cut a fresh X on a different face if the original cut shows wear. A fine-mist spray bottle helps with the post-rehydrate mist cadence for flush 2.
Why flush 2 is smaller than flush 1
Flush 2 typically produces 30-60% of flush 1 weight. The block has used up some of its stored nutrients and is running on what it absorbed in the rehydrate step. Flush 3 is smaller still. Don’t be disappointed - this is normal block behavior.
When to retire the block (after 3-4 flushes)
After 3-4 flushes the block no longer produces meaningful harvests. Compost the spent block or break it up for garden mulch. A spent block buried under 4 inches of soil in a garden bed will sometimes fruit one more surprise flush in cool weather.
When something looks wrong
Green or black fuzz
Visible green or black fuzz means contamination. Stop, photograph, and check the contamination overview for an assessment. Most contamination cannot be reversed - isolate the bag in a separate room and decide whether to compost or discard.
No pins by day 14 (oyster)
Pinning problems usually trace to FAE (fresh air exchange) or humidity. Defer to pinning problems for the diagnostic. Most stall cases recover when you crack the bag once a day for 30 seconds to let stale air out.
Block feels dry and shrunk
A block that has dried out and shrunk usually needs a humidity dome. Defer to humidity and misting tools for the role-based decision. A small tabletop dome plus twice-daily misting usually brings the block back within 5-7 days. A continuous-mist spray bottle is the simplest upgrade path if mist rhythm is the bottleneck.
What you’ll need - species pick
Decision tree - species pick
ROOT: What species and what time window works for your first kitchen gourmet block?
Oyster starter (Back to the Roots)
Default beginner oyster kit: 10-day claim, mist a few times a day, harvest once. Small enough to live on a kitchen counter away from direct sun. The cheapest entry point on the list. See the Back to the Roots oyster grow kit for the smallest block in the roundup.
Lion’s mane starter (North Spore)
Heavier 4 lb block gives multiple flushes of lion’s mane. Slower to pin than oyster but with a forgiving harvest window once the pom-poms form. The cascade shape is the visual reward for the extra patience. See the North Spore 4 lb Lion’s Mane for the second flush count.
Pink oyster alt-species (North Spore Pink Oyster)
Pink oyster is faster and warmer-loving than blue oyster. The 4 lb kit is the choice when your kitchen runs on the warm side and you want a colorful harvest. Pink oyster caps also hold their shape in stir-fries better than blue oyster. See the North Spore Pink Oyster kit for the warm-climate variant.
Shiitake slow-but-rewarding (Oakland Mushroom Co.)
The shiitake block is the slow-but-rewarding pick. Needs cooler ambient temperatures and patience, but produces dense grocery-store-grade caps when given time. The umami flavor payoff is the highest of the four species on this list. See the Oakland Mushroom Co. shiitake kit for the dense-cap block.
Common mistakes
- Removing the entire block from the bag - the bag is the fruiting chamber; pulling the block dries it out and stalls pinning. Cut the X on the scored face and leave it.
- Opening the X-cut wider than instructed - wider cuts dry the surface and invite contamination. Stick to the scored lines and cut about 1 inch long, not 3 inches.
- Misting until water pools - pooled water on the surface invites bacterial wet rot. Mist so the surface glistens, never puddles. Skip a mist if the surface is still glossy from the last one.
- Stacking two kits in the same humidity dome without airflow gaps - shared humid air without FAE breeds contamination. Give each kit its own gap or stagger them on the counter without stacking.
- Throwing the block away after flush 1 - a single block fruits three or four times. Rehydrate and try flush 2 before retiring. The second flush often surprises first-time growers with a denser cluster than the first.
Key takeaways
- Pick one ready-to-fruit block and stick with it through flush 1 - the brand matters less than your humidity and misting rhythm.
- Keep the bag on; cut a small X on the scored face; the bag is the fruiting chamber.
- Mist so the surface glistens, never puddles - twice a day is the ceiling.
- White tufts at the cut are pins, not contamination; green or black fuzz is contamination.
- One block fruits three or four times if you rehydrate between flushes.