Methods · Level up · Not day one
Edible Mushroom Grow Bags: When to Upgrade from a Kit
Grow bags scale effort and contamination risk. They are a great second chapter — a poor substitute for learning kit humidity and harvest once.
Grow bag specs next to kit specs: 15 PSI, a 90-minute hold, a 0.5-micron filter patch, 65 to 75F, and 10 to 21 days to full white.
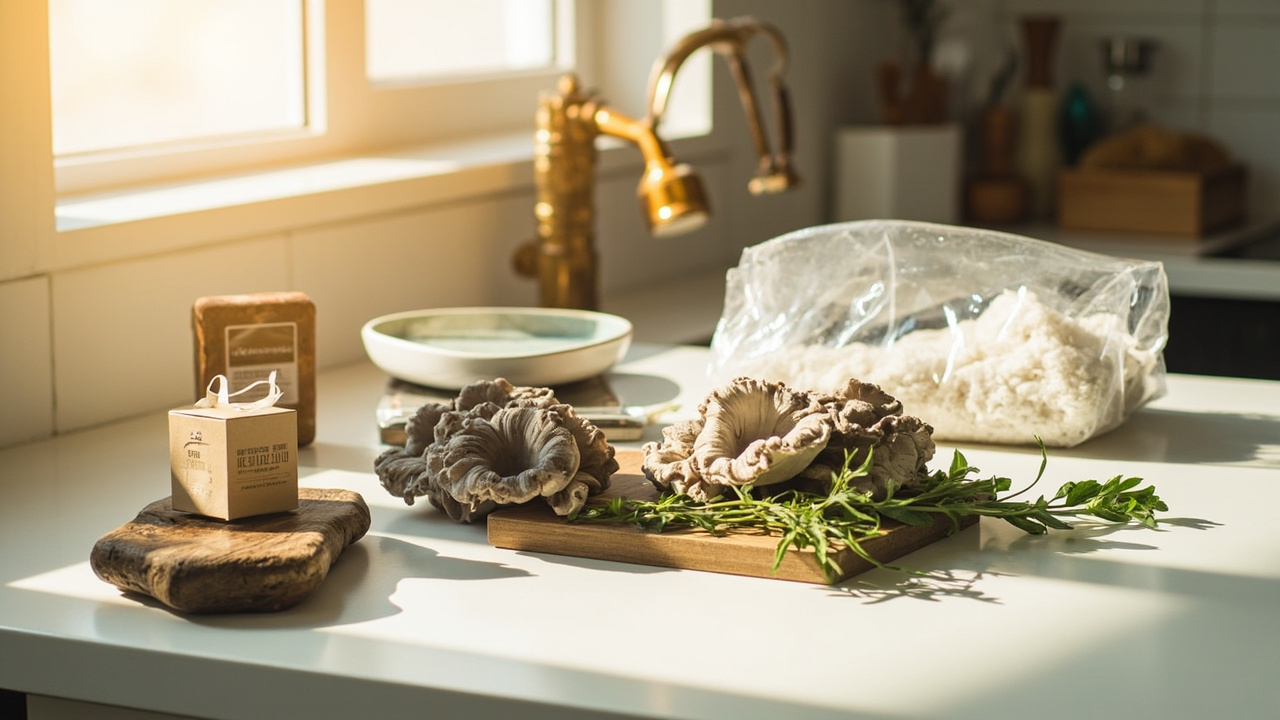
Grow bags are not a bigger grow kit. They are three more weeks of counter time, four decisions you have never made, and a much better substrate if you get through them.
Quick answer
Finish one clean kit harvest before you open a bag. A kit teaches you to read moisture and time a cut; a bag asks you to read pressure, a filter patch, and one inoculation point. Pre-sterilized bags with a single labeled culture are forgiving. Bags you sterilize yourself are not. Blue oyster is the most forgiving first species. Expect 10 to 21 days to full white at 65 to 75F, and isolate anything sour-smelling.
When a bag is the right next move
Five thresholds. All five must be true.
- You have harvested and cooked a kit, not merely fruited one. Cutting and cleaning teaches harvest judgment that a bag won’t.
- You can keep a daily misting habit without missing two days running. A bag needs you present through 10 to 21 days of colonization, not a 7-day fruit window.
- Your last kit gave you a harvest you wanted to eat again. If you let it go past prime, fix that on kits first.
- You have counter space for a sealed bag for weeks. Bags aren’t counter-neutral.
- You know which species you’re running. “Whatever the kit had” is not a plan.
If any one is false, the honest answer is another kit. So is the reverse case: a kit went green and you still can’t say why. Diagnose that first at green mold.
Still on chapter one? Start at starting with a first grow kit, then read how grow kits actually work.
Skip these branches until you need them
- Skip the pressure cooker if you’re buying pre-sterilized bags. The vendor already ran the 15 PSI hold.
- Skip the heat sealer while you’re on pre-sterilized bags with fold-and-clip closures. Heat matters the day you sterilize your own substrate.
- Skip multi-species samplers. One culture, one recipe, one bag. A four-culture pack is a second experiment, not a first one. How grain spawn is made walks the kitchen-scale version if you want to see where the inoculum comes from.
- Skip the fruiting tent until a bag is white. A fruit-stage humidity problem is one you haven’t earned yet; humidity and misting tools covers the cheap version.
Pick the bag path that fits you right now
If you’ve never harvested a kit, or the last one failed, buy a kit, not a bag. Bags multiply every variable you haven’t learned to hold yet, and a failed bag teaches you four things at once. Still comparing formats? Read choosing your first kit.
If you have one clean kit harvest and a chosen species, take the pre-sterilized branch. One species, one culture, one bag: a standard 8 by 5 by 20 inch filter-patch substrate bag and one labeled blue oyster liquid culture. Measure your counter first. A counter thermo-hygrometer is what turns “too cold” from a feeling into a reading. If your kitchen sits under 65F in February, fix the room before the bag, not after.
If you want more volume per cycle than one block gives, take the self-sterilized branch. This is where gear earns its place: a pressure canner, an impulse heat sealer, and a recipe you’ve already run once. Read the pressure cooker page before buying anything. Keep the first run small enough that a full loss doesn’t hurt. Three bags, not thirty.
If bags keep going wrong and you can’t say why, stop buying substrate. Walk the contamination overview and find the entry point first. Diagnose by order, not by symptom: seal integrity, filter patch state, inoculation hygiene, room temperature. Fix the first broken link, not the visible symptom.
Kit vs bag: the numbers side by side
| Measure | Grow kit | Grow bag |
|---|---|---|
| First harvest after start | 7 to 14 days | 14 to 35 days |
| Days you must be present | about 10 | about 25 to 40 |
| Substrate you handle | none | 3 to 8 lb per bag |
| Equipment added | none | canner or pre-sterilized bags, sealer, thermo-hygrometer |
| Added spend | $20 to $40 | $35 to $250 |
| Dominant failure mode | dries out, aborts pins | contaminates before it fruits |
| Flushes | usually 1 | 2 to 3 if you rest and rehydrate |
Read that as a time bill, not a price list. A bag roughly triples the calendar time you commit before your first harvest. If your reason is “I want more mushrooms,” a second kit species is often the cheaper answer. If it’s “I want control over substrate,” the bag is right.
Choose the bag format you actually need
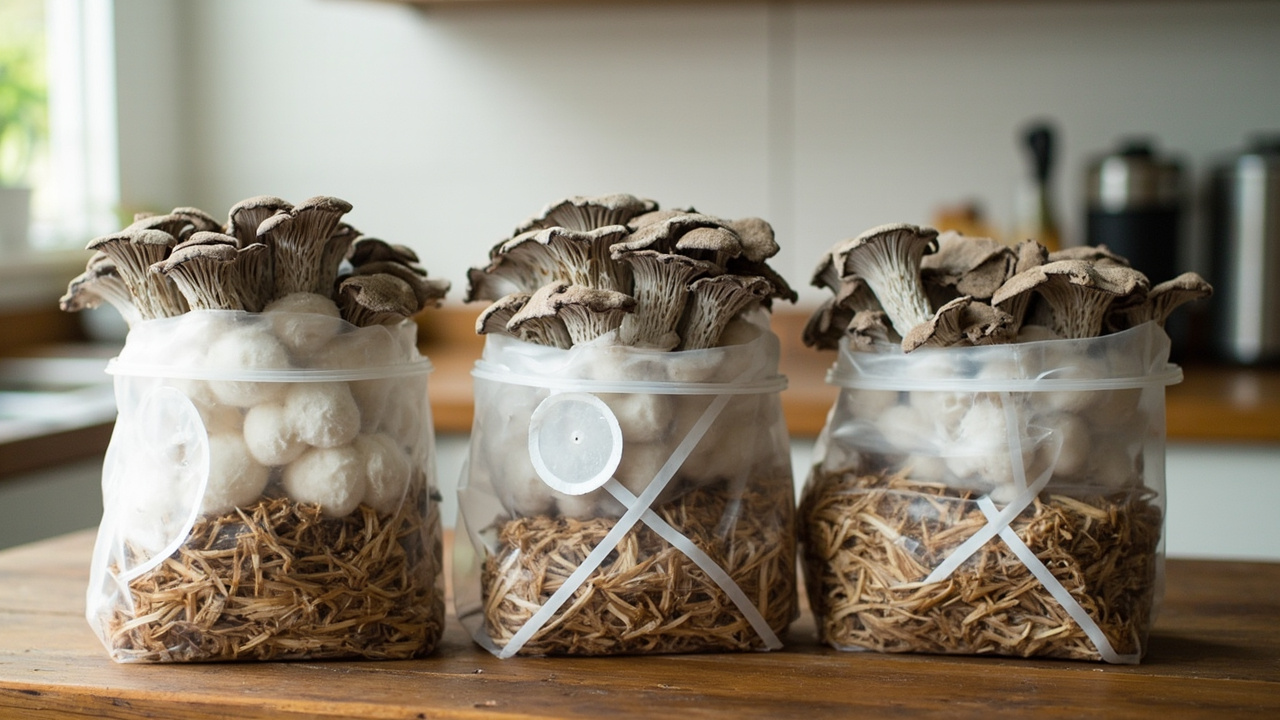
Polypropylene unicorn bags
Tall, gusseted, food-grade bags that stand up on their own and take heat. A standard 8 by 5 by 20 inch bag is where most first runs start. Larger sizes teach the same thing slower, because a big first batch means a big first loss.
Filter patch bags
The defining part is a welded square of microporous material on the bag wall. It passes oxygen and CO2 while holding back mold spores and most bacteria. Pre-sterilized versions arrive with the patch already welded, and that’s the version to buy on a first run: it takes seal integrity off your list of failures.
Autoclave bags
Thicker, higher-temperature film for repeated cycles and denser substrates. A home canner at 15 PSI and 250F doesn’t need this film. Buy one only once you’re running weekly batches with a recipe that has proven itself more than once.
Seal the bag so it survives the hold
The seal has to hold through sterilization and three weeks of colonization without weeping.
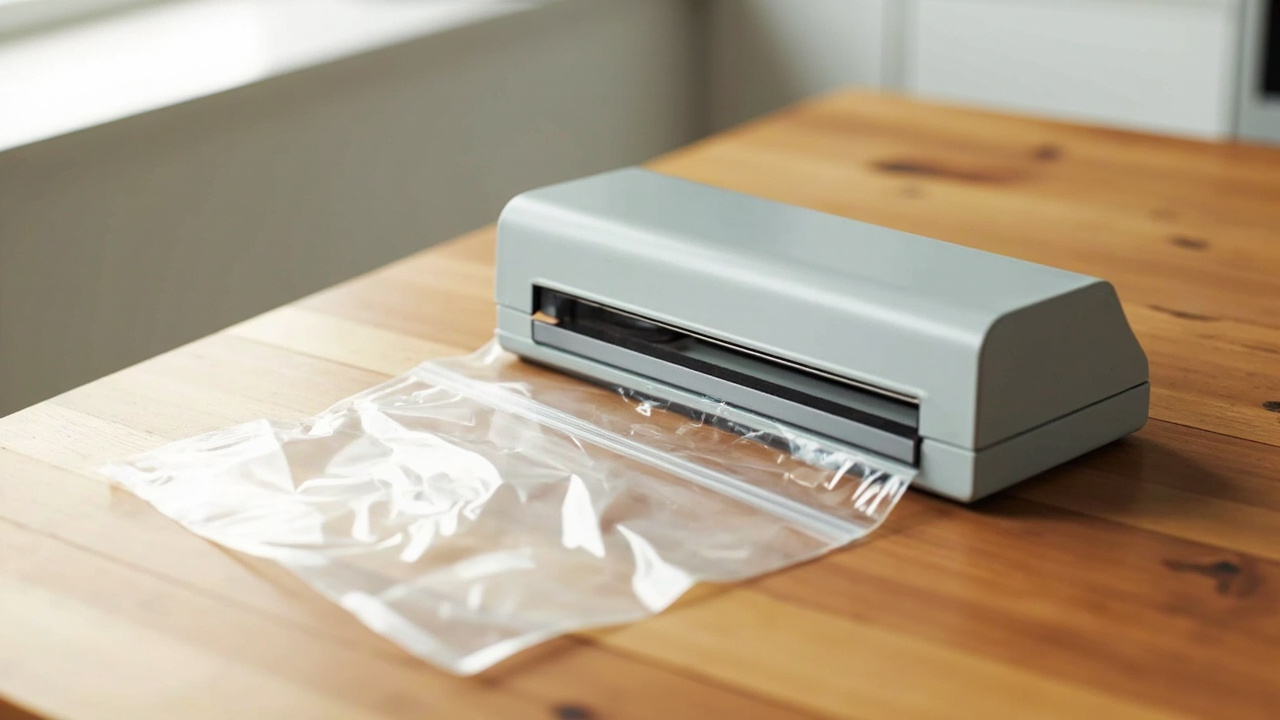
Impulse sealer is the cleanest answer. Fold the top, run it across the heated bar, and the plastic welds to itself. It survives a 15 PSI cycle if you leave headspace. An impulse heat sealer for bag tops turns a sloppy fold into a repeatable one.
Fold and clip is fine for pre-sterilized bags you aren’t pressure-cycling. It isn’t fine for anything going through 15 PSI, because the fold isn’t air-tight.
Leave headspace. A bag filled to the top lifts its own seal or its patch during the hold. A third of the bag empty is the usual rule.
Sterilize on the self-made branch: pressure, time, and the gauge
If you bought pre-sterilized substrate, skip this section. If you sterilize your own, these numbers decide whether the batch is clean.
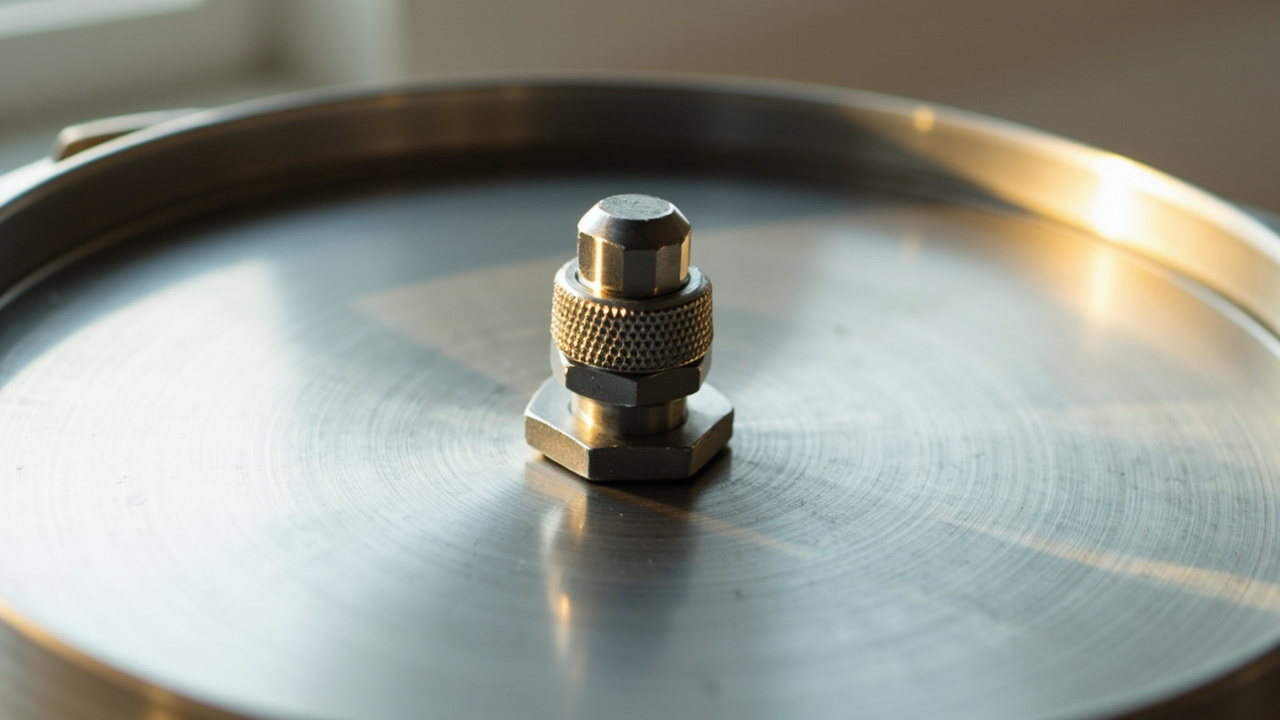
- 15 PSI at sea level is about 250F (121C). Below that, saturated steam doesn’t reliably kill the bacterial spores living in supplemented substrate. Ten PSI is a slow roast, not a sterilization.
- Hold for 90 minutes once the canner is at pressure. Not 30. A cycle that looks like half an hour on the clock is usually 30 of ramp, 90 of hold, and about 30 of cool-down.
- Verify the gauge once a year. Home dials drift. If yours reads 12 or 13 where the weight should be lifting, your “15 PSI” is a guess. A jar of water that isn’t at a rolling boil when the weight starts to rock is your cheapest warning light.
- Use a canner you don’t cook dinner in, unless losing that dinner is acceptable. Cross-contamination runs both ways. A dedicated 23-quart pressure canner is the home standard.
- Cool down vented, away from your face, and never force the weight off early.
Set the filter patch right: 0.5 micron, and why not finer
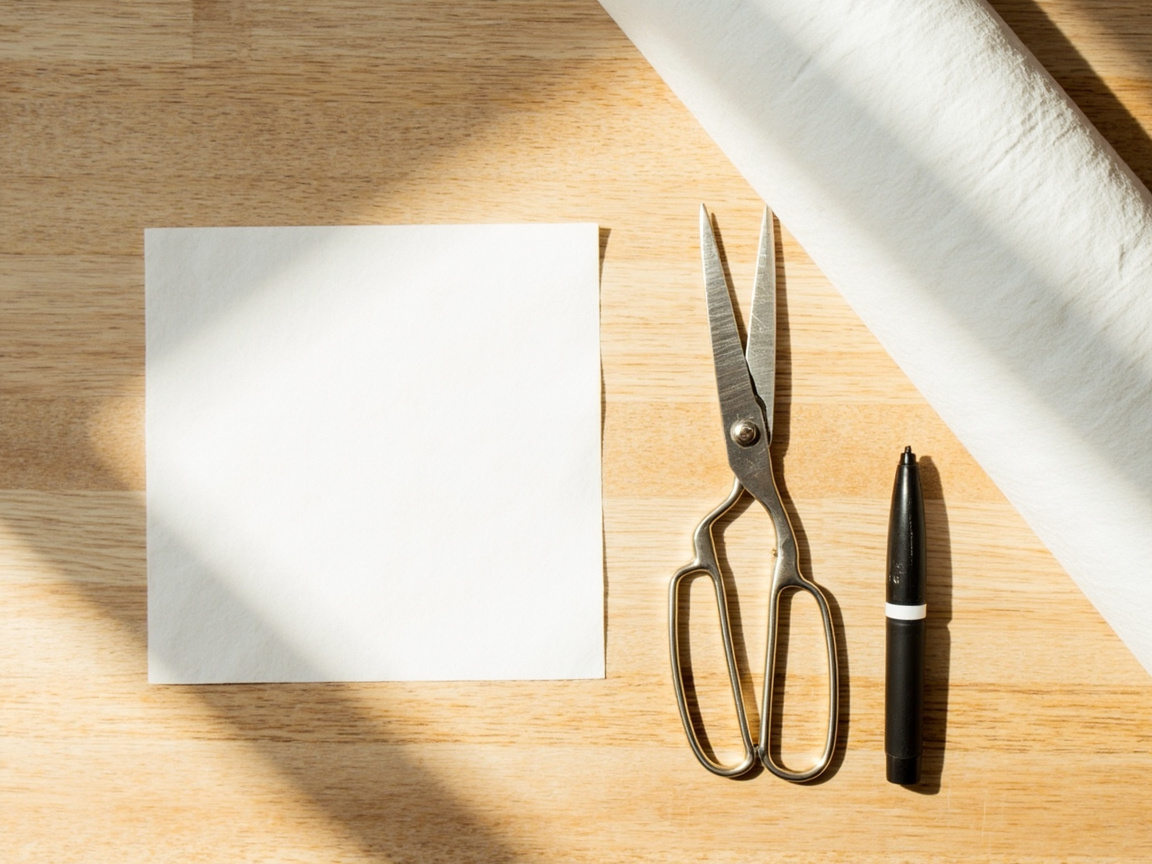
0.5 micron is the home standard. It’s fine enough to hold back mold spores, which are larger, and coarse enough that mycelium inside the bag can still trade gases with the room.
Finer is not better. A patch that’s too tight restricts gas exchange, and the block slows from the inside while the bag still looks perfect from the outside.
Damp is worse than dirty. A fogged patch clogs. So does tape or a sticker over it. Both failures look identical across the counter and are fixed completely differently.
Check the patch first when a bag stalls early. A clear patch with a stalled interior is a different problem from a fogged patch with a stalled interior.
Place one inoculation point, and only one
- One clean point per bag, usually a small hole in the wall just beside the filter patch, sealed immediately with breathable tape per the bag’s own instructions.
- Never inoculate through the patch. You waste the patch and hand bacteria a damp, nutrient-rich spot to sit in.
- Never inoculate twice because you weren’t sure the first took. Two points is double the contamination surface, and on a first run it’s usually why you lose the bag.
- Work in still air. Fans off, HVAC vents closed, hands and forearms washed, surface wiped down. A still-air box removes the guesswork when your kitchen can’t go still.
- Sterilize the syringe between points and keep the culture single-species. A labeled blue oyster liquid culture is the honest first inoculum. A four-culture oyster sampler is a second experiment. For where the inoculum comes from, grain spawn preparation has the kitchen-scale version and liquid culture the jar version.
Match the substrate to the species you’re growing
- Oyster eats almost anything: supplemented sawdust, straw, coffee grounds, cardboard. Fast and forgiving of loose fill, the right default for a first bag. Details at the oyster page.
- Lion’s mane wants supplemented hardwood, denser than straw, and it’s fussier about dry pockets inside the bag. Match at lion’s mane.
- Shiitake traditionally runs on logs, but a supplemented sawdust block in a filter-patch bag fruits reliably and skips the year of log preparation. It also wants a rest period after colonization before you fruit. Match at shiitake.
- Match substrate to species, never the reverse. Oysters forgive loose fill; lion’s mane doesn’t. Improvising a lion’s mane substrate on a first bag is the most common way to spend a bag and learn nothing.
Watch colonization day by day
Temperature window for the three edible species named here: 65 to 75F, low end for blue and pink oyster, high end for lion’s mane. Below about 60F colonization crawls; above 80F the risk shifts to bacterial bloom.
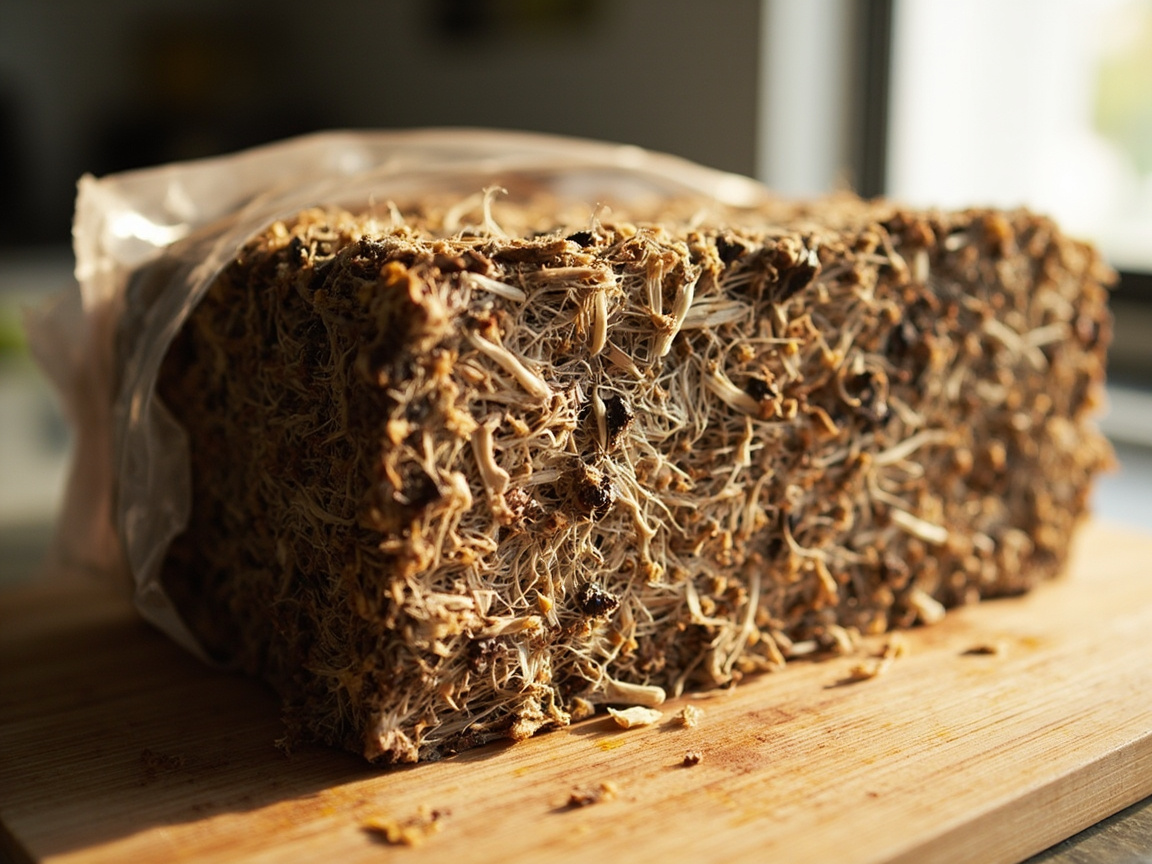
Day 1 to 3
Expect small white points at the inoculation site and nothing dramatic. A bag that looks identical to yesterday is normal. The only thing worth checking now is that the patch is clear and the seal is intact.
Day 4 to 10
Growth becomes visible through the bag wall as a soft white web spreading out from the inoculation point, and oyster is often visibly moving in this window. A counter thermo-hygrometer is what turns “the room feels fine” into a number you can act on.
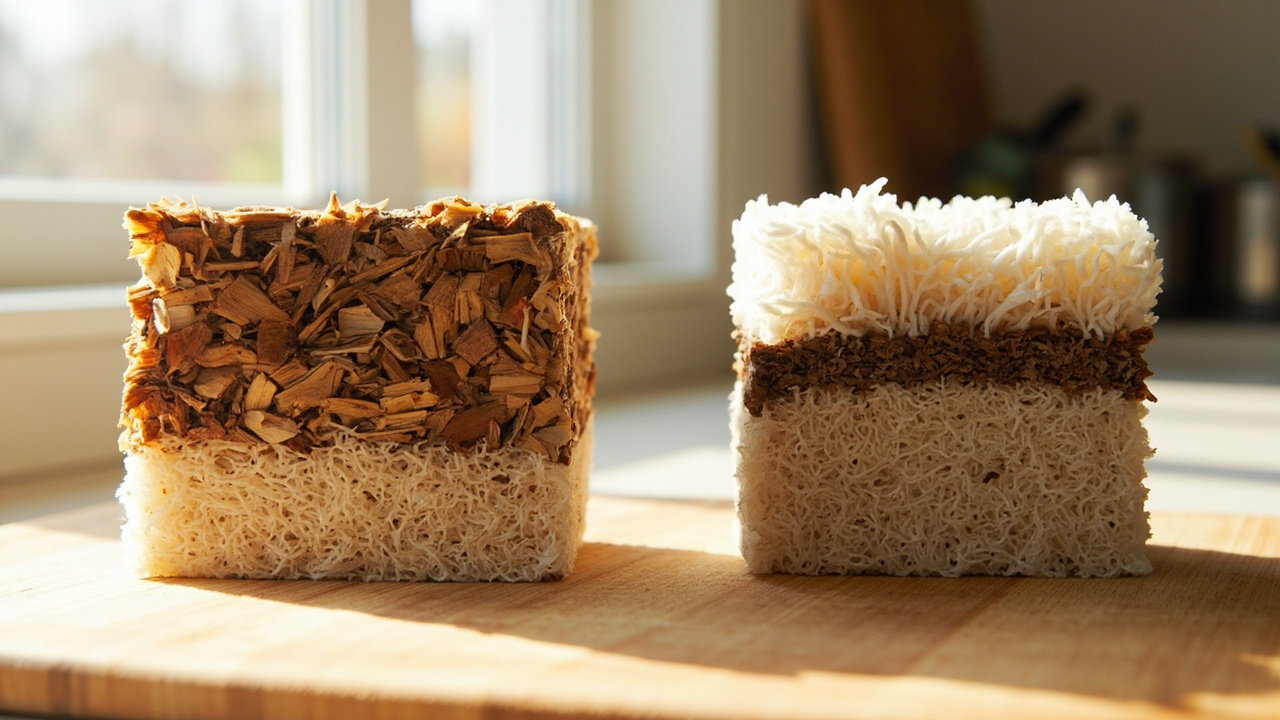
Day 11 to 21
Lion’s mane and shiitake are still working. The bag should be approaching evenly white and firm across the whole fill. Patchy white with dark substrate showing through at day 21 is a stalled bag, not a slow one. Re-read the seal and the patch before you blame the culture.
Two signals beat the calendar: uniform white and firm to gentle pressure through the bag wall. When both are true, move to fruiting. When one stalls more than a week past its window, stop and diagnose. If pins form then freeze, that’s a fruit-stage problem — pins that stall is the next read.
Read healthy colonization against contamination
| What you see | Read it as | Do this |
|---|---|---|
| Even white web, firm, no odor | healthy, on schedule | move to fruiting |
| White from a single point, still patchy at day 21 | stalled, not slow | check seal, then patch |
| White web with a wet sheen or pooling at the bottom | bacterial, not just wet | isolate away from food prep |
| Green, black, or olive patch anywhere | contamination | isolate, do not open indoors |
| Sweet or sour smell through the bag | contamination | isolate, do not open indoors |
| Fine white surface fuzz that wipes off | surface mold, not colonization | isolate, judge from inside |
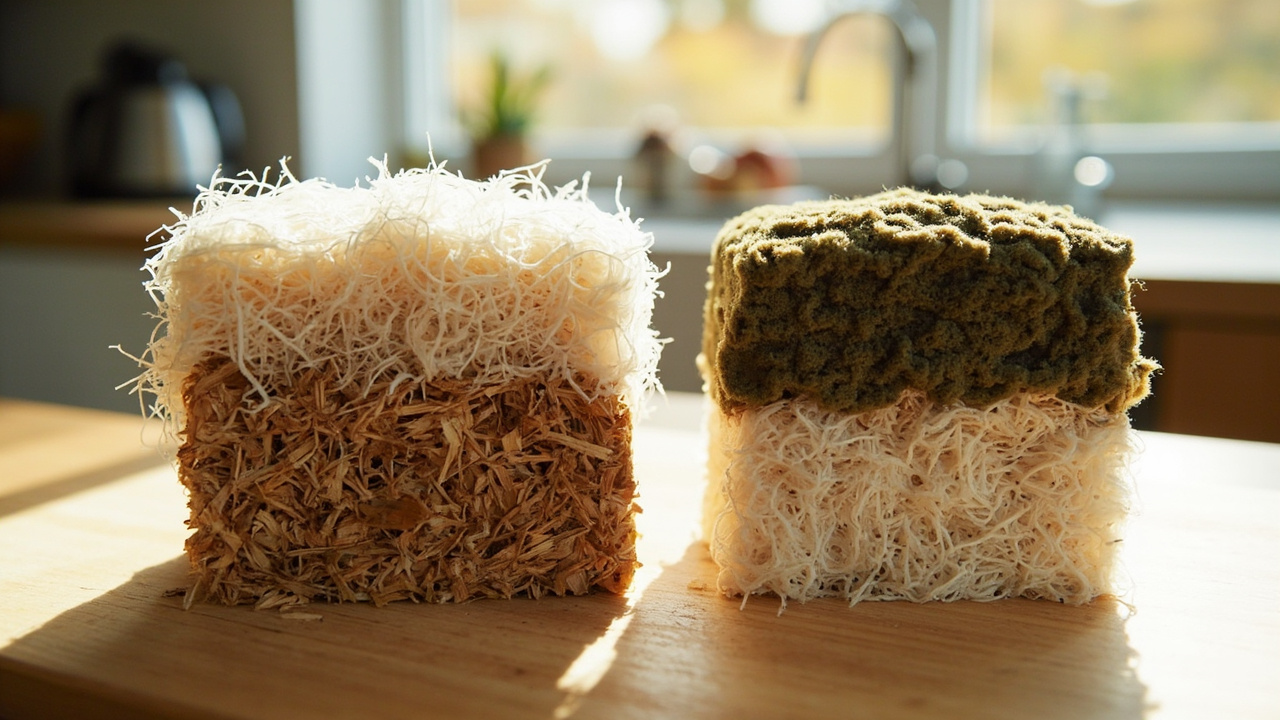
The line that trips people up: healthy colonization is inside the substrate, pushing through it. Surface fuzz on top that wipes away is not that. When in doubt, the contamination overview is the next read, and green mold covers the one you most need to catch early.
Keep, isolate, or discard before you do anything else
Run this the moment a bag goes wrong. Two minutes now stops one bad bag from becoming a bad room.
Keep it only when the bag is fully colonized, smells neutral, and shows no off-color anywhere.
Isolate it when you’re not sure. Seal the bag, move it to a room away from food prep and your other bags, leave it untouched for 48 hours, and judge again. A loose lid is not isolation. A closed bag in a different room is.
Discard it on green, black, or olive growth, a sour or sweet smell, or a leaking bag. Cut the corner with a clean folding harvest knife, double-bag it, and put it in an outdoor bin. Never open it in the kitchen and never pour anything down a drain.
After the first bag fruits
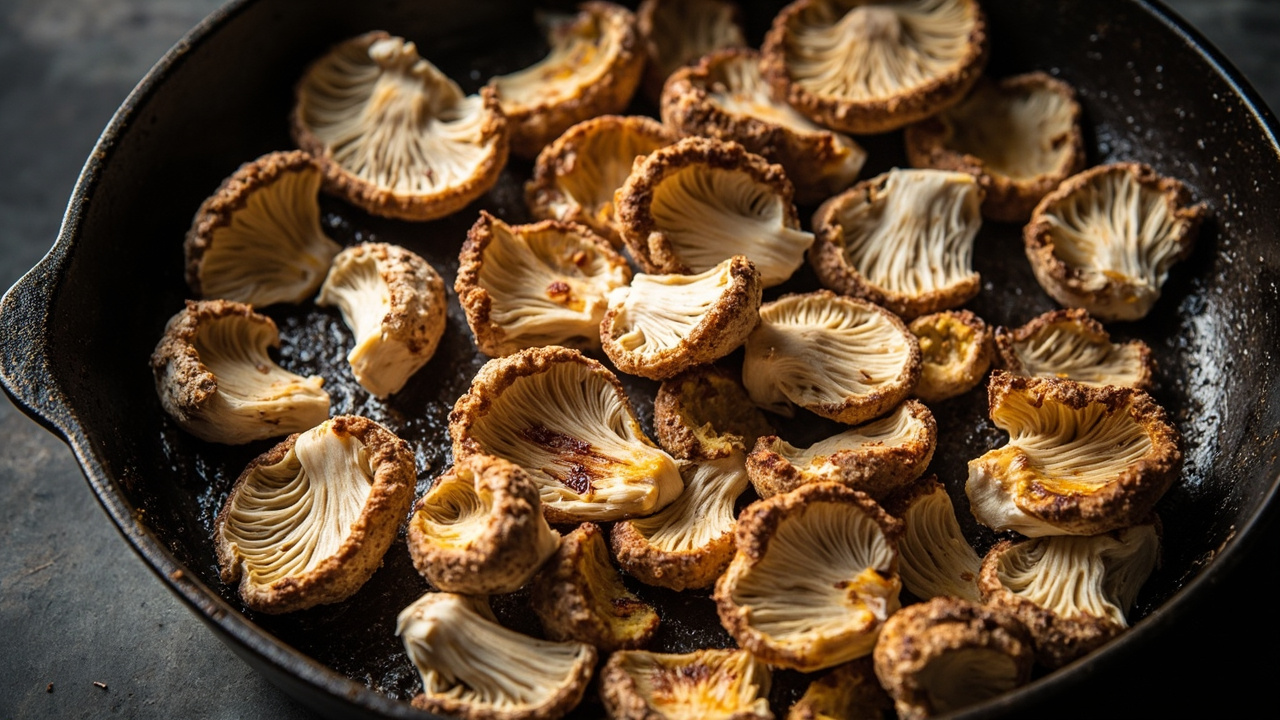
Open slits per the bag’s own instructions, then run it like a big block: humidity, air, light, and a schedule you keep. A small fruiting enclosure helps when kitchen humidity swings; otherwise a fruiting chamber for gourmet kits covers the options. Cut the caps when they flatten but before the spore print darkens. Harvesting technique has the cut, and a second flush covers the rest and rehydrate.
That is the whole path. Anything more elaborate needs farm-scale volume or a reason you haven’t hit yet.
Common mistakes
Five, ordered by how often they end a run.
Buying the biggest bag first
A 3 lb bag teaches the workflow without flooding the kitchen when it fails. Volume is a reward for a repeatable process, not a way to start one.
Sterilizing in the canner you cook dinner in
Dedicate the canner to the project or buy a separate pressure canner. Cross-contamination and a ruined family dinner aren’t a trade you get to make twice.
Skipping headspace or trusting a sloppy fold-and-clip seal
A bag filled to the top lifts its own seal or patch during the hold. Fold-and-clip is fine for pre-sterilized bags. It isn’t fine for anything going through 15 PSI.
Inoculating with the fan on
Air currents carry mold spores across the room and onto your clean point. Fans off, vents closed. This one is free to fix, and it’s the most common self-inflicted contamination event at home.
Running four cultures at once
One species, one recipe, one bag, repeatable. Once that works end to end, a four-culture oyster sampler makes sense as a second experiment.
What you’ll need
Role by role, not a shopping list. Each item prevents a failure above.
- Read the room before you inoculate — a counter thermo-hygrometer. The 65 to 75F window is a real number only if you read it.
- A bag that will not leak — filter-patch substrate bags in a size your counter can hold for a month.
- A seal that survives the hold — an impulse heat sealer once you self-sterilize. Fold-and-clip is for pre-sterilized bags only.
- Sterilization, only on the self-sterilized branch — a pressure canner, plus the safety steps on the pressure cooker page.
- Inoculum — one labeled single-species culture. Multi-culture comes after a clean run.
- A place to fruit — a small fruiting enclosure when ambient humidity is uneven.
- Harvest and disposal — one clean folding knife that handles both cutting a fruiting bag open and cutting a contaminated one for disposal.
Key takeaways
- A bag roughly triples your calendar commitment before the first harvest. Judge it on time, not on price.
- The numbers most bag pages leave out: 15 PSI, a 90-minute hold, a 0.5-micron patch, one inoculation point, 65 to 75F, 10 to 21 days.
- Uniform white and firm beats the calendar. A bag still patchy at day 21 is stalled, not slow.
- When a bag stalls, check the seal and the filter patch before you blame the culture.
- Never open a suspect bag in the kitchen. Seal it, move it, and judge it again after 48 hours.
- One harvest at a time: one species, one recipe, one bag.
Related guides
Back to methods . Affiliate disclosure . Culinary / edible kitchen growing only. [email protected]