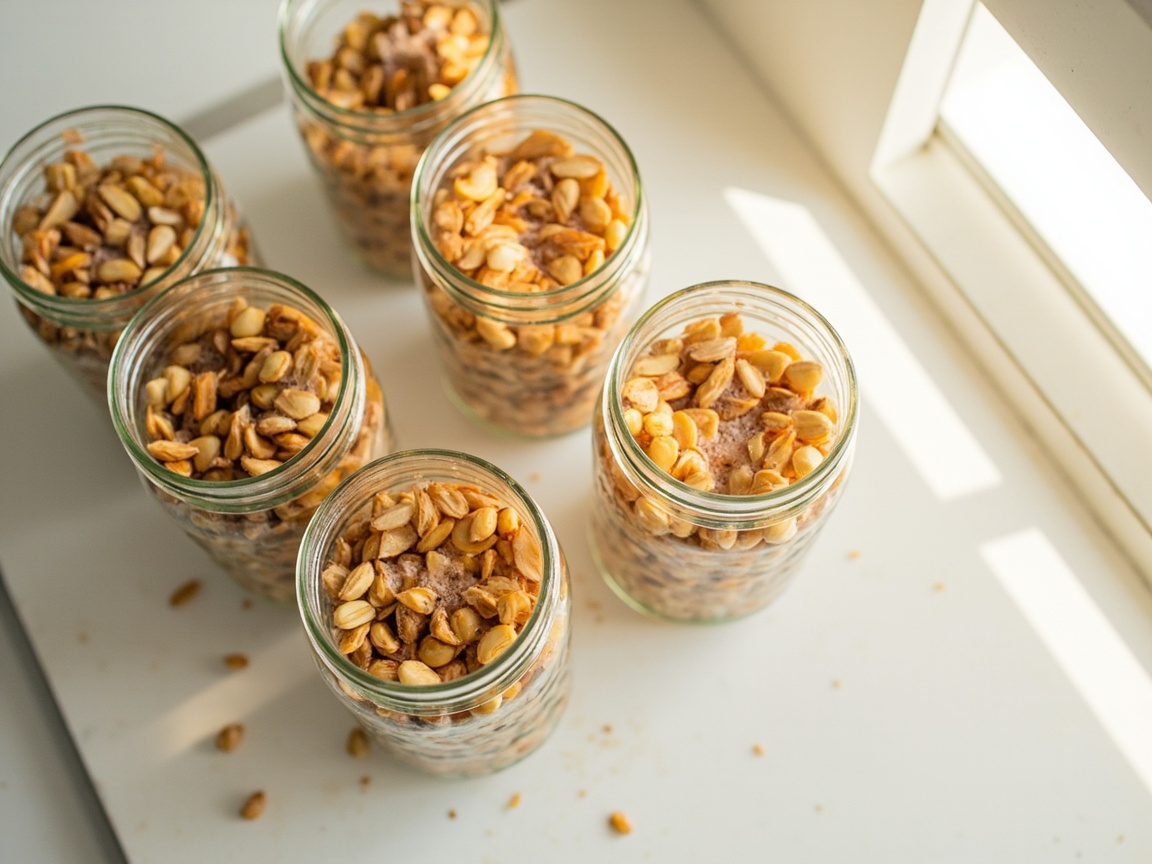
You’ve fruited two or three grow kits successfully and now you want more — bigger flushes, multiple blocks from one culture, or a shot at species like pioppino where pre-made spawn is hard to find. Grain spawn is the next step: hydrated, sterilized rye berries colonized by clean mycelium, shaken out into the bulk substrate of your choice. It’s not hard, but it’s also not “boil water and pour.” The grain has to be the right moisture, the sterilization has to hit 15 PSI for 90 minutes, and the inoculation has to happen in still air. Here’s the kitchen-scale method that works at home — no laminar flow hood, no lab autoclave.
Affiliate disclosure: FungiAtHome is a participant in the Amazon Services LLC Associates Program. We earn from qualifying purchases made through links in this article, at no extra cost to you.
Quick answer
Grain spawn is hydrated, sterilized grain (usually rye berries) colonized by mushroom mycelium. To make it at home: soak grain 12-24 hours, simmer 15-30 minutes, drain and surface-dry, load into half-pint mason jars, sterilize at 15 PSI for 90 minutes, cool overnight, then inoculate with liquid culture or clean agar wedge inside a still air box. Colonization takes 7-21 days depending on species. Use the colonized grain to inoculate bulk substrate — usually hardwood pellets or straw — at a 5-10% spawn rate.
What grain spawn is (and is not)
What grain spawn is
Grain spawn is grain that has been hydrated, sterilized, and then colonized by mushroom mycelium. The grain serves two purposes: it gives the mycelium a nutrient-rich surface to grow on, and the individual kernels become inoculation points when you shake the colonized jar and distribute the spawn across your bulk substrate. A single half-pint jar of fully colonized rye can inoculate 5-10 pounds of pasteurized hardwood or straw.
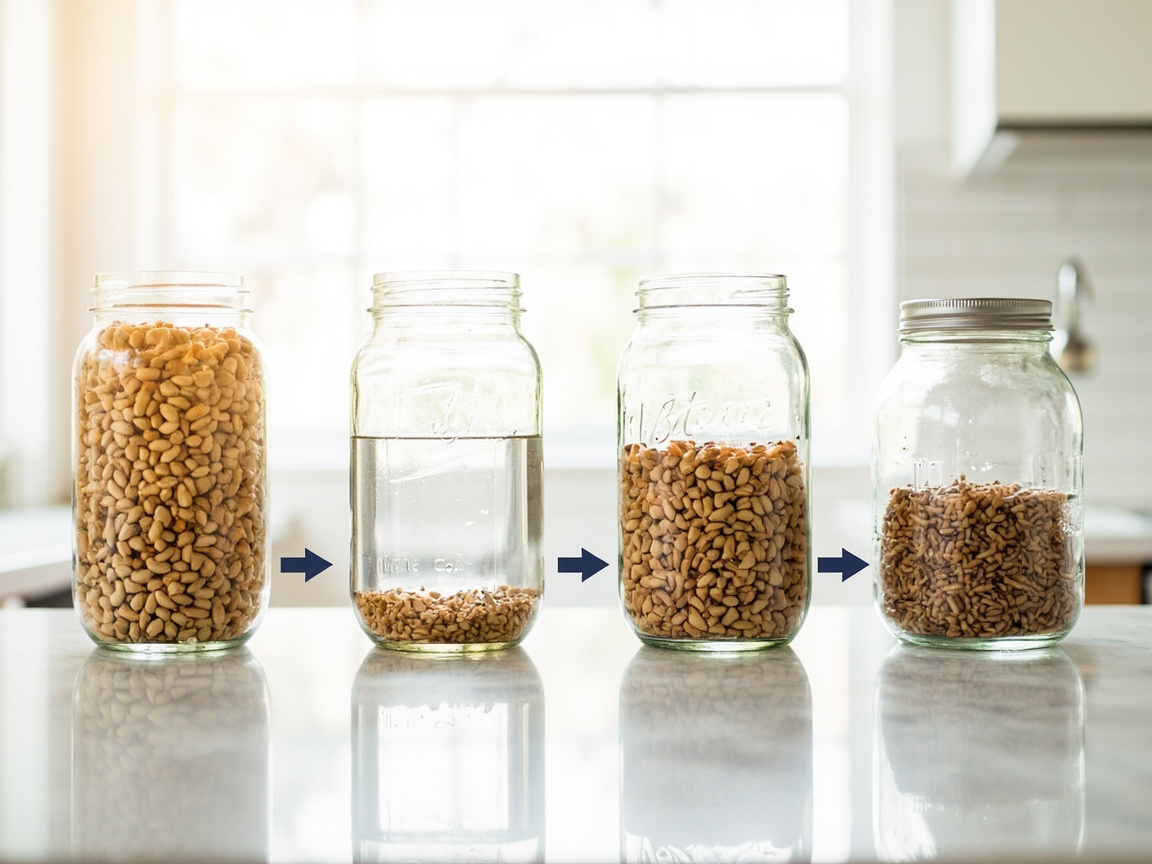
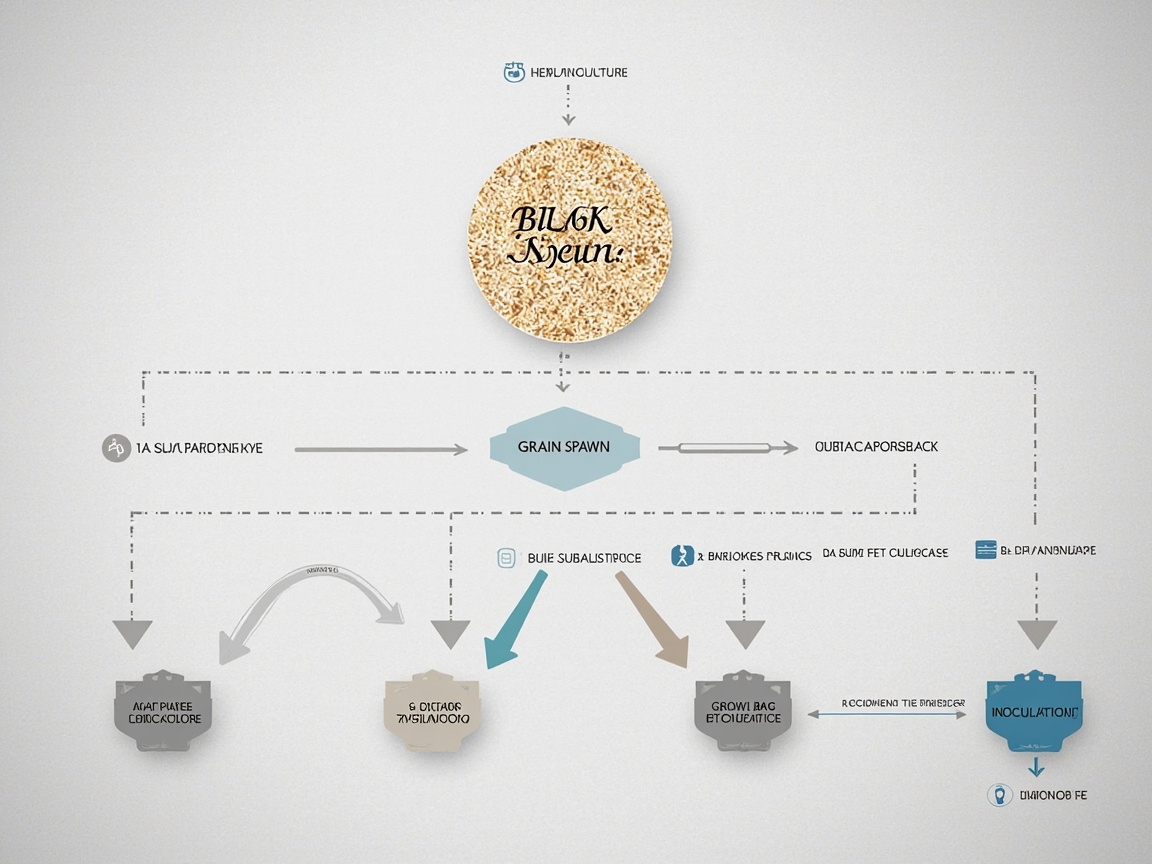
Grain spawn sits in the middle of the cultivation pipeline: it comes after agar or liquid culture (the clean culture step) and before bulk substrate (the fruiting step). It’s the bridge between a few CCs of clean culture in a syringe and a fruiting block the size of a brick.
What this guide is not
This guide covers grain spawn for gourmet and edible mushrooms only — oyster, shiitake, lion’s mane, chestnut, king oyster, pioppino, reishi, and the rest of the kitchen-friendly set. It does not cover actives, psilocybin, or psychedelic species. It’s also not a bulk substrate recipe guide — once your grain is colonized, the hardwood pellets or straw guide covers what to do next. And it’s not a lab-grade protocol — you won’t find a laminar flow hood, HEPA filtration, or grain biology lecture here. This is kitchen technique for home growers who want bigger yields without a lab.
Who this is for (and when to skip grain spawn)
If you’ve never grown mushrooms before
Skip grain spawn entirely. Start with a ready-to-fruit grow kit or learn how to choose a grow kit. Grain prep is the upgrade path for growers who have already fruited at least two or three kits and want to scale up or work with species where pre-made spawn isn’t available. Jumping straight to grain prep before you’ve fruited a single kit is like trying to bake bread from scratch before you’ve made toast.
If you’ve done 2-3 kits and want to level up
Grain spawn is the next step. It lets you expand a small amount of clean culture into enough spawn to inoculate a bulk substrate grow bag or several jars of straw. You don’t need a lab — you need a pressure cooker, a few mason jars, and a still air box.
If you want to culture a specific gourmet species
Grain spawn is required for species where pre-made spawn is hard to find — chestnut, pioppino, and many shiitake strains. Oyster is the fastest colonizer on grain and a great practice species. Lion’s mane colonizes rye reliably and tolerates a wide range of moisture. King oyster is the slowest — give it three full weeks before declaring a jar dead.
What you’ll need
Grain and water
The simplest path is triple-washed organic rye berries — five pounds covers 12-15 half-pint jars. One pound of dry grain hydrates to about 1.6 pounds (roughly fills 3 half-pint jars). Use cold tap water for soaking and simmering — distilled water isn’t necessary unless your tap water is heavily chlorinated, in which case let it sit 24 hours before using.
Vessels: jars or bags
Half-pint (8 oz) wide-mouth mason jars are the standard spawn jar. The Kerr 12-pack of half-pints is a good starter kit — wide mouth fits any inoculation lid, glass is reusable indefinitely, and the 8 oz size colonizes in the same time as larger jars. For an alternative to jars, pre-sterilized grain spawn bags like the Myco Labs 5-grain bags skip the soak/simmer/sterilize steps entirely — you inject culture directly into the bag and wait.
Inoculation lids
Replace the flat metal mason jar lids with culture lids that have a self-healing injection port and a 0.22 micron PTFE filter. The injection port lets you poke a sterilized syringe through without opening the jar, and the filter lets the culture breathe without letting contaminants in. Five lids per pack covers most home batches.
Clean workspace
Inoculation has to happen in still air to keep mold spores from landing in the jar. A purpose-built still air box is a clear acrylic box with arm holes that blocks turbulence. A clear plastic tote turned on its side works as a budget alternative — same principle, just less visibility. Wipe the interior with 70% isopropyl alcohol spray and let it dry before each inoculation session.
Sterilization
You need a pressure cooker that holds 15 PSI, not a regular boiling-water canner. The standard home choice is a 23-quart Presto pressure canner — fits 7 half-pint jars per load on a trivet with water below the jar level. Smaller pressure cookers (8-quart) only fit 3-4 jars per load but work fine for hobby use. Whatever you pick, verify the pressure gauge with a manual test before relying on it — many cheap gauges drift after a year.
Choose your grain
Different grains colonize at different speeds and tolerate different moisture levels. Pick based on what your local grocery or feed store has, and what species you’re growing.
Rye berries — the default
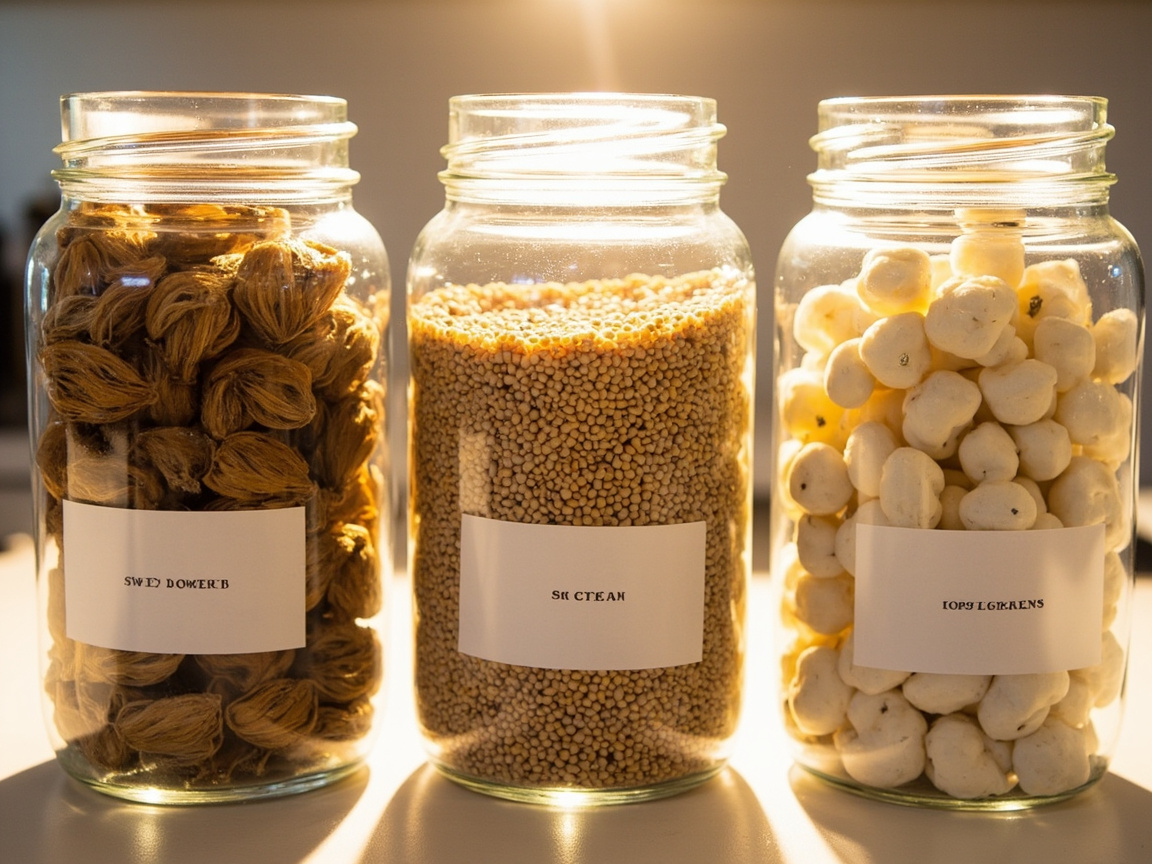
Rye berries are the standard home spawn grain. The kernels are medium-sized, colonize evenly, tolerate a wide range of moisture, and are easy to find in bulk food sections. Triple-washed rye means the supplier has already rinsed off chaff and dust — saves you a step.
Millet — fastest colonization
Millet grains are small, which means more inoculation points per jar. Faster colonization and shorter time-to-fruiting, but the small kernels are more sensitive to over-hydration. Use millet if your target is oyster or any fast species.
Popcorn — cheapest
Popcorn kernels are the budget option. They’re large, slow to colonize, but they tolerate the typical beginner mistake of slightly-too-wet grain without bacterial contamination. Good for first attempts where you’re still calibrating your hydration.
Wild bird seed — abundant
WBS is cheap and easy to find, but it’s a mix — pick out the sunflower seeds and filler pellets that don’t colonize. Some growers use it exclusively; others stick with single-grain sources for predictable results.
Step-by-step: soak, simmer, drain, load, sterilize
Step 1: Measure and rinse
Weigh out your grain. One pound of dry rye fills about 3 half-pint jars after hydration. Rinse the grain in cool water to remove chaff and dust, then drain.
Step 2: Soak 12-24 hours
Cover the grain with several inches of cold water in a pot and let it soak overnight (or up to 24 hours). The grain absorbs water and begins to germinate-endogenous Bacillus endospores activate — which is why the sterilization step has to be thorough, not just a quick boil. After soaking, drain the grain in a colander.
Step 3: Simmer 15-30 minutes
Transfer the soaked grain back to the pot, cover with fresh water, and bring to a gentle simmer. Hold at simmer for 15-30 minutes — don’t roll the boil hard, which cracks the kernels. The grain is ready when the kernels split slightly when you press them between your fingers but don’t crush into mush. Test a few kernels every 5 minutes after the 15-minute mark.
Step 4: Drain and surface-dry
Drain the grain thoroughly in a colander and spread it out on a clean towel or screen to surface-dry for 30-60 minutes. The kernels should look damp but not wet — shake the colander and no water should drip out. If kernels are too wet, bacteria will outcompete the mycelium during colonization. Too dry, and the mycelium struggles to grow. The “towel-dry” test: scoop a handful, press into a paper towel for 10 seconds, and the towel should come away damp but not soaked.
Step 5: Load the jars
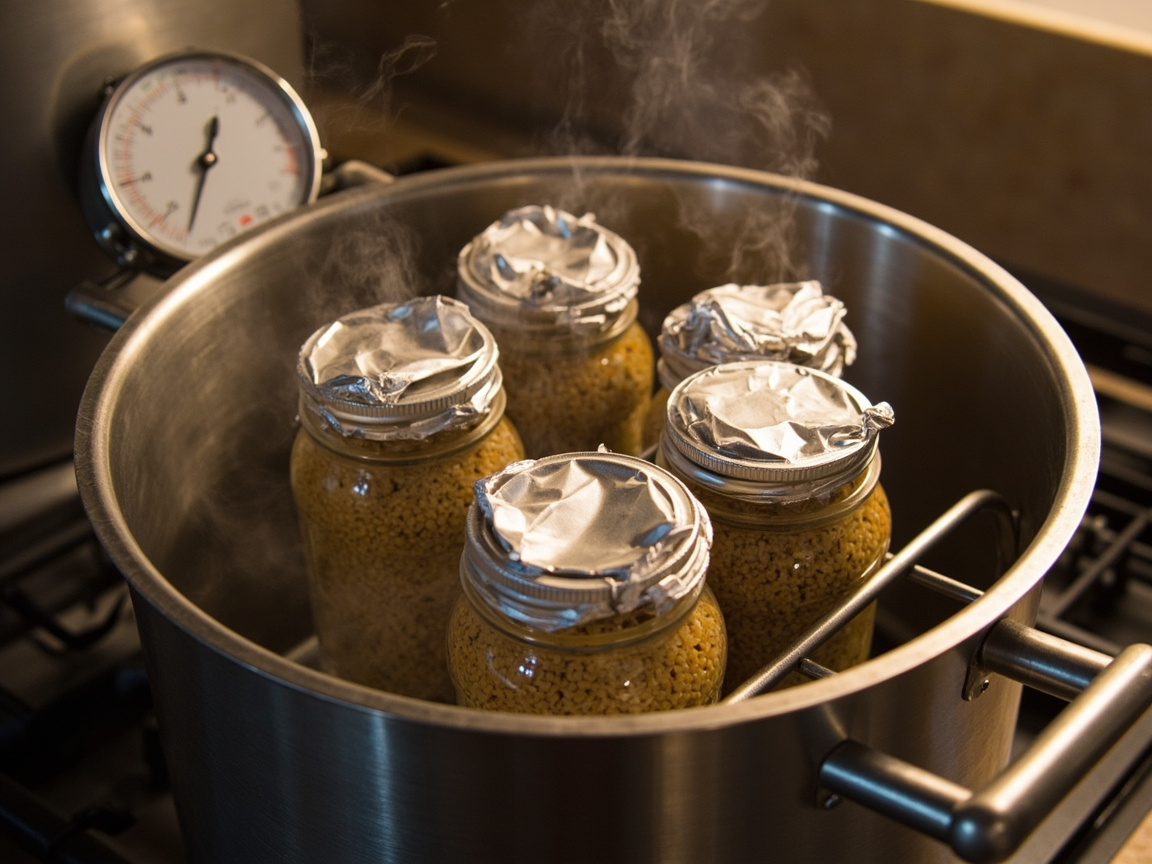
Fill each half-pint jar with grain to about 2/3 full — leave headroom for shaking later. Don’t pack the grain down; you want air gaps between kernels. Put a culture lid (or a regular flat lid with a small hole drilled for air exchange) on each jar. Cover the tops with heavy-duty aluminum foil to keep water out of the jar during pressure cooking.
Step 6: Sterilize at 15 PSI for 90 minutes
Place the jars on a stainless steel canning rack inside the pressure cooker with 2-3 inches of water below the trivet. Lock the lid, bring up to 15 PSI over 15-20 minutes, then hold at 15 PSI for 90 minutes. Longer than agar or liquid culture because grain carries a heavier bacterial load.
Turn off the heat and let the cooker depressurize naturally — don’t release the valve manually, or the rapid pressure change will boil liquid out of the jars and wet the grain. Walk away for 30-45 minutes.
Step 7: Cool overnight
Let the jars cool inside the pressure cooker (lid off) for at least 8 hours, or until they’re completely at room temperature. Inoculating warm grain kills the mycelium on contact. Don’t rush this step. The jars are ready when you can hold one in your hand comfortably.
Inoculation: from liquid culture, agar, or grain-to-grain
From liquid culture (most common)
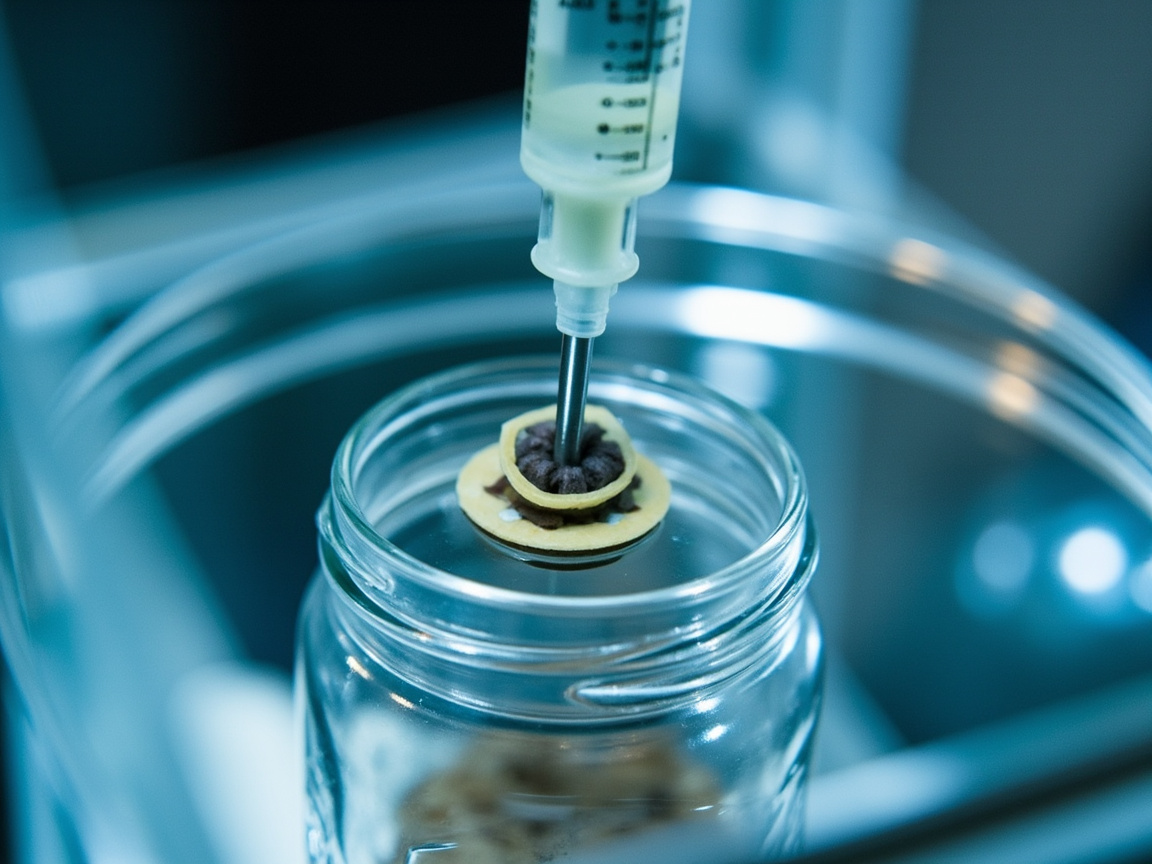
Liquid culture syringes are the easiest inoculation source. Flame the needle until red-hot, let it cool for 5 seconds, then inject 2-5 cc through the self-healing port on the culture lid. A 10ml luer-lock syringe is the standard home size — individually sterile wrapped, single-use, and cheap enough to discard between strains. Shake gently to distribute. If you don’t have liquid culture yet, see the liquid culture preparation guide.
From agar wedge
In a still air box, flame a sterile scalpel until red-hot, cool for 5 seconds, then cut a small wedge (about 1 cm²) from a clean, fully colonized agar plate. Drop the wedge into the grain jar through the open mouth (no port needed if the lid comes off). Replace the lid. The wedge colonizes the grain within 7-14 days.
Grain-to-grain (G2G)
Once you have a few colonized jars, you can expand without buying more culture. Open a fully colonized jar inside a still air box, pour 1/4 of it into a fresh sterilized grain jar, close both jars, shake to distribute. One colonized jar can inoculate 3-4 fresh jars. Repeat every 2-3 weeks and you’ll never run out of grain spawn.
Incubation and shake schedule
Temperature
Most gourmet species colonize grain best at 20-24°C (68-75°F). Oysters and lion’s mane are forgiving — anything between 18-26°C works. Shiitake prefers cooler — 18-22°C. King oyster is slowest and likes 20-22°C. Don’t incubate above 27°C — the mycelium slows down and bacteria take over.
Shake schedule
Shake the jar at day 3-4 (when colonization is roughly 25-30% — you can see white mycelium growing outward from the inoculation point). Shake vigorously for 10 seconds to redistribute the colonized kernels and create new inoculation points. This cuts total colonization time by 30-40%. Don’t shake after day 7 — the mycelium network is dense and you want it intact for spawning to bulk substrate.
When the jar is done
The jar is fully colonized when every kernel is white with mycelium and you can’t see any uncolonized grain. Hold the jar up to a light — you should see no dark spots. The jar will feel firm when you shake it (the mycelium binds the grain together). At this point, use it within 1-2 weeks for best results, or refrigerate for longer storage. See spawn storage for fridge temperatures and shelf life by species.
When something goes wrong
Signs of healthy colonization
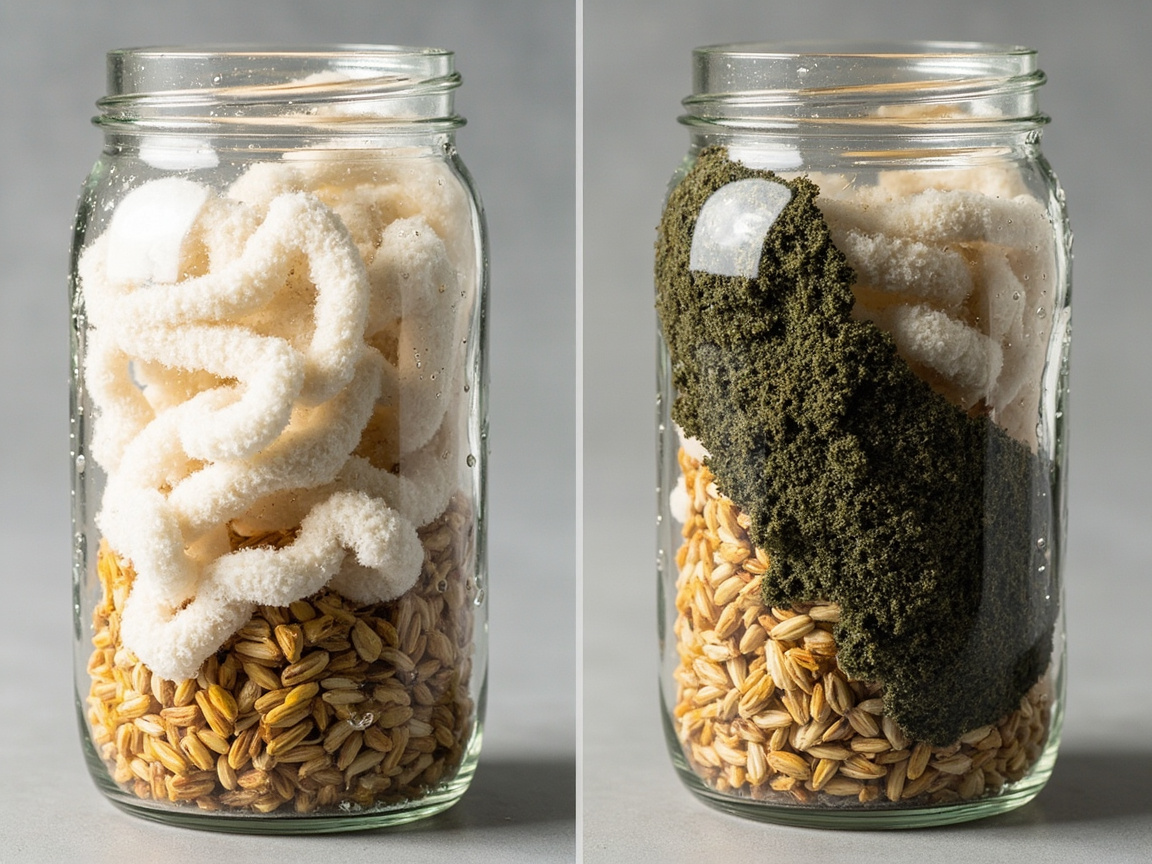
White, fluffy growth spreading outward from the inoculation point. Slight fermentation or “mushroomy” smell — not unpleasant. Liquid pooling at the bottom of the jar (condensation). Kernels binding together in a solid mass by day 14-21.
Signs of contamination
Green patches (Trichoderma, the most common grain contaminant), pink or red liquid (bacteria, often from over-wet grain), yellow or fuzzy gray spots, black wet rot, sour or rotten smell. Any of these means the jar goes in the trash — don’t try to transfer from a contaminated jar, you’ll just spread the contamination. See contamination overview for the full diagnosis tree and cobweb mold for the fuzzy gray look-alike that isn’t always what it seems.
Common mistakes to avoid
Too wet grain — the most common beginner failure. Simmer too long, don’t drain well, and the grain carries enough moisture that bacteria outcompete your mycelium. The towel test fixes this: if the towel comes away soaked after pressing a handful of grain, dry the batch longer.
Under-sterilized — running the pressure cooker at less than 15 PSI, or for less than 90 minutes. Check your gauge with a manual test if you haven’t verified it in the last year. Many home gauges drift high, meaning your “15 PSI” is really 12-13.
Opening the cooker too soon — releasing the pressure valve manually drops pressure fast, boils liquid out of the jars, and leaves the grain too wet. Always walk away and let it depressurize naturally.
Skipping the still air box — inoculating on an open counter invites mold spores. Even if you don’t buy a SAB, work inside a clean plastic container with arm holes and wipe it down with 70% alcohol first.
Related methods and species
- Liquid Culture Preparation — the syringe-based culture step that comes before grain spawn
- Agar Preparation — the clean culture foundation for cloning or spore work
- Grow Bags — what to do with fully colonized grain once it’s ready
- Hardwood Pellets Substrate — the most common bulk substrate for shiitake, lion’s mane, and reishi
- Straw Substrate — the bulk substrate for oyster mushrooms
- Spawn Storage — what to do with grain spawn you won’t use within 2 weeks
- Oyster Mushrooms — fastest colonizer on grain, best practice species
- Lion’s Mane — reliable colonizer on rye, tolerates wider moisture range
- Shiitake — slower colonizer but worth the wait for flavor
- First Grow Kit — if you haven’t grown anything yet, start here
Key takeaways
- Grain spawn is hydrated, sterilized grain (usually rye berries) colonized by mushroom mycelium — the bridge between clean culture and bulk substrate
- Soak 12-24 hours, simmer 15-30 minutes, drain and surface-dry, load into half-pint jars, sterilize at 15 PSI for 90 minutes
- The grain must be damp but not wet — the towel test catches over-hydration before it becomes bacterial contamination
- Inoculate in a still air box using liquid culture, agar wedge, or grain-to-grain transfer
- Shake once at day 3-4 to redistribute inoculation points — cuts colonization time by 30-40%
- Colonization takes 7-21 days depending on species: oyster 7-10, lion’s mane 14, shiitake 14-21, king oyster 21-28
- Discard any jar with green, pink, yellow, or fuzzy gray contamination — don’t try to save it
- Use the colonized grain within 1-2 weeks, or refrigerate for longer storage
- If you’ve never grown mushrooms, start with a grow kit — grain prep is the upgrade path, not the entry point