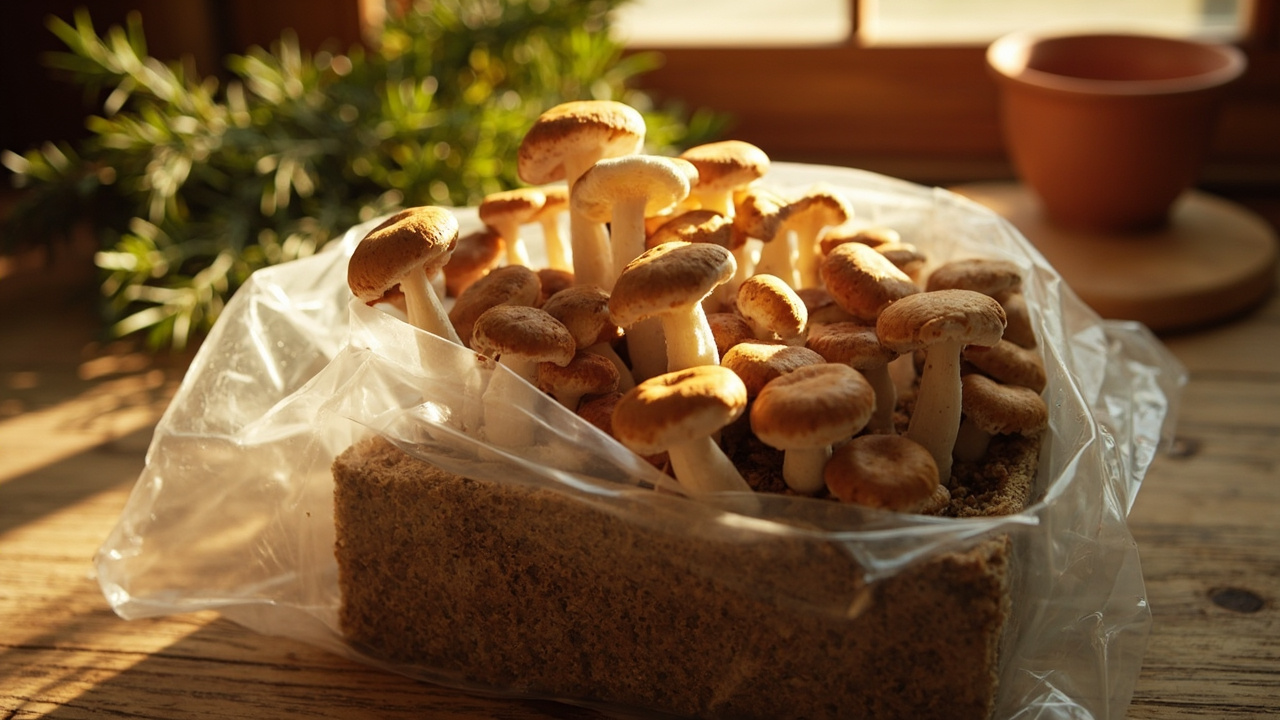
A pioppino block tests your patience more than any oyster kit ever will. Where oyster can push pins in five days, pioppino makes you wait two to three weeks before anything visible happens on the cut face. The payoff is a cluster of small brown caps on long slender stems — the nutty, slightly peppery mushroom that northern Italian cooks reach for when they want something firmer than a button and more interesting than a cremini. This page walks through the kitchen path: open the block, mist it, wait, and harvest clusters you can slide straight into a hot skillet.
Best for: Growers who have already harvested at least one oyster kit and want a new flavor profile that rewards patience.
Quick answer
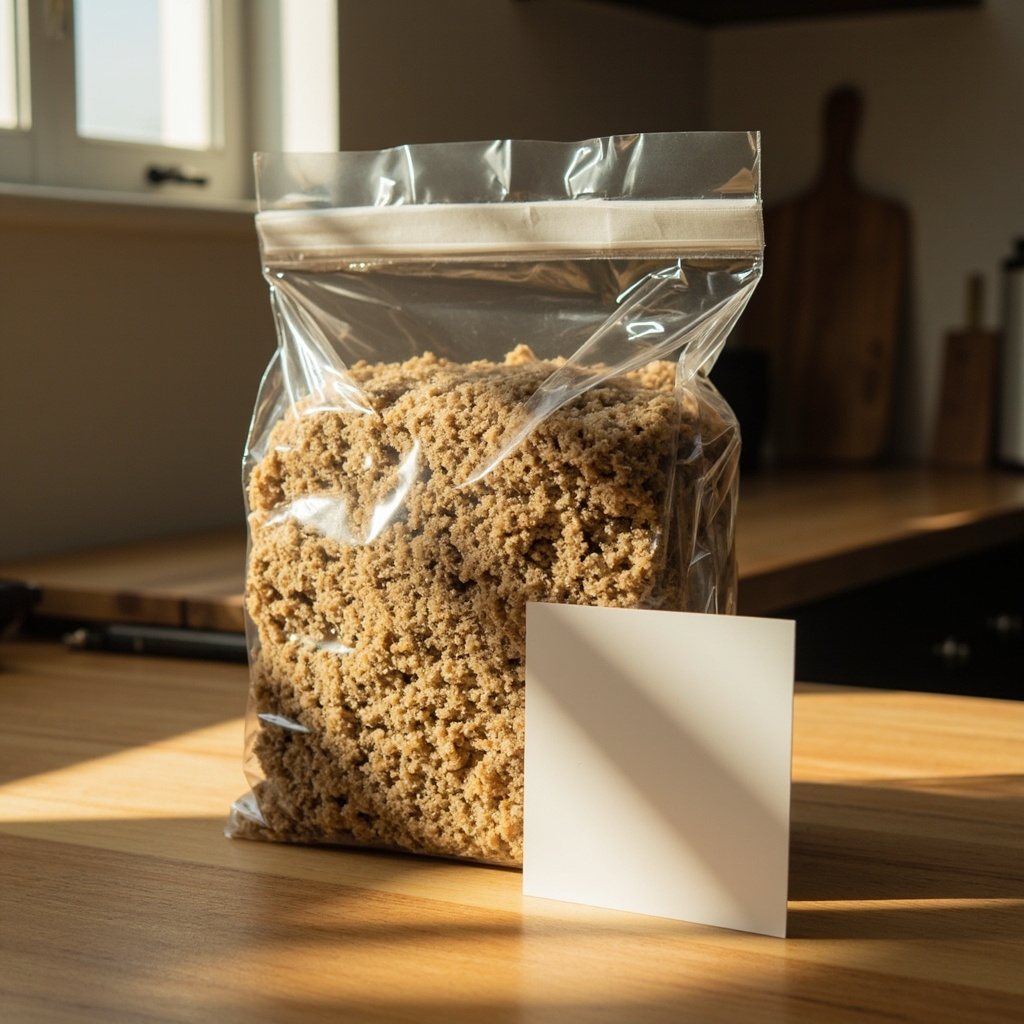
Start with a ready-to-fruit pioppino block on a kitchen counter. Keep the bag on, cut a small X on the face, mist daily, and wait 10 to 21 days for pins — slower than oyster, but worth it for the nutty Italian flavor. Harvest when caps are 2 to 4 cm across, twisting the cluster off. A cold-water soak after the first flush often triggers a smaller second flush.
Why grow pioppino (culinary only)
If this is your first mushroom kit of any kind, read your first grow kit walkthrough before opening the bag. Pioppino rewards growers who already know what a dewy cut face looks like and how fast contamination can spread on a warm counter.
Pioppino (Agrocybe aegerita, also sold as Cyclocybe aegerita) is the Black Poplar mushroom — a fully edible gourmet species, not a psychedelic or psychoactive mushroom. It has been the traditional pasta-and-risotto mushroom of northern and central Italy for centuries. The flavor is nutty with a slight peppery edge, and the firm bite holds up to high heat far better than oyster. Cap-and-stem clusters sauté into a simple olive oil and garlic preparation that pairs naturally with risotto, polenta, or a plate of fresh tagliatelle.
This guide does not cover any psychedelic species, and it makes no health or wellness claims. Pioppino is a cooking ingredient, full stop — the same way you’d use shiitake or cremini.
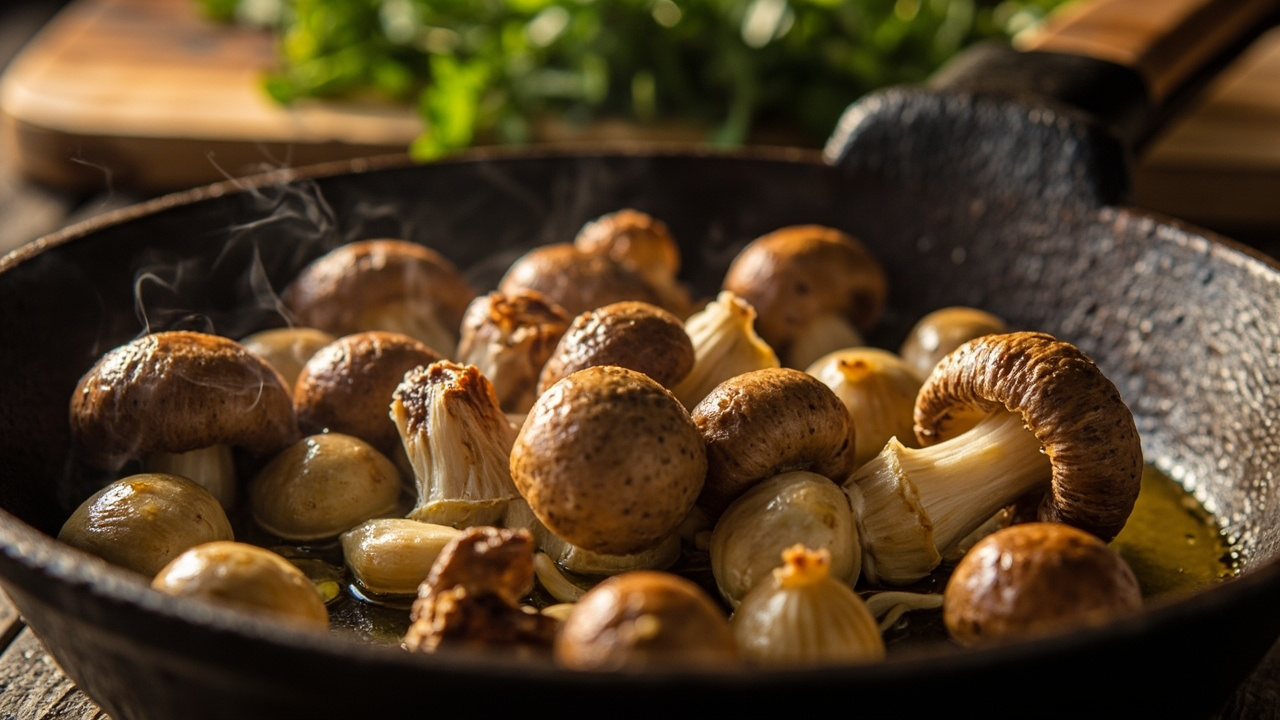
Three things make pioppino worth the wait:
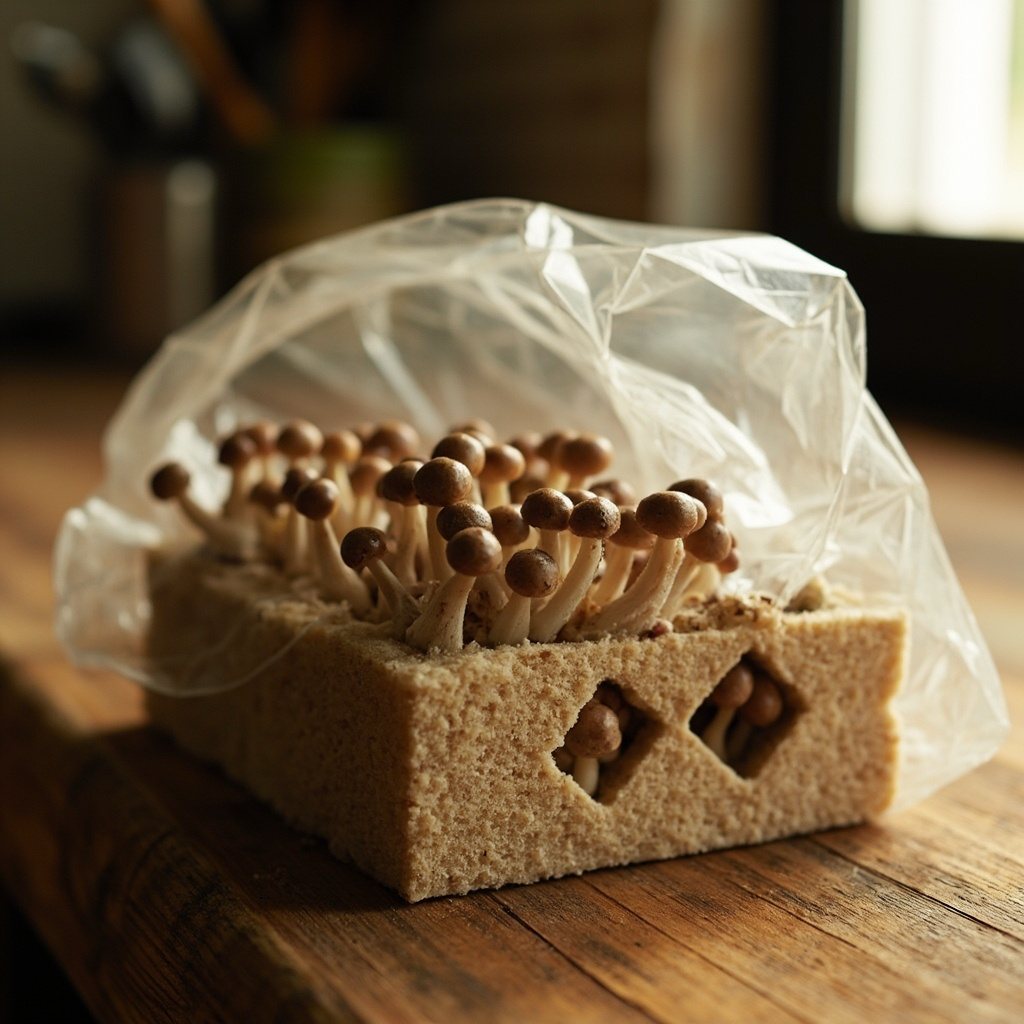
- Distinctive cap-and-stem clusters. Small brown caps (2 to 5 cm at maturity) sit on long slender whitish stems (5 to 12 cm). The natural cluster shape means you harvest a whole group at once, not individual caps.
- Cold-shock response. Like shiitake, pioppino responds to a temperature drop. A cold-water soak after the first flush often triggers a second fruiting — a trait oyster and lion’s mane don’t share.
- Repeat flushes on small blocks. A typical 4 lb block can produce 2 to 3 flushes across a season. Yield drops with each round, but a second harvest is realistic if the block stays clean.
If you want to taste the flavor before committing to a kit, look for dried pioppino at an Italian grocer. The fresh texture is firmer, but the dried version answers the basic flavor question at lower cost.
Is this right for you?
Pioppino sits between oyster (fast, forgiving) and shiitake (slow, dense) on the difficulty scale. Choose pioppino now if you want a new flavor profile, you can follow a daily misting routine without skipping days, and you aren’t measuring success by the calendar.
Skip pioppino if:
- You’ve never opened a mushroom kit before — start with oyster, which pins in 1 to 2 weeks and forgives beginner errors
- Your kitchen drops below 15°C (59°F) in winter without supplemental heat — pioppino stalls below that threshold
- You expect pins within a week — pioppino’s minimum is 10 days, and 14 to 21 is typical
Still deciding between species? The how to choose a mushroom grow kit decision framework walks through if-then branches across oyster, shiitake, lion’s mane, and pioppino.
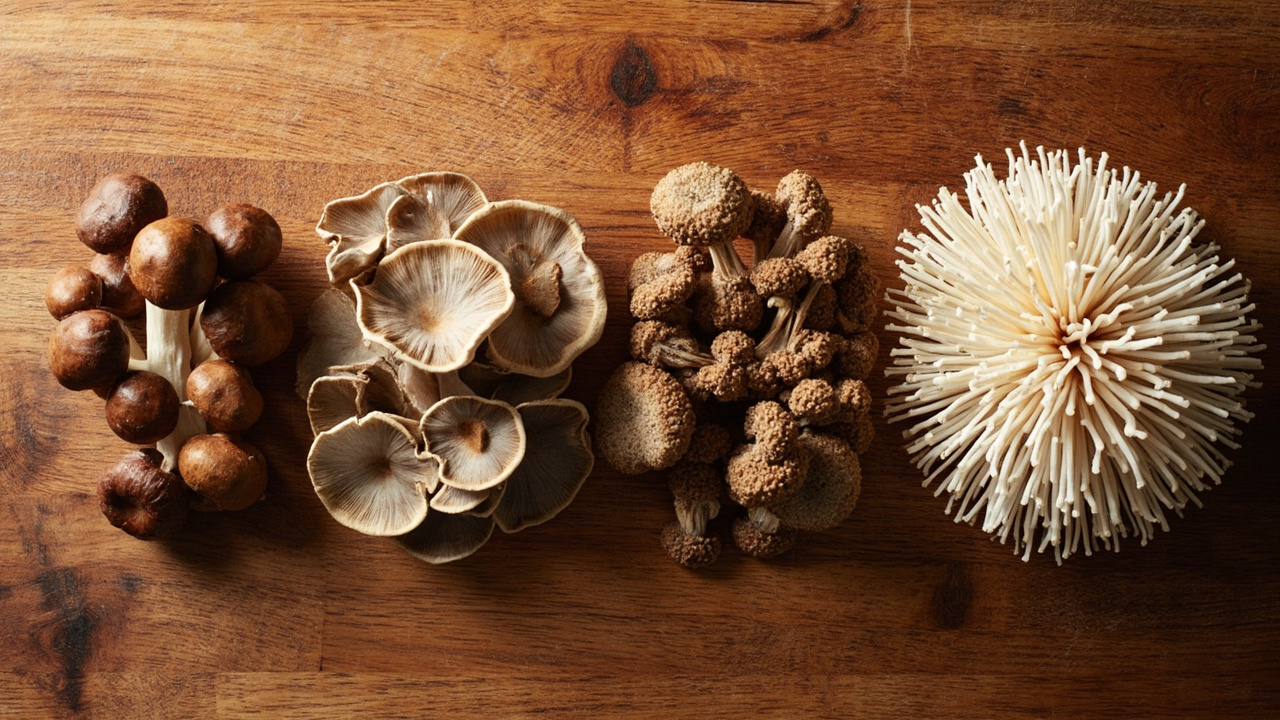
If you want a heavier cap-and-stem edible that also rewards patience, the shiitake species guide covers a parallel slow-fruiting kitchen block. For a completely different shape (shaggy white cascade), the lion’s mane species guide is the other gourmet option.
Choose a starting route
Two routes get you to a pioppino harvest. Most growers start with Path A and never need Path B.
Path A — ready-to-fruit kit (default). A 4 lb colonized block ships to your door. You cut an X on the face, mist daily, and wait. Cost: usually $20 to $40 when a dedicated pioppino block is in stock. No sterile technique required. Dedicated pioppino ready-to-fruit kits cycle on and off Amazon; when a pioppino-labeled block is available from a specialty vendor, start there. If stock is thin, skip to Path B with a liquid culture and sterilized bags rather than substituting an oyster or lion’s mane kit.
Path B — liquid culture and sterilized bags (advanced). You buy a culture syringe, prepare supplemented sawdust bags, sterilize them, and inoculate in front of a flow hood or in a still-air box. Cost: $15 to $30 for the culture plus substrate. Requires sterile technique and a pressure cooker. The Root Mushroom Farm liquid culture at $16.99 is a typical starting syringe.
Pioppino follows the same ready-to-fruit pattern as oyster and shiitake — see the full how grow kits work walkthrough for the X-cut, mist, pin, harvest sequence that applies to all kit species.
Path A: From a grow kit (default)
Open with an X-cut
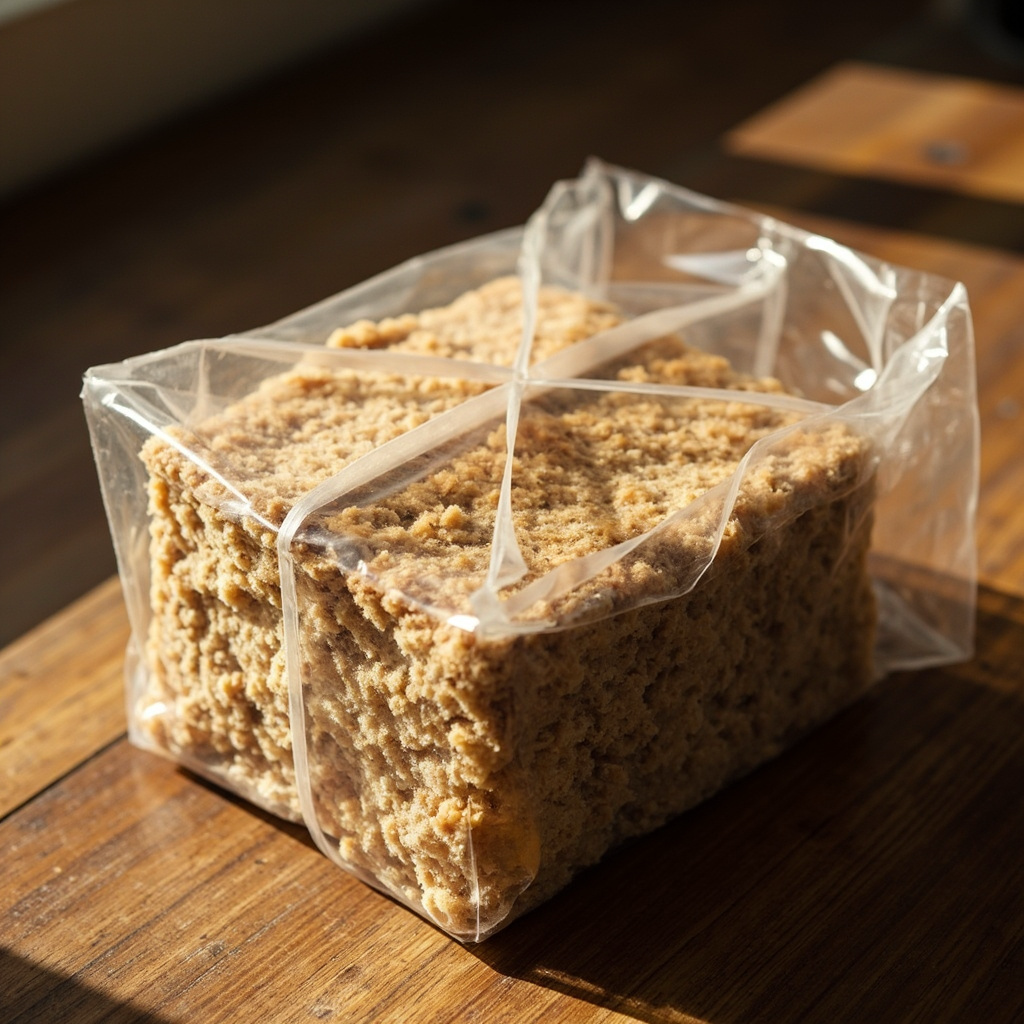
Cut a 3 to 4 inch X on the front face of the bag. Peel the flaps back gently. Do not remove the entire block from the bag — the bag is your humidity tent, and without it the block dries out within 48 hours.
Mist, don’t drown
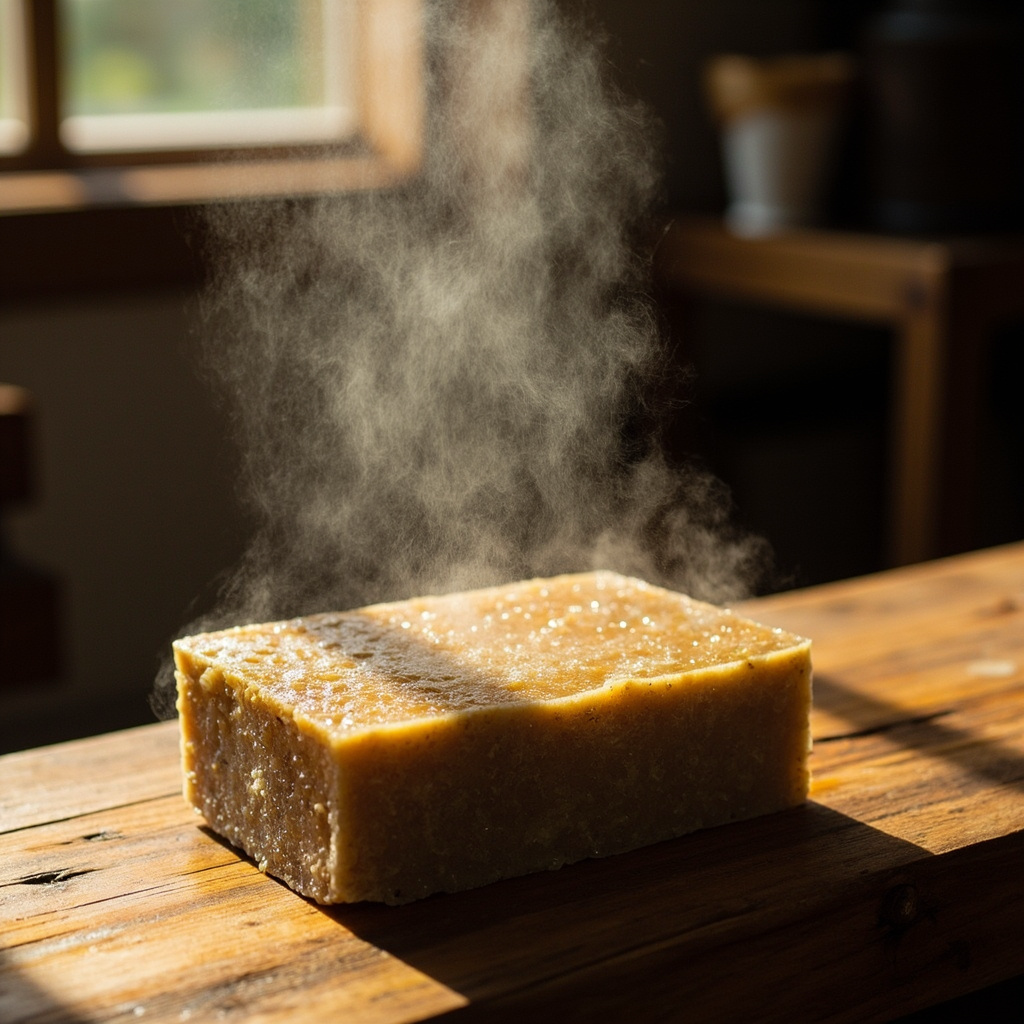
Two to three pumps of fine mist per day on the cut face. The surface should look dewy, not pooled. A continuous fine-mist bottle makes this easier — the SUPER+ 2-pack produces a consistent ultra-fine cloud that won’t blast water into the cut opening.
Wait for pins (10 to 21 days)
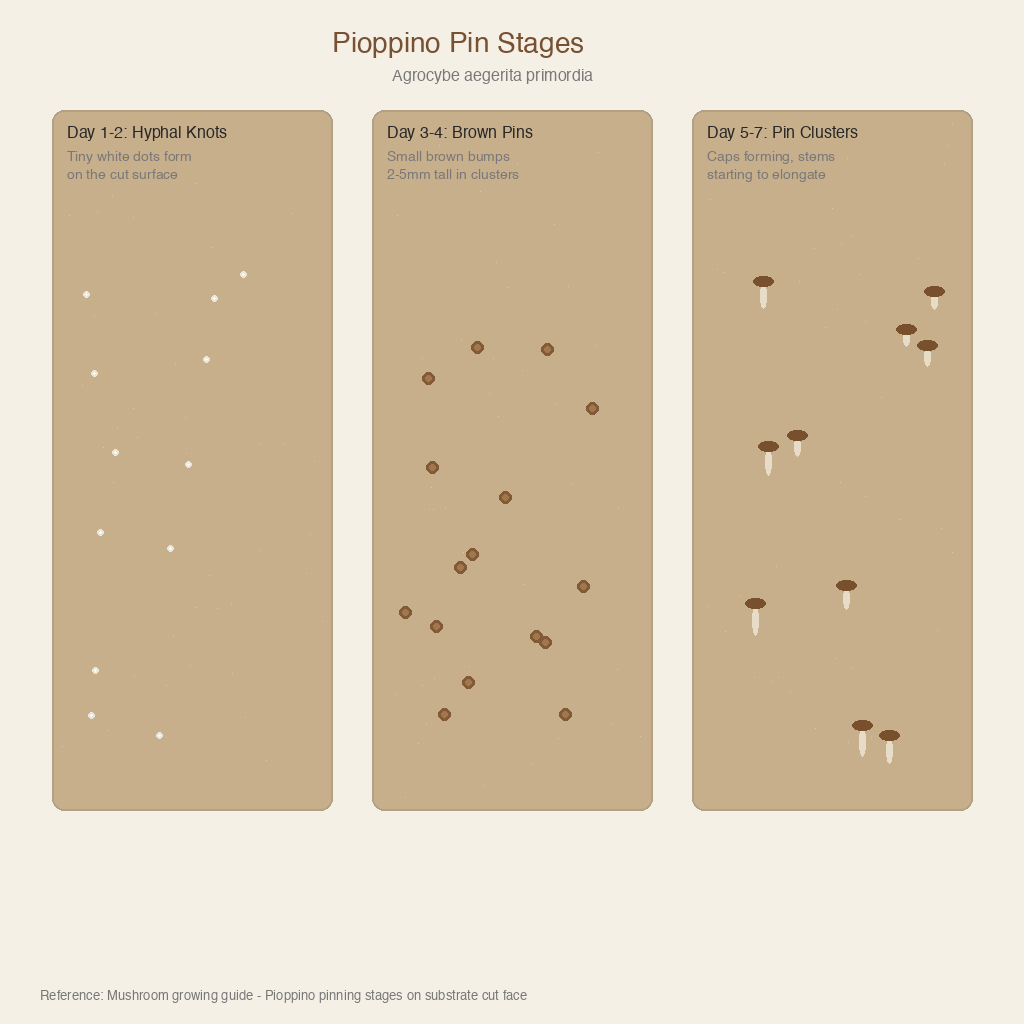
This is where pioppino separates from oyster. Ten days is fast. Twenty-one days is normal. Twenty-eight days is possible in cool kitchens. You are watching for small brown bumps in clusters of 5 to 15 on the cut face. White fuzz that looks like pressed cotton is healthy mycelium, not pins — don’t panic when you see it.
If pins haven’t appeared by day 21, check three things: surface humidity (dewy, not bone dry), temperature (18 to 25°C is the sweet spot), and fresh air (open the humidity tent once or twice a day). Only discard after 21+ days with no pins and no new growth — and walk through the pinning problems diagnostic before you toss the block.
In a dry kitchen (under 40% RH), a vented humidity dome can hold surface moisture around the cut face without the block sitting in stale air. Leave space between the dome and the block — pins need gentle airflow, not a sealed chamber.
Conditions that matter
Pioppino doesn’t need a laboratory. It needs a stable kitchen corner where four ordinary variables aren’t fighting each other.
| Variable | Practical target | What to avoid |
|---|---|---|
| Temperature | 18 to 25°C (65 to 77°F) | Stoves, radiators, sunny glass, appliance exhaust |
| Surface moisture | Dewy cut face, rechecked after misting | Standing water, soaked substrate, bone-dry opening |
| Light | Bright indirect room light | Direct sun and dark cupboards |
| Fresh air | Gentle room exchange, tent opened 1 to 2 times daily | Sealed dome, fan aimed at the block, closed cabinet |
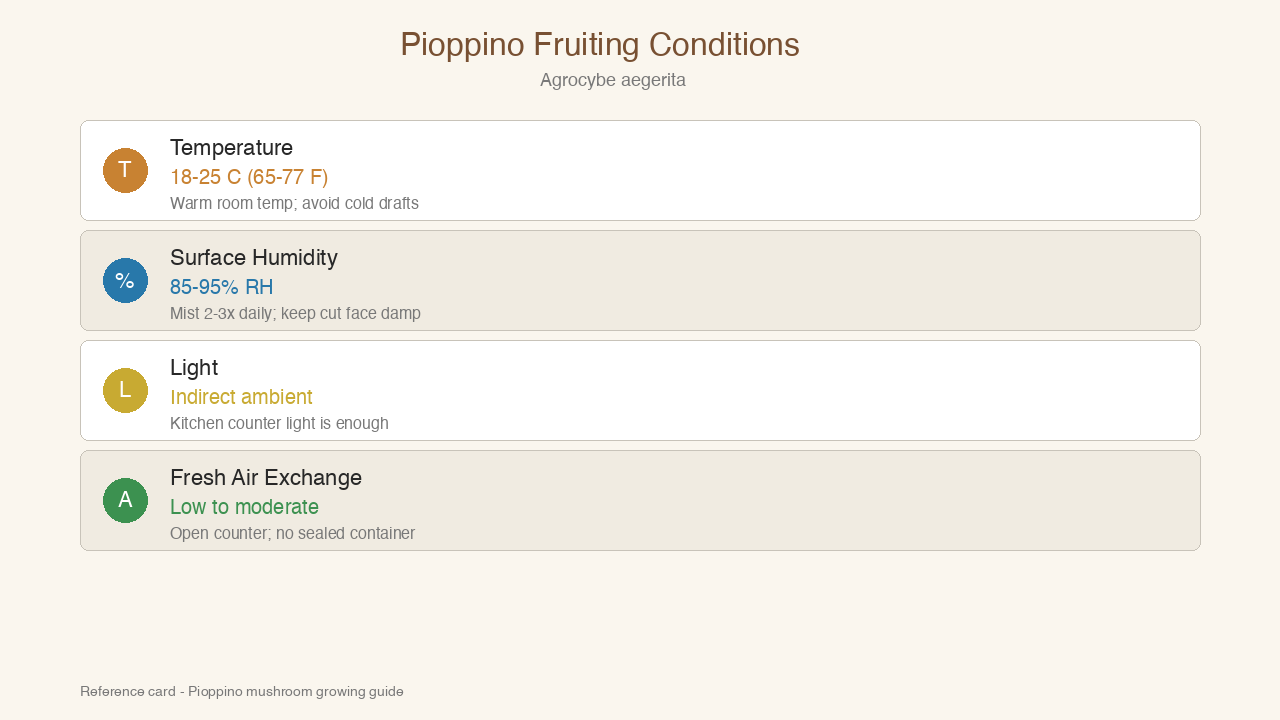
The confusion around humidity comes from mixing up the room reading with the tiny pocket at the cut face. Your kitchen might read 45% RH on a hygrometer while the cut face inside a loose humidity tent sits at 85 to 95%. That’s why the bag stays on — it creates a microclimate that room instruments can’t measure.
A fine-mist spray bottle handles daily surface moisture. A humidity dome can slow evaporation in a dry room, but leave space for air. Read the humidity and misting tools guide before buying a powered humidifier for one kit — most kitchen growers don’t need one.
Above 25°C, pioppino slows down and contamination risk rises. Below 18°C, pinning crawls. The sweet spot is a comfortable room-temperature counter away from cooking heat and cold drafts. Full conditions framework: kitchen fruiting conditions.
Path B: Bags and next-level grows
When one kit flush isn’t enough and you want to scale up, Path B takes you from consumer kits to substrate bags inoculated with your own culture. This route requires sterile technique: pressure-sterilize supplemented hardwood sawdust bags at 15 PSI for 90+ minutes, then inoculate in still air or in front of a flow hood.
Three pioppino culture options ship on Amazon:
- Root Mushroom Farm liquid culture ($16.99) — the primary liquid culture syringe, 10cc typical
- Cosmic Mushroom Supply 10cc LC ($18.90) — second-source culture for redundancy, slightly higher rating
- Out-Grow agar wedge ($17.72) — agar plate culture with longer shelf life, 298 reviews across all Out-Grow species Whatever culture you pick, pioppino spawn storage is stricter than oyster — the species colonizes fast but runs delicate, and dry or warm storage saps exactly the vigor that speed depends on.
Skip monotub for kitchen scale
Monotubs are bulk grain-grow setups designed for large yields — the wrong tool for a single pioppino block on a kitchen counter. A simple humidity tent (clear plastic bag or dome) over a ready-to-fruit block does the same job with a fraction of the equipment. If you see search results mentioning monotubs for pioppino, those guides are aimed at bulk cultivation, not kitchen kits.
Full bag workflow: grow bags after your first kit.
Harvest and second flush
Twist, don’t cut
When caps reach 2 to 4 cm across with edges still slightly curled under, twist the cluster at the base and pull it off the block. Cutting leaves stem tissue attached to the face, which rots and invites bacteria. A clean twist removes the entire cluster in one motion.
Cold-shock for a second flush
After the first harvest, soak the block in cold water for 4 to 12 hours. Return it to fruiting conditions and resume daily misting. Pioppino responds to cold-shock similarly to shiitake — the temperature drop often re-triggers pinning within 2 to 3 weeks. A second flush is usually 50 to 70% of the first by weight. Stop and discard if the block develops spreading green patches, a sour smell, or soft sunken areas.
Common mistakes and failures
1. Skipping humidity during the long wait
Pioppino’s 10 to 21 day pinning window is twice as long as oyster. Growers stop misting at day 7 thinking the block is dead. The cut face dries out, and even when conditions improve, the block can’t recover. Fix: mist daily even when nothing is happening. The surface must stay dewy the entire wait.
2. Removing the block from the bag
Pulling the entire block out of the bag exposes it to room air. Within 48 hours the surface dries, cracks, and stops fruiting. The bag is your humidity tent — that’s not packaging, it’s infrastructure. Fix: cut a small X on the face only. Never slide the block out.
3. Impatience at week 2
Fourteen days with no pins is normal for pioppino. Tossing the block at day 14 wastes the kit — day 18 or 20 is often when the first brown bumps appear. Fix: verify temperature, humidity, and fresh air. Only discard after 21+ days with no pins and no signs of life.
4. Pooling water on the cut face
Mist runs down the inside of the bag and pools at the bottom of the X-cut. Standing water turns into bacterial slime within days. Fix: two to three pumps of fine mist, not a soak. If water collects, tilt the block briefly to drain it.
5. Confusing white mycelium with contamination
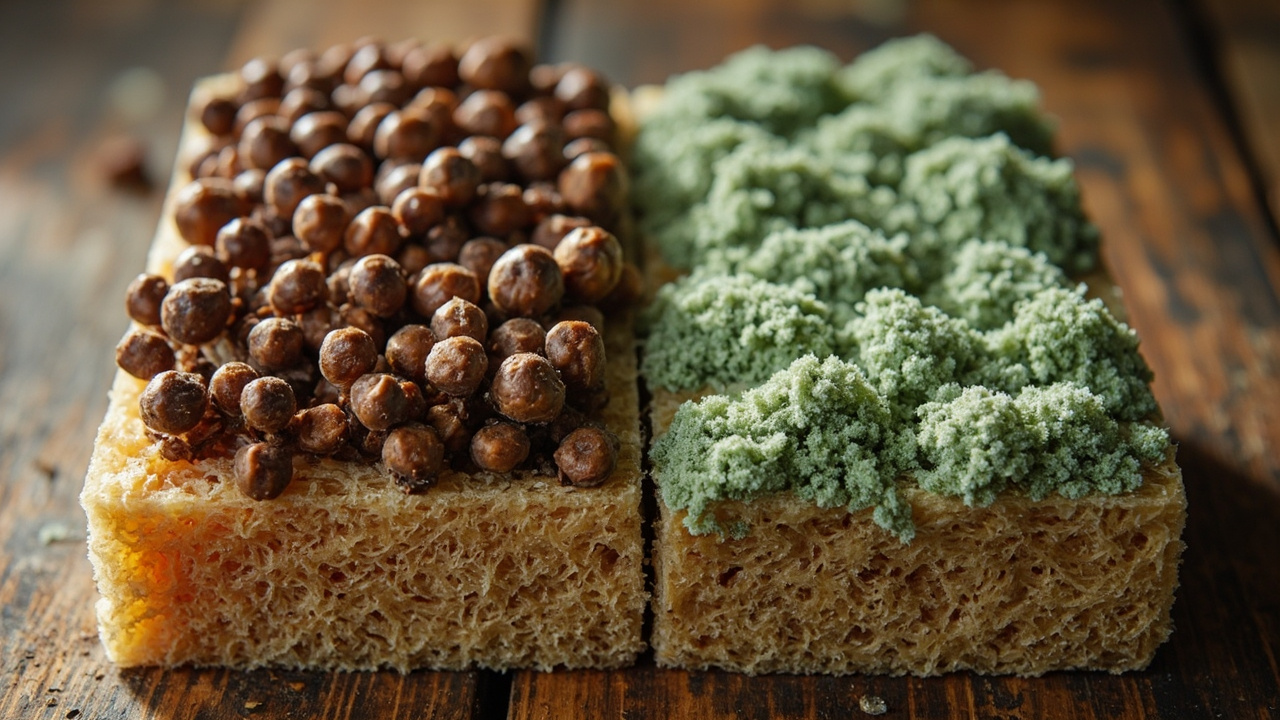
Healthy pioppino mycelium on the cut face is white to tan, matte, and dense — it looks like pressed cotton growing slowly and evenly. Trichoderma contamination is bright, fuzzy green that spreads across a section of the face in 24 to 48 hours. Fix: brightness plus speed equals contamination. Isolate the block at the first green sign and check the Trichoderma green mold guide.
When something looks wrong
Pioppino blocks are slow colonizers and slow pinners, which means a longer window for contamination to compete. Here’s where to go when the block looks off:
- Bright green patches on the cut face — jump to the Trichoderma green mold guide for keep, isolate, or discard decisions
- No pins after 3 weeks — walk through the pinning problems diagnostic before tossing
- Block smells sour or develops soft sunken areas — bacterial contamination; see the contamination overview for the full diagnosis hub
What you’ll need
- Path A starter: a dedicated pioppino ready-to-fruit 4 lb block from a specialty vendor when stock is live (Amazon listings for pioppino RTF kits cycle in and out)
- Path B starter: Root Mushroom Farm liquid culture — $16.99, 10cc syringe
- Daily misting: SUPER+ Continuous Spray Bottle 2-pack — $7.98, ultra-fine mist
- Dry kitchen: AC Infinity Humidity Dome — $89.99, reusable clear dome
- Alt cultures: Cosmic Mushroom Supply 10cc LC ($18.90) and Out-Grow agar wedge ($17.72)
Related species and next steps
If you want a thick-stemmed cousin with similar density, the king oyster species guide covers a related firm-textured option. For the other gourmet species in the Launch cluster:
- Shiitake — same patience requirement, Asian stir-fry flavor profile
- Lion’s mane — completely different shape, shaggy white cascade
- Oyster — the recommended first species before pioppino
When you’re ready to move beyond kits into bags and your own substrate, the grow bags guide covers sterile technique, bag sizes, and the colonization-to-fruiting timeline.
Key takeaways
- Start with a ready-to-fruit pioppino kit when stock is live — don’t jump to bags until you’ve harvested one clean flush; if no pioppino RTF block is available, use Path B liquid culture instead of a different species kit
- Keep the bag on and cut a small X — the bag is your humidity tent
- Mist 2 to 3 pumps daily; the cut face should look dewy, never pooled
- Wait 10 to 21 days for pins — patience matters more than any single tweak
- Harvest by twisting clusters off when caps are 2 to 4 cm across
- Cold-shock the block after the first flush for a smaller second harvest
- Discard if bright green patches, sour smell, or soft areas appear
Culinary and edible kitchen growing only. FungiAtHome does not cover psychedelic or actives cultivation.