Essentials · Decision · Not a fake top-10
How to Choose a Mushroom Grow Kit (Gourmet, Edible, Kitchen-First)
Amazon is full of kits. The goal is not “#1 kit 2026.” The goal is a kit that matches your space, time, and first-species plan — with honest failure exits.
Choose a kitchen gourmet mushroom grow kit by species, space, and humidity — not by 'Top 10' lists. Oyster, lion's mane, and shiitake picking guide.
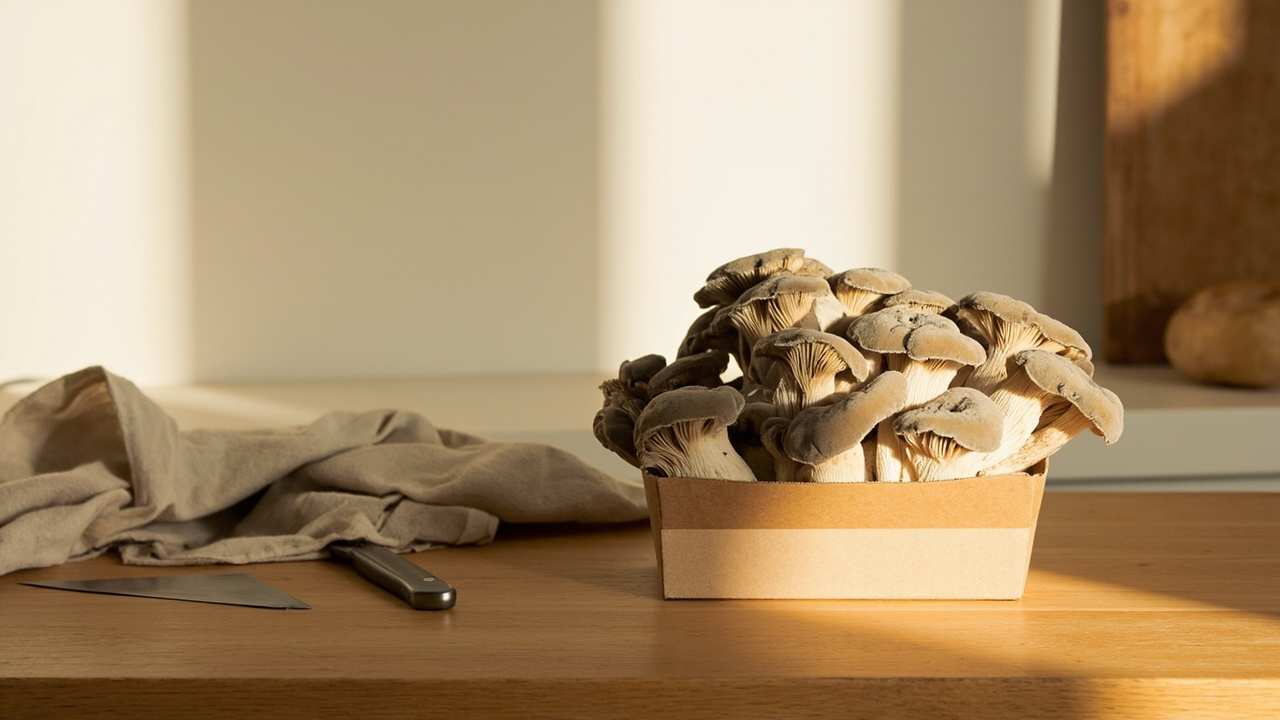
Amazon is full of kits. The goal is not “#1 kit 2026.” The goal is a kit that matches your space, time, and first-species plan — with honest failure exits.
Quick answer
Buy a ready-to-fruit gourmet kit, not a DIY bag, for your first grow. Pick oyster first — pink oyster above 70°F, blue below. Lion’s mane fits cooler, humid kitchens; shiitake rewards patience with the best umami. Choose a listing that names the species, states a realistic yield range, and shows the cut pattern, and buy from a vendor with a written replacement guarantee. Then mist daily and follow one guide. That’s the whole decision.
What a ready-to-fruit kit is
A ready-to-fruit (RTF) kit is a fully colonized block of substrate — usually sawdust, straw, or supplemented hardwood — sealed inside a plastic grow bag. The vendor did the hard work: sterilized substrate, inoculated with culture, let mycelium run through it, and verified colonization before shipping. When you receive it, your job is fruiting conditions only: cut a small opening on one face, keep humidity on that face, wait for pins, harvest, and optionally run a second flush.
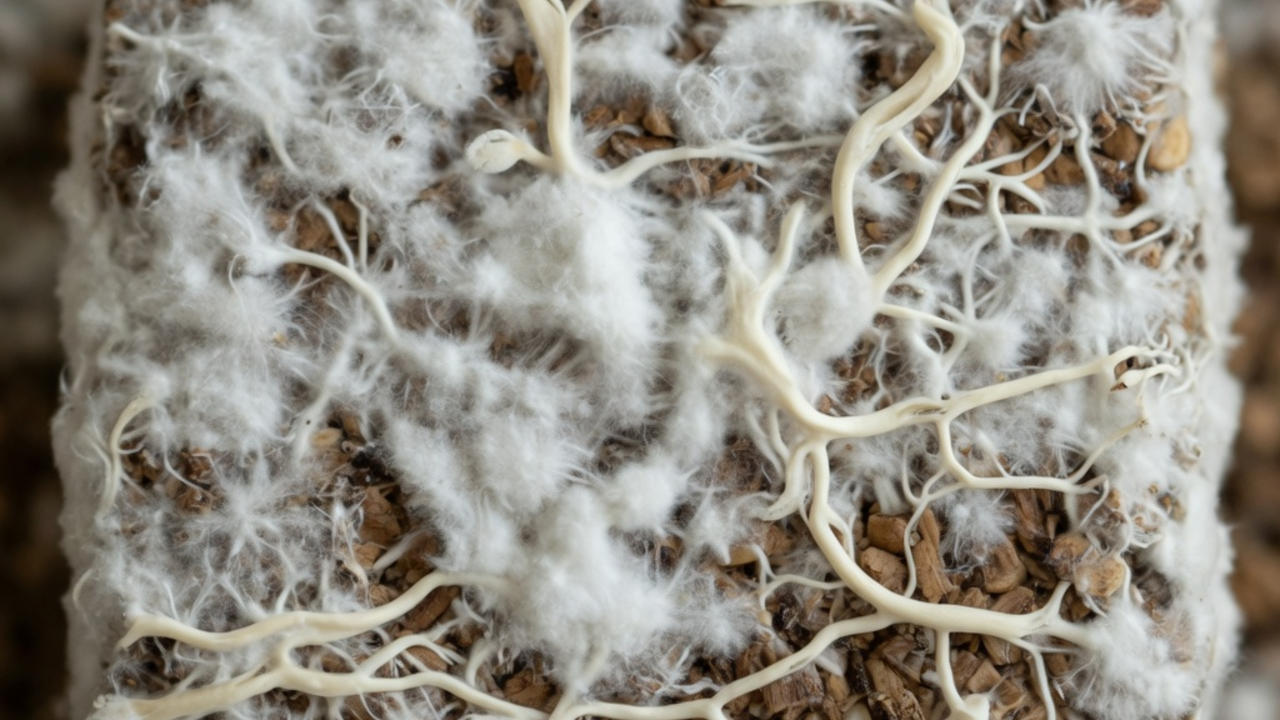
This is why kits beat bags for first success. With an oyster grow kit, the lab part is already done. With a grow bag and grain spawn, you inherit every contamination risk the vendor took on for you — and your kitchen probably isn’t clean enough for that yet. An all-in-one bag is the DIY middle ground; Grow kit vs DIY below has the math.
A few terms you’ll see in listings:
- RTF / ready-to-fruit — block is fully colonized; you just fruit it.
- Spawn bag / grain spawn — colonized grain you inoculate into a substrate bag; this is Path B, not first-kit territory.
- Plug spawn — dowels colonized with mycelium that you hammer into logs; outdoor, slow, not kitchen counter.
- Bulk substrate bag — usually uncolonized bag of substrate for inoculation; Path B again.
If the listing says “ready to grow in 10 days” and shows a fully white block with an X cut on it, that’s an RTF kit and that’s your friend. If it says “just add your own culture” or “universal substrate,” put it back — you need clean spawn first, and that’s a different skill.
Grow kit vs DIY
This comparison is about kitchen gourmet kits — oyster, lion’s mane, shiitake — not lab cultivation or anything else. The real question isn’t “which is cheaper” but “which fails cheaper.”
Cost per harvest, with real math
Kit side, Amazon prices as of September 2026: North Spore’s pink oyster 4 lb kit lists at $24.99, Back to the Roots’ small kit at $14.67, shiitake kits run roughly $22–33, lion’s mane $25–30. North Spore’s listing claims 0.5–1.5 lb from a 4 lb kit’s first flush — about $17–50 per pound, and a second flush cuts that again.
DIY looks cheaper up front: all-in-one bags run $18–35, grain spawn $22–39 a pound. But the bag arrives uncolonized — expect 4–6 weeks before any flush, per the listing.
The asymmetry sells the kit: if it fails, vendors make it right — Back to the Roots ships replacements, North Spore covers 90 days, Root Mushroom Farm guarantees the first flush, Oakland refunds dead kits. A contaminated DIY bag is full price lost plus a 4–6 week restart. “Cheaper over time” only turns true once your process runs clean.
Ready-to-fruit kit vs all-in-one bag
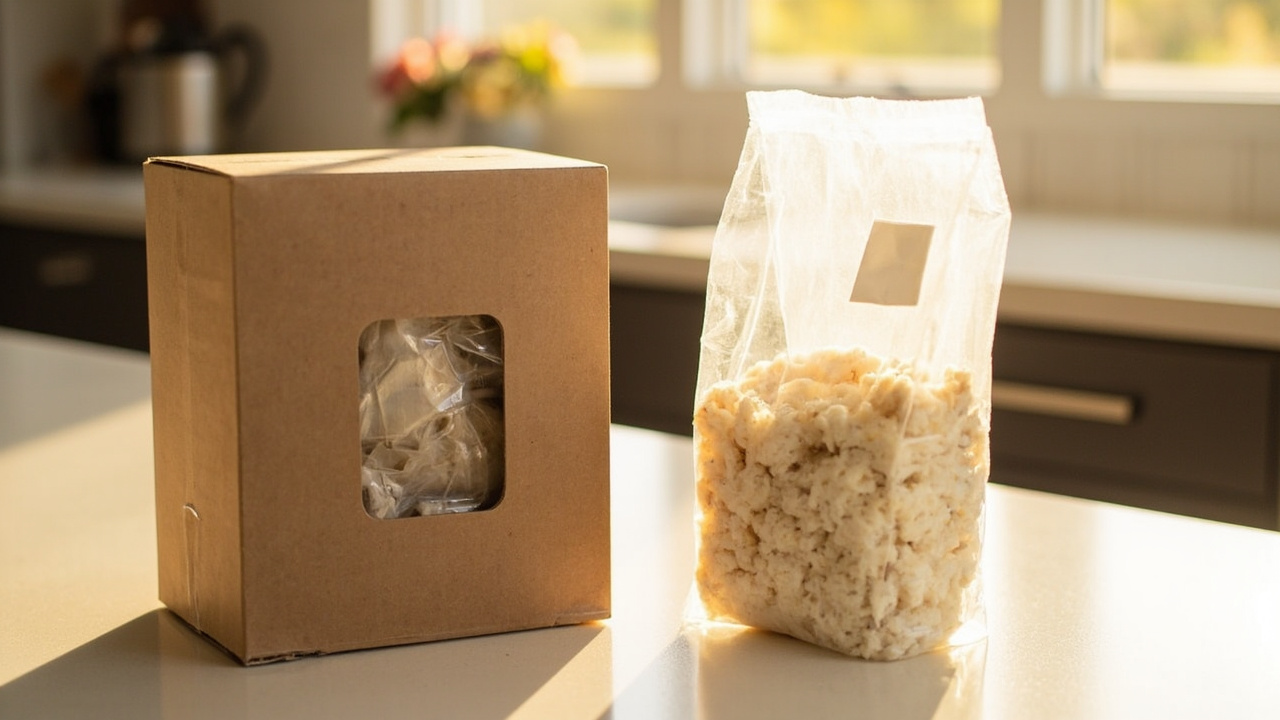
An RTF kit arrives colonized; your job is fruiting conditions — pins often show in 7–14 days, harvest 14–21 days after cutting, per North Spore’s timeline. An all-in-one bag is the middle ground: sterile bag, injection port, you inoculate it yourself. Right second step after a clean harvest — the grow bag guide covers that path.
When DIY is actually the right call
After one clean RTF harvest, volume is where the grow-kit manual and bag upgrades pay off. Outdoor gourmet — logs, straw beds — is the other honest DIY lane. “Are kits worth it?” Worth it = species matched to your kitchen, a guarantee in writing, and a 2-week harvest beating a 6-week experiment.
Decision factors
Before you click “add to cart,” run your kitchen through these seven filters. Be honest about each one — the wrong “yes” is how kits end up in the trash.
Experience. First time → RTF kit, never spawn bags. Second grow → still RTF, but you can start comparing vendors. Third grow and one clean harvest behind you → you can think about bags.
Space. Counter only → small kit (1–2 lb block) plus a humidity plan. Pantry shelf or spare corner → 4 lb block is fine; the bigger block buffers humidity better. Closet with a door you can crack → bigger block works, but watch for stale air.
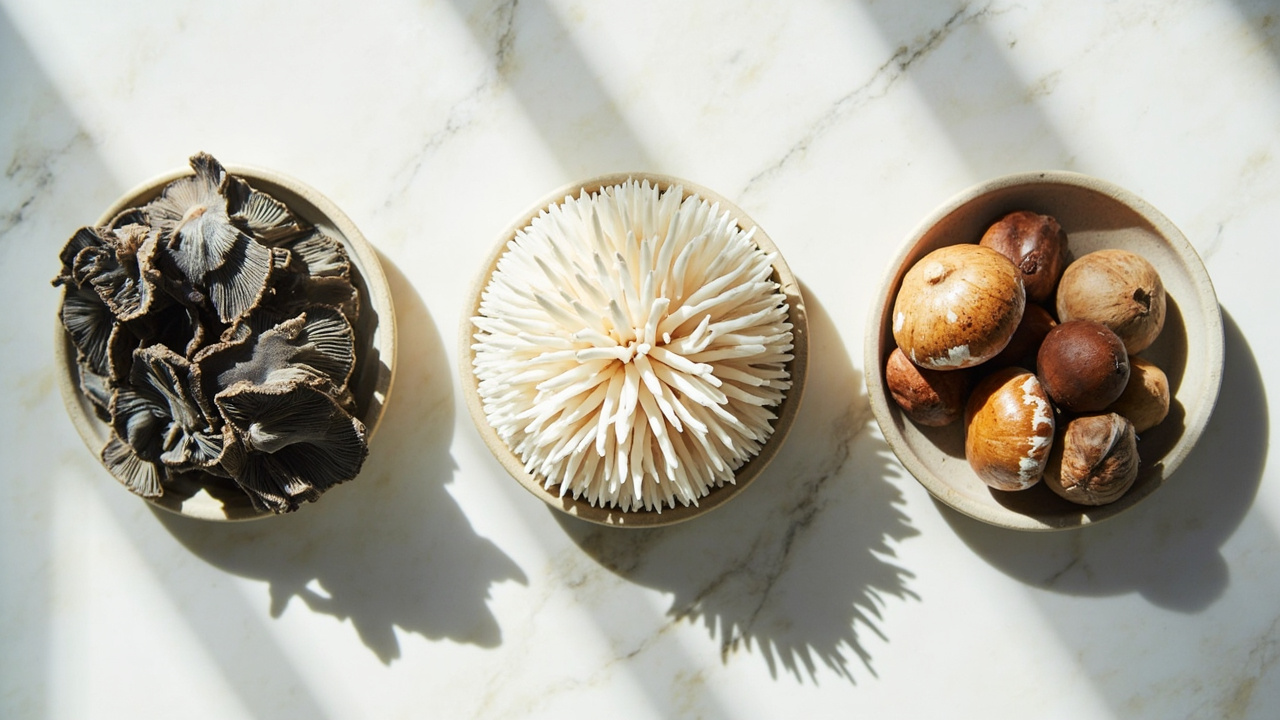
Species. Oyster first for forgiveness in dry indoor air. Lion’s mane if you want a show fruit and can keep humidity in the 85–95% range at the face. Shiitake if you have patience — the block browns before it fruits (normal, not failure), with vendor timelines of 7–14 days from cut to harvest. A North Spore pink oyster kit is the typical oyster default; a Root Mushroom Farm shiitake kit is the typical shiitake default.
Time. Can you mist most days? If no, be honest — dryness kills pins before they form. Oyster is the only species that genuinely forgives a missed mist; lion’s mane and shiitake punish lapses.
Climate. Below 60°F slows every species. Per the vendors’ own guides: pink oyster fruits at 70–80°F and won’t grow below 65°F, while lion’s mane and shiitake both fruit at 55–70°F. If your kitchen runs warm (above 75°F), pink oyster is happier than blue — that’s why pink oyster is the warm-kitchen pick. A Root Mushroom Farm shiitake kit does best in the cooler half of its range.
Budget. Below $20 → a small Back to the Roots oyster kit is the usual pick — it includes a mister, so you’re not shopping for two things. $25–35 → 4 lb RTF blocks with a clear species label. Above $50 → usually a combo pack (oyster + lion’s mane) or a bulk block; only worth it after one successful harvest.
Storage before you start. Fridge only if the label says so — and only for short delays. Otherwise cool room away from produce and mold sources (no apples next to your future kit). Check the label — storage windows vary by vendor; some blocks hold in the fridge for months.
How to choose — the if-then decision tree
This is the actual picker. Match your situation to a branch and stop shopping. Haven’t settled kit versus DIY? Read Grow kit vs DIY above — the branches assume a kit is the right buy.
-
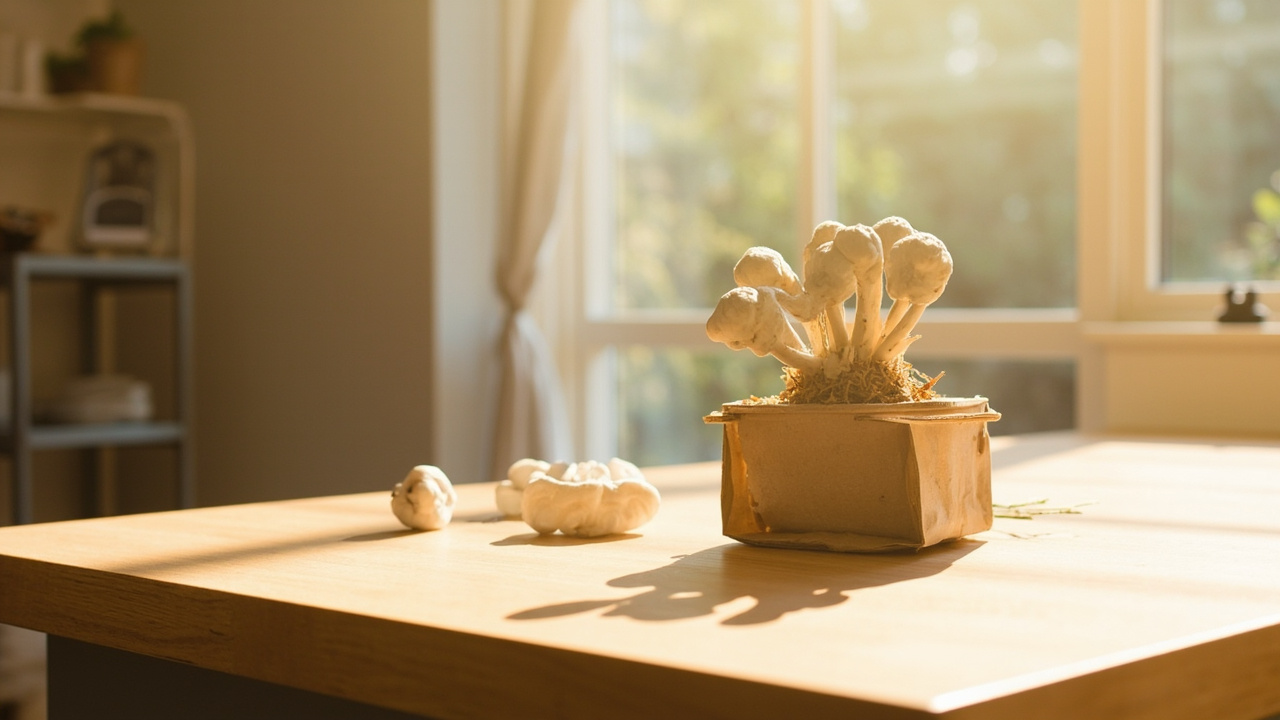
If first grow ever → ready-to-fruit oyster, 4 lb block. A North Spore pink oyster kit is the typical default. Skip lion’s mane and shiitake for round one — neither is forgiving in dry winter air.
-
If only counter space → small 1–2 lb block and a humidity plan from day one. A Back to the Roots oyster kit is small enough for any counter and includes a mister. Skip lion’s mane here unless you’re adding a humidity tent.
-
If you can’t mist daily → reconsider timing or commit to a humidity tent strategy; do not buy a high-maintenance species. Oyster is the only honest pick when misting will be irregular. A North Spore pink oyster kit is the standard “I travel for work” pick.
-
If your kitchen is warm (above 75°F) → pink oyster. Blue oyster and lion’s mane stall in warm rooms. Skip white-oyster-only vendors; they’re often blue oyster mislabelled.
-
If you want a show fruit for the table → lion’s mane. A North Spore lion’s mane 4 lb kit is the typical show pick — but only if you can hold 85%+ humidity at the face during pinning. Otherwise the cluster browns at the tips and looks sad.
-
If you want umami for soups and stir-fries → shiitake, with patience. A Root Mushroom Farm shiitake kit is the usual pick. Skip it if your kitchen is hot and dry — shiitake doesn’t forgive that combo.
-
If you want volume after one success → later move to grow bags, not day-one bags. A continuous fine-mist bottle becomes more important than a bigger kit when you scale up.
-
If you want DIY lab vibes first → pause. Finish a kit harvest first. Lab upgrades (flow hoods, pressure cookers, grain jars) make sense after you’ve seen what a clean RTF harvest looks like — not before. The full cost and retry math is in Grow kit vs DIY above.
Quality signals in the kit listing
Skip the listing if any of these are missing. They tell you the vendor either doesn’t know what they’re shipping or doesn’t want to tell you.
- Species named in writing. “Oyster” alone isn’t enough — pink, blue, king, or pearl. A pink oyster block and a shiitake block need different temperatures; the listing has to say which.
- Substrate named. Sawdust, straw, supplemented hardwood, or coco coir. If the listing just says “mushroom kit,” assume the cheapest substrate and skip.
- Yield range stated. Yield claims without ranges are marketing — skip.
- Cut pattern shown. A diagram or photo of the X cut on the face. Vendors who skip this don’t test their own kits.
- Humidity instructions. “Mist 1–3× daily” or a specific RH target. If the vendor doesn’t mention humidity at all, the block will dry out in your kitchen.
- Harvest cues. When to pick — before caps flatten, when teeth elongate, etc. Without this you’ll either pick too early or too late.
- Contamination honesty. Green, blue-green, pink, or black patches mean discard. Vendors who admit this have actually fruited kits. Vendors who promise “98% success” are not being honest.
Brand red flags — skip the listing if:
- The title shouts “MAGIC YIELDS” or brags about block size with no species and no instructions.
- The only review is from a vendor-aligned blog or “verified purchase” cluster with no real photos.
- The price is suspiciously low (under $12) for a 4 lb block — that’s usually a generic white-oyster-on-straw kit that fails in shipping.
A reputable vendor for first-timers is one that ships from a US warehouse, names the species and substrate in writing, lists a yield range, and shows the cut pattern. North Spore, Root Mushroom Farm, Back to the Roots, and small US growers like Fungiworks or Oakland Mushroom Co. fit this profile.
Common kit failures → Problems
Most “dead kits” are actually three things, and each has a Problems page in this site.
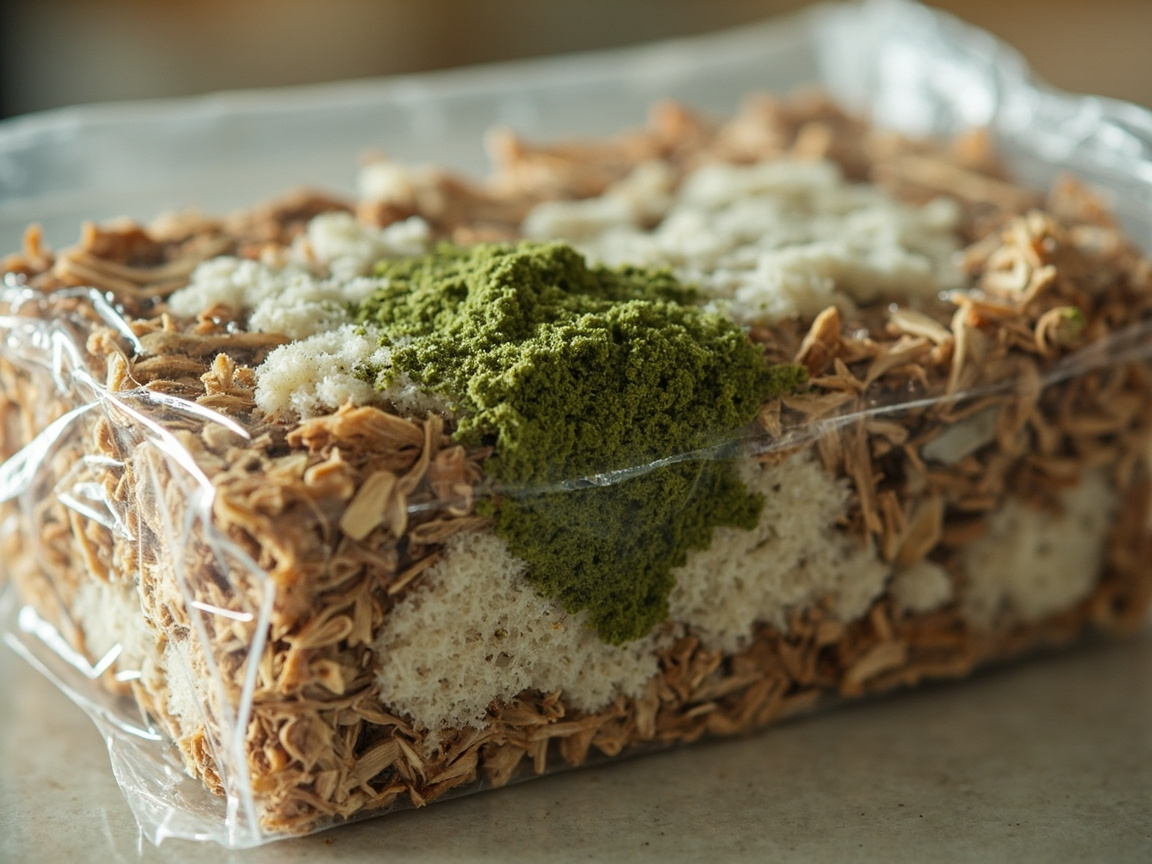
Green or blue-green patches spreading on the block → green mold. Isolate the kit away from other bags and open food; do not scrape indoors. Most kitchen kits with spreading green growth get discarded — that’s the honest answer.
No pins after 2–3 weeks of clean misting → pinning problems. Common causes: humidity too low (face dried out), temperature outside the species range, or just not enough time. Check face dew, confirm the room is inside your species’ fruiting range (70–80°F for pink oyster, 55–70°F for lion’s mane and shiitake), and be patient.
White fuzz fear → contamination overview. White, cottony growth on the cut face is usually healthy mycelium reaching for air — that’s expected before pins. Mold is typically green, blue-green, pink, or black, in distinct circular patches. When in doubt, check the lookalike table before tossing a healthy kit.
Dry block, no dew after misting → your room is below 50% RH. Add a humidity tent or loose clear bag, and see humidity tools for tents and domes.
The pattern: isolate first, identify second, act third. Don’t spray mystery chemicals on a kit — bleach and random fungicides make contamination worse, not better.
What to buy (role-based)
This is decision education, not a top-10 shelf. Match a role to your kitchen; pick one or two.
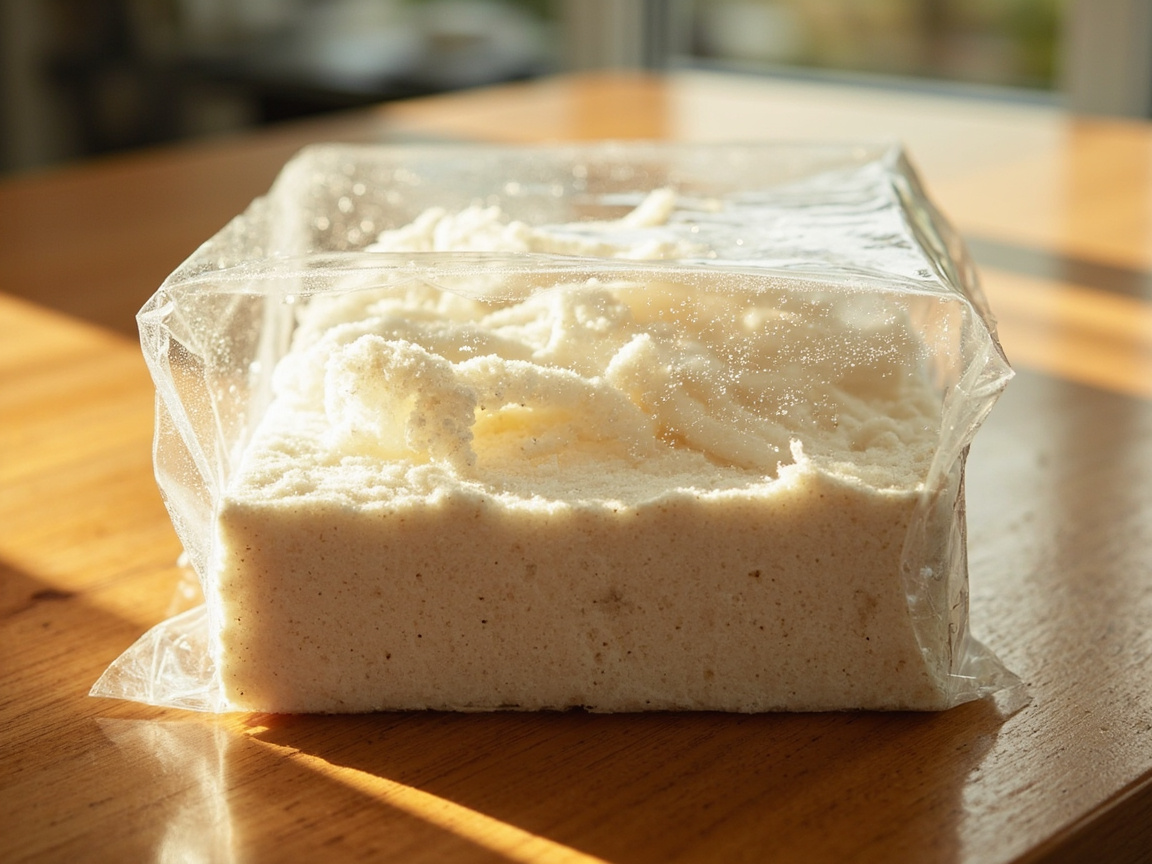
Default first kit — pink oyster RTF. A North Spore pink oyster kit is the typical 4 lb block for first-timers, especially in warmer kitchens. It often pins in 7–14 days when misted daily.
Budget oyster with mister included. The Back to the Roots oyster kit ships with a small spray bottle and a replacement guarantee, so it’s the obvious pick when you want one Amazon order to cover everything basic.
Showy alternative — lion’s mane. A North Spore lion’s mane 4 lb kit (or the Root Mushroom Farm single lion’s mane 4 lb as another 4 lb option) gives you the shaggy white cluster, but only worth buying if you can hold humidity at the face during pinning.
Patient-grower pick — shiitake. A Root Mushroom Farm shiitake kit is the standard pick for cooks who want umami and don’t mind a block that browns before it fruits. (The Oakland Mushroom Co. shiitake kit is another clean RTF option for cooks who want organic, small-batch blocks.)
Daily mist bottle. A continuous fine-mist bottle is the kitchen tool you’ll use every day for two weeks. Cheap, and the difference between a fine dew and a hard jet is the difference between pins forming and substrate going soupy.
Harvest knife. An Opinel mushroom knife with brush twists cleanly at the base and brushes debris off caps. Optional for the first flush, useful by the second. Prefer a folding knife that stows safely in a kitchen drawer? The DRACHENADER Mushroom Knife N-1 has a liner lock and leather sheath.
If the listing shows the species, the substrate, a yield range, and a cut pattern, it’s usually a safe pick regardless of brand. If any of those are missing, skip.
Next: Start + Methods
After your kit arrives, the order matters.
- First-grow-kit walkthrough — the first 7 days, unboxing to first pins. Read this once before you cut.
- How grow kits work — the reusable manual: cut, mist, pins, harvest, second flush. Reopen this when something looks wrong.
- Species guides. Once you’ve decided on a species, read the relevant page — oyster, lion’s mane, or shiitake.
- Problems pages. If something looks off, the troubleshooting chain points you to the right page: pinning problems, green mold, contamination overview.
- Kit picker tool — want the tree above as a click-through? The tool walks the same branches.
Skip the grow-bag and lab upgrades until you’ve completed one clean RTF harvest.
Common mistakes
Mistake 1: Buying the biggest block you can find
A 4 lb block is plenty for a first grow. Bigger blocks buffer humidity slightly better, but they confuse first-timers who read slower browning as failure.
Mistake 2: Skipping the species check
“Oyster mushroom kit” without a color or variety often fails in shipping. Pick a listing that names the variety.
Mistake 3: Pulling the whole block out of the bag
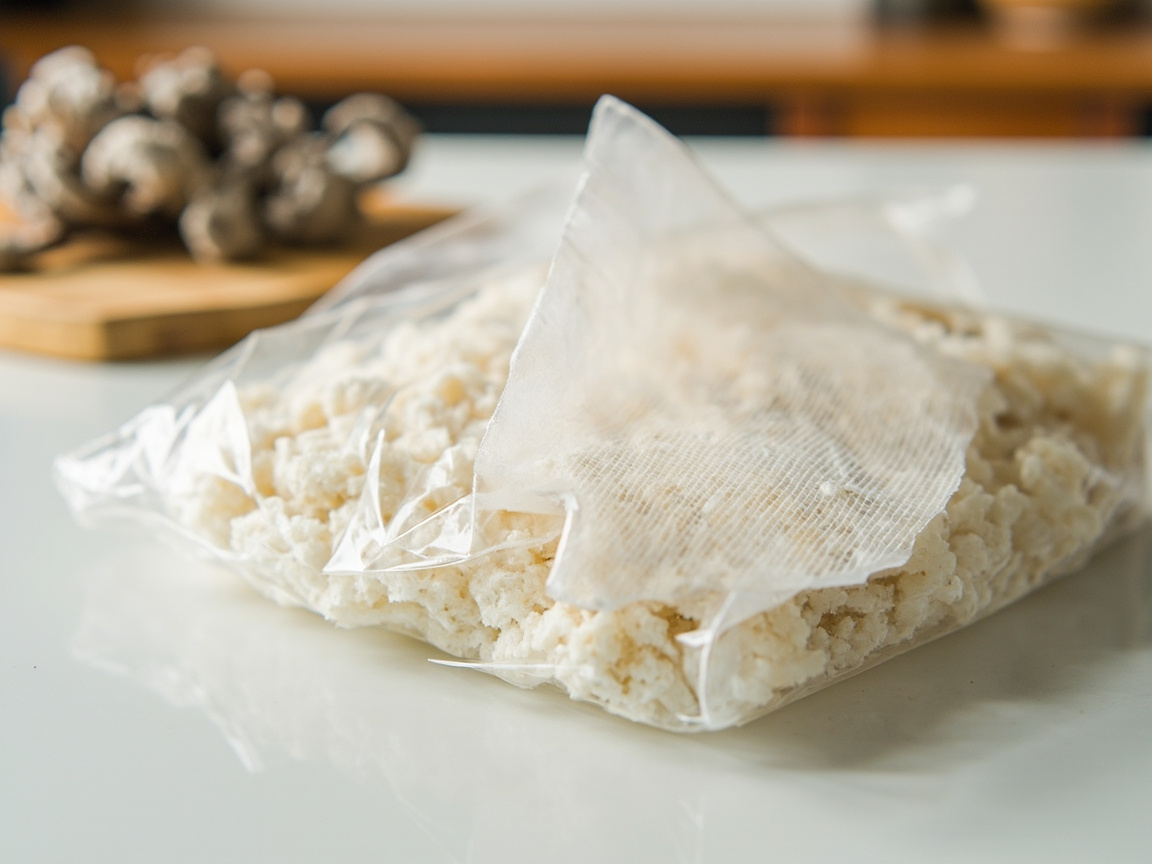
The bag holds humidity around the fruiting face. Cut a small X and keep the bag on unless the vendor’s printed instructions explicitly say otherwise.
Mistake 4: Misting by clock, not by face
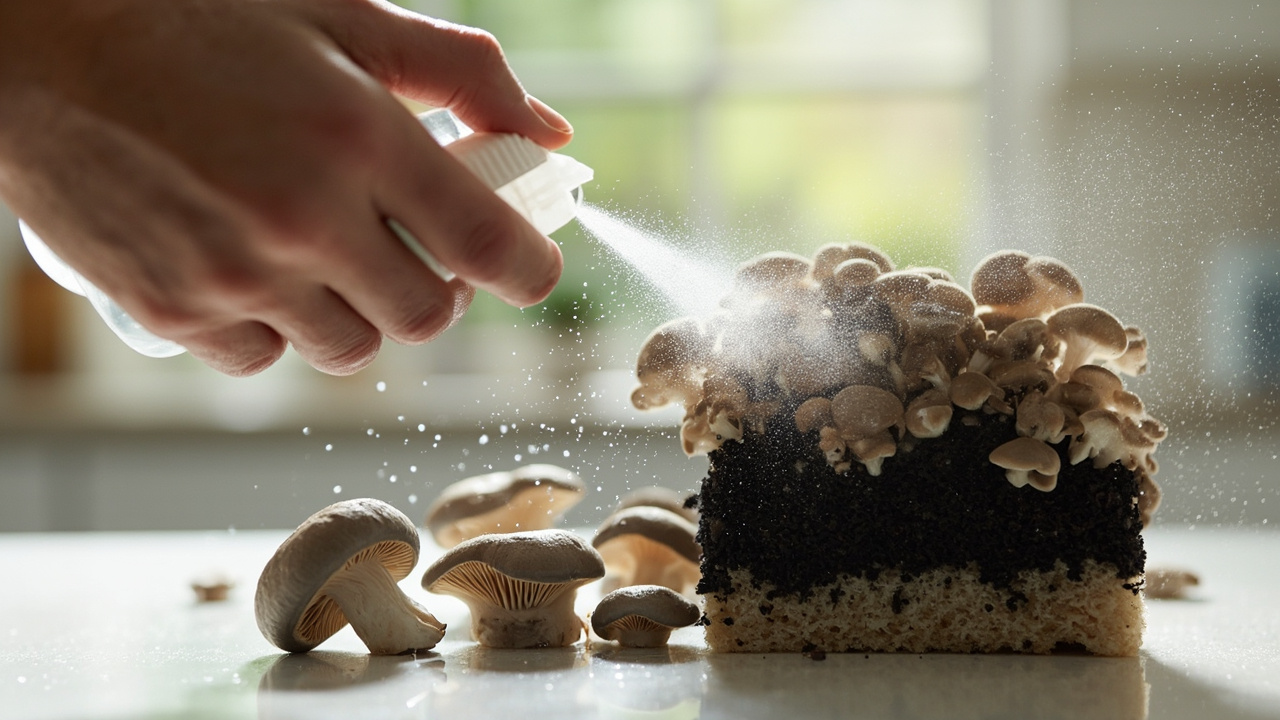
Mist when the face looks dry, not on a fixed 8-hour timer. Standing water in the bag’s folds, soggy substrate, a sour smell — that’s too wet. Dew, not puddle. Winter heating and summer AC change the answer.
Mistake 5: Tossing a healthy kit over white fuzz
Healthy mycelium is white and cottony. Distinct circular mold patches are the actual contamination. Use the contamination overview to tell them apart before you bin a $30 block.
Key takeaways
- Oyster is the default first kit — pink oyster for kitchens running 70–80°F, blue oyster for cooler rooms.
- Match species to humidity, time, and patience — not to a top-10 list.
- RTF (ready-to-fruit) kits beat bags for first success; the lab part is already done.
- Buy a kit that names the species, lists a yield range, and shows the cut pattern. Skip anything that doesn’t.
- Daily fine mist is the only “magic” — dew on the face, never a puddle.
- If something goes green, isolate before you do anything else. If something is white and cottony, it’s probably healthy mycelium.
- Kits win the first grow on time-to-harvest and retry cost; DIY wins after your first clean harvest — that’s when grow bags and bigger setups make sense.
Culinary / edible kitchen growing only. FungiAtHome does not cover psychedelic or actives cultivation.
Related guides
Back to essentials . Affiliate disclosure . Culinary / edible kitchen growing only. [email protected]