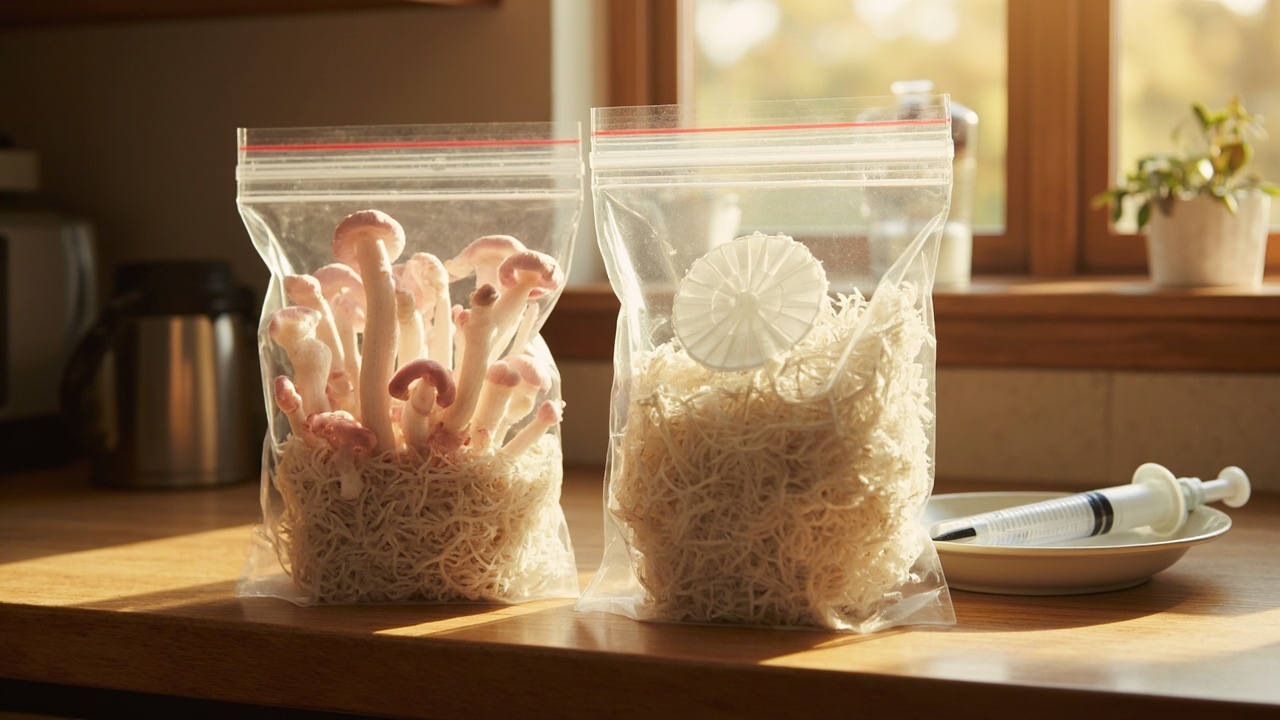
The question isn’t “kit or DIY.” The question is whether you want edible mushrooms on a kitchen counter in three weeks with zero contamination risk, or whether you want to learn sterile technique the hard way on a counter that probably wasn’t built for it.
Quick answer
Buy a ready-to-fruit gourmet grow kit for your first oyster, lion’s mane, or shiitake harvest — not a DIY bag. The vendor has already sterilized, inoculated, and verified the block; your kitchen is the easiest place to lose a clean cycle. A North Spore pink oyster kit is the typical first-kit default for warm kitchens above 70°F. Upgrade to a grow bag only after one clean RTF harvest.
Buy kit or DIY — read this first
| Your situation | Buy | Skip because |
|---|---|---|
| First grow, no equipment, kitchen counter only | Ready-to-fruit oyster kit (4 lb) | DIY bag — your kitchen isn’t sterile enough for a first cycle |
| One clean kit harvest behind you, want more volume | Pre-sterilized all-in-one grow bag + labeled liquid culture | Uncolonized “universal substrate bag” — not the same thing |
| Want species variety (oyster + lion’s mane + shiitake) | Hybrid: kit for confidence, bag for the 2nd species | Mixing too many species in one first run |
| Volume goal of 5+ lb/week, clean corner, pressure canner | Full DIY with pressure cooker | No canner = no full DIY |
| Want mushrooms forever, no ambition to scale | Stay on kits | DIY is optional, not required |
The rest of this article walks the five branches above: what each side of the comparison is, the four decision factors that decide between them, the full if-then tree, what to look for in a listing, and what to do when a kit goes wrong.
What a ready-to-fruit kit is — and what DIY isn’t
This is the disambiguation you need before any vendor listing makes sense. The two paths look similar from the outside — both arrive in plastic bags — and that confusion is what sends first-timers into the bag-side before they’re ready.
Branch A — Ready-to-fruit (RTF) kits
A ready-to-fruit kit is a fully colonized substrate block — sawdust, straw, or supplemented hardwood — sealed inside a plastic grow bag with a filter patch. The vendor did the lab parts: sterilization, inoculation, colonization verification. Your job is fruiting conditions only. Open the perforated face, mist, wait for pins, harvest. This is the easiest path to a first harvest on a kitchen counter, and it’s the path our first-grow-kit walkthrough assumes.
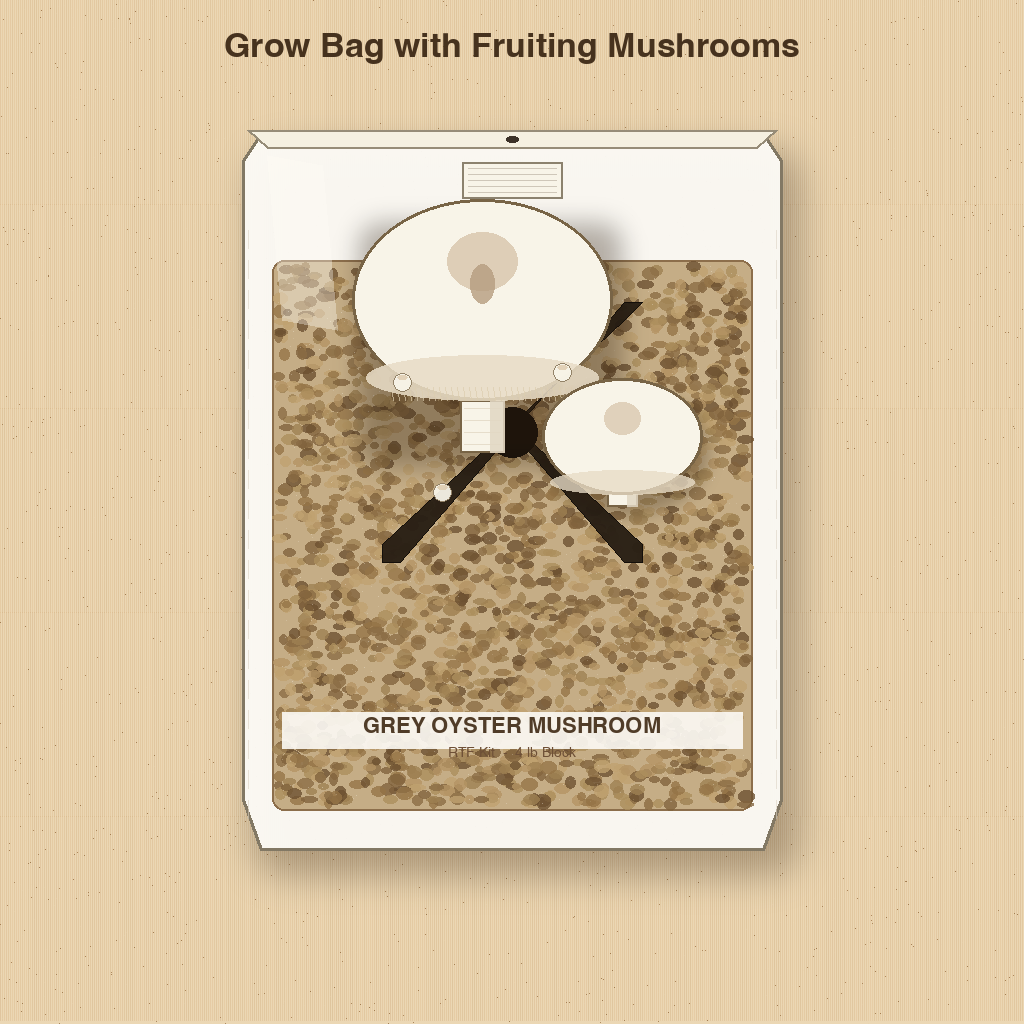
A clean block at this stage is bright white, plump, and uniform — no green, no pink, no sour smell. If your block arrives any other color, photograph it before opening and email the vendor.
Branch B — DIY / All-in-one bags
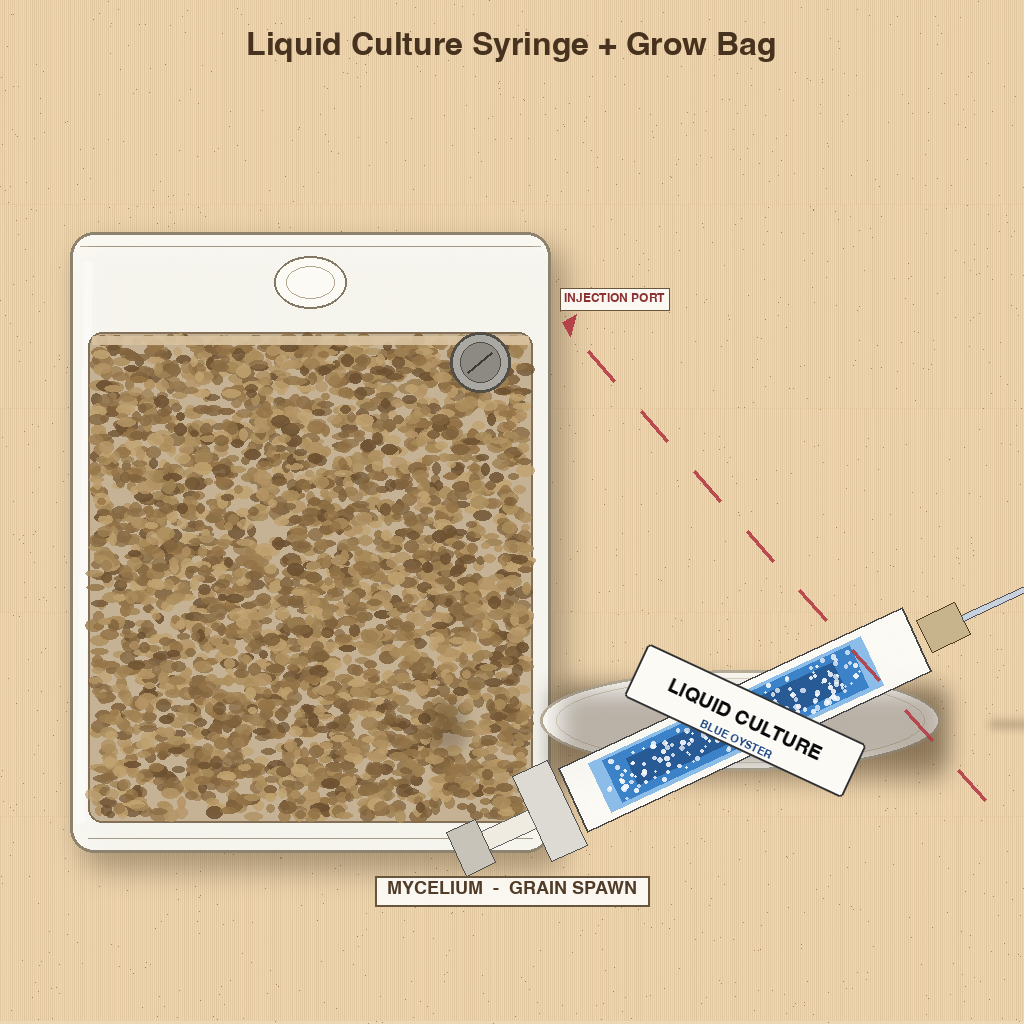
A DIY kit is a sterile, uncolonized substrate bag with an injection port. You buy grain spawn or liquid culture separately, inoculate the bag, and wait 2-6 weeks for colonization before any fruiting window opens. DIY includes both all-in-one grow bags (sterile, pre-filled) and the more advanced pressure-cooker + grain-spawn workflow. Both are valid — both are also contamination-prone in a kitchen that has never run a clean cycle.
Branch C — What DIY is NOT
DIY does NOT mean “skip the kit and just buy a mushroom at the grocery store.” It does NOT mean wild foraging, mushroom identification, actives cultivation, or lab-scale sterile technique. We talk about edible oyster, lion’s mane, and shiitake — three forgiving species — on a kitchen counter. This article is food-first, end of story.
Decision factors
Four things decide between kit and DIY on a real kitchen counter. Walk each one honestly.
Volume and frequency
A 4 lb RTF kit yields 0.5-1.5 lb per flush with two flushes typical — about 1-3 lb of fresh oyster mushrooms per kitchen cycle. If you cook with mushrooms once a week, that may be enough. If you want 5+ lb per week for a market stall or restaurant, kits are too small per dollar and bags (or logs) make more sense. Most home cooks stop here because 1-3 lb a week is more than they eat.
Species match
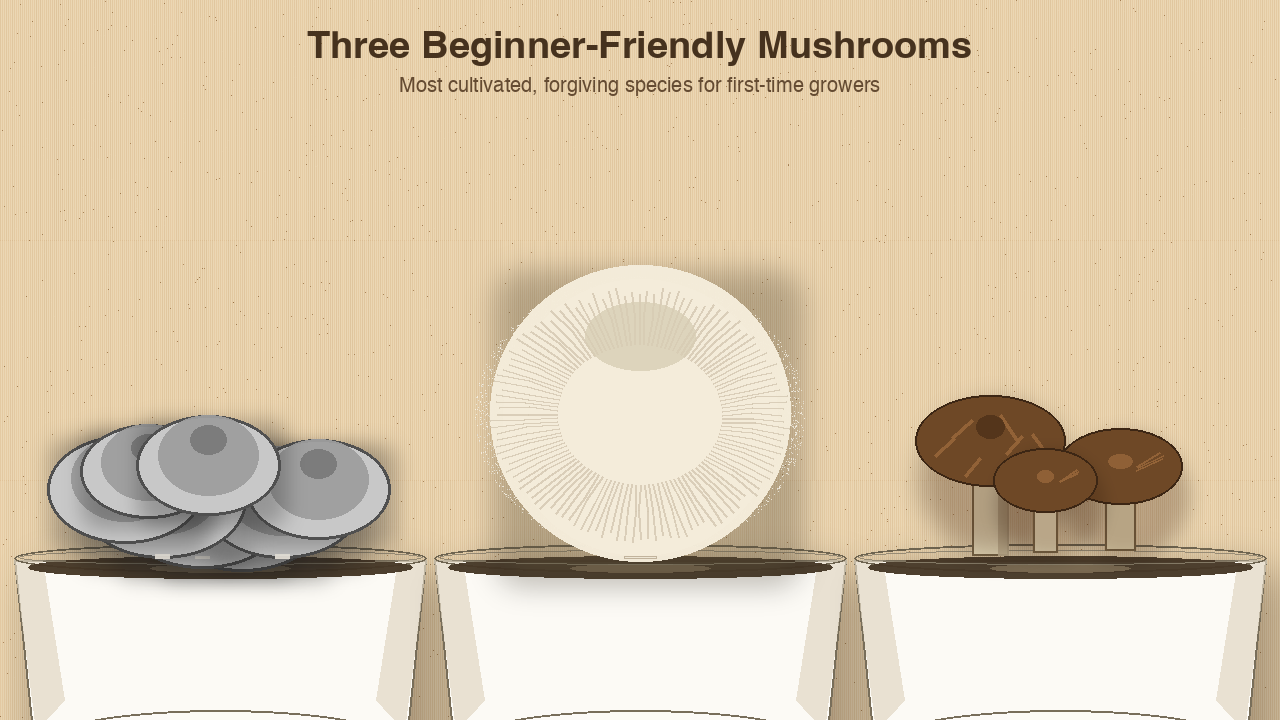
Oyster is the most forgiving edible species in dry indoor air — it fruits at 65-80°F and tolerates imperfect humidity. Lion’s mane wants 85%+ relative humidity at the face and cooler air (55-70°F). Shiitake rewards patience with umami but browns before fruiting and takes 7-14 days from cut to harvest. All three are valid DIY candidates; only oyster is the universal default. The oyster species hub, lion’s mane hub, and shiitake hub each have species-specific kit-vs-bag notes.
Time investment
A kit takes 5 minutes of setup and 14-21 days of patience. A grow bag takes 30-60 minutes of sterile work and 2-6 weeks before the first pins. If your free time is mostly weekday evenings, kit fits the calendar. If you have a Saturday to spare for one batch, bag fits. Don’t pick the bag path because you “have time today” — pick it because you’ve validated sterile technique on a clean RTF harvest already.
Kitchen space and contamination risk
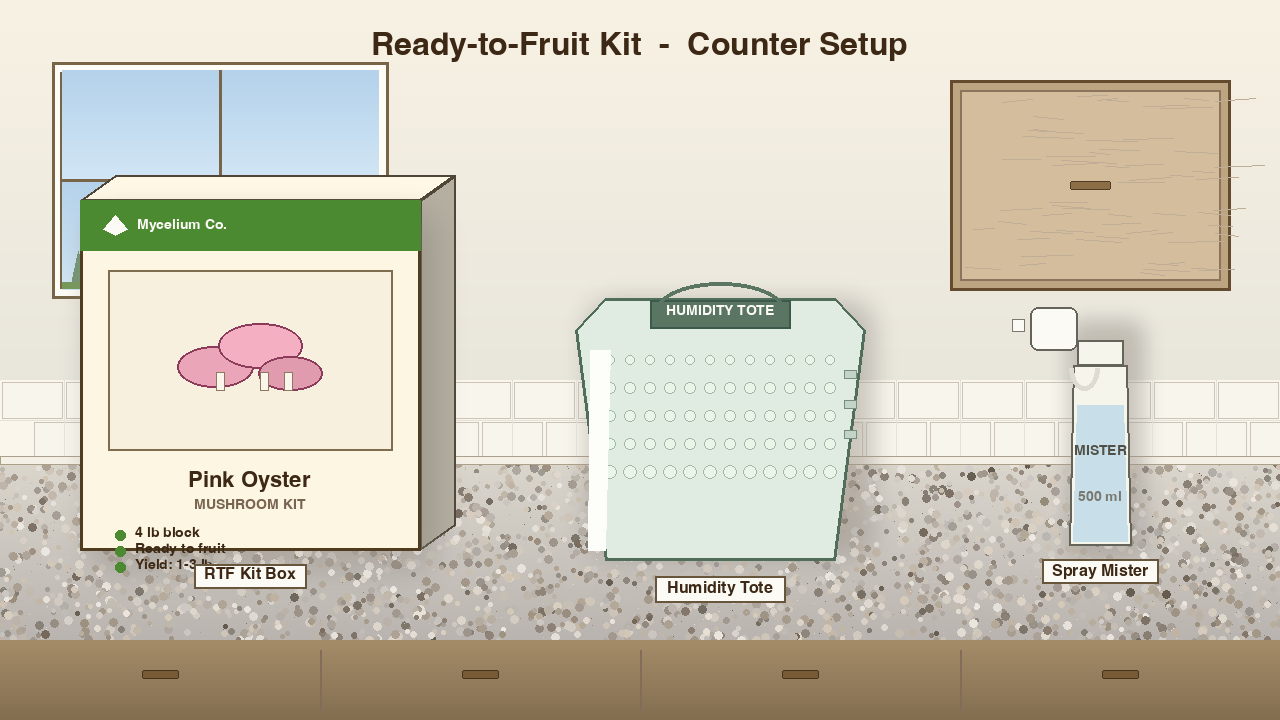
A 4 lb kit sits on a kitchen counter inside a humidity tent (a clear plastic tote with misted holes). A DIY bag needs a clean surface, alcohol, a still-air box if you don’t have a draft-free spot, and a separate colonization spot away from the kit’s fruiting area. Kitchens with pets, kids, or open windows raise contamination risk for bags; kits tolerate normal kitchen traffic. If your kitchen has any of those, stay on the kit path longer.
How to choose — if-then tree
This is the actual picker. Match your situation to a branch and stop shopping. The six branches below cover the most common first-time kitchen growers; anything outside edible oyster / lion’s mane / shiitake on a kitchen counter goes to the species hubs.
ROOT — do you want edible mushrooms in your kitchen within the next 3 weeks, with no equipment you don’t already own?
If yes, the kit path is almost always the right first step. If no, the bag path is worth a look once you’ve validated sterile technique. The branches below are the if-then.
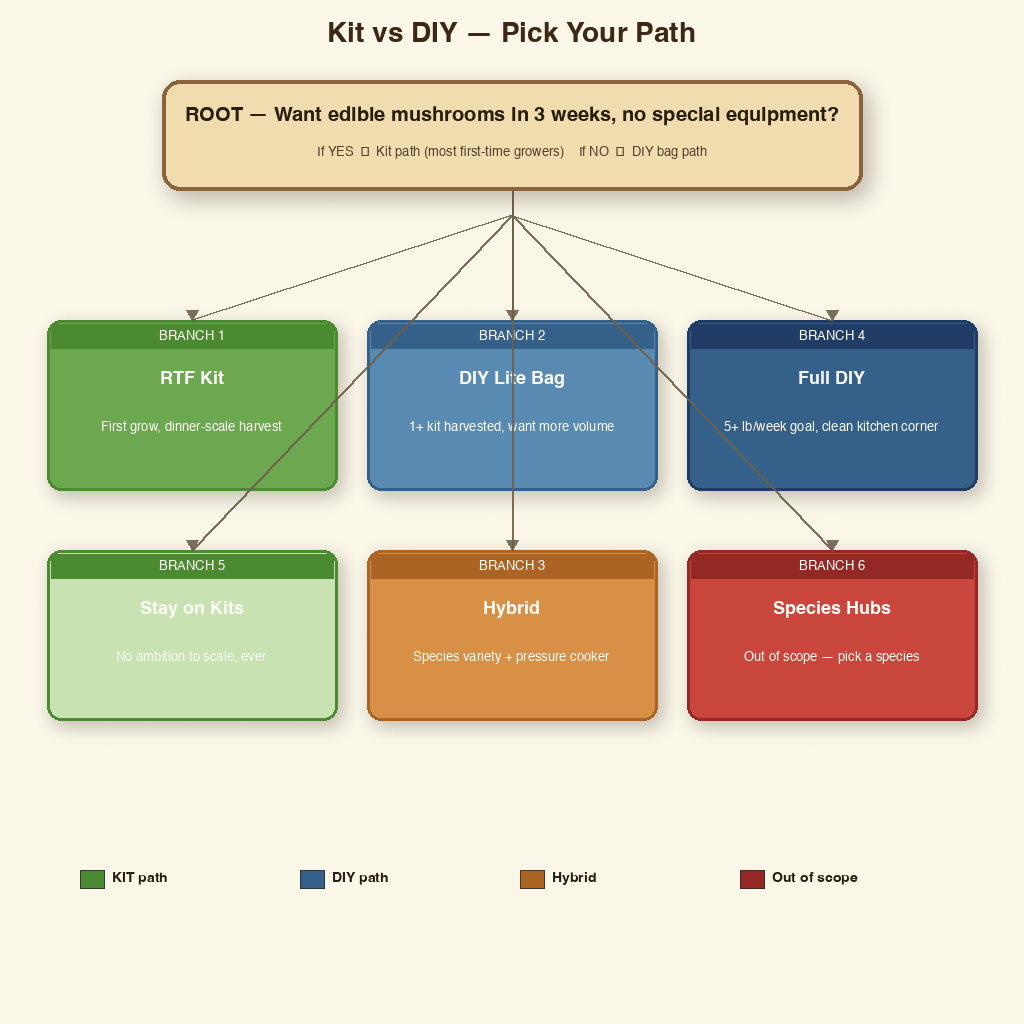
If you’ve never grown before and want dinner-scale harvest → RTF kit (Branch 1)
The default path for ~70% of first-time kitchen growers. Pick an RTF oyster kit — pink oyster above 70°F, blue below. Action window: 14-21 days from kit arrival to first flush. Risk: picking a listing that doesn’t name species or substrate in writing (those are universal substrate bags, not kits). Links: How to choose a mushroom grow kit for inner-kit selection + first-grow-kit walkthrough for step-by-step first 14 days.
If you’ve harvested 1+ kit cleanly and want more volume per cycle → DIY lite bag (Branch 2)
Start with one pre-sterilized all-in-one bag and a labeled oyster liquid culture. Action window: 4-6 weeks per cycle from inoculation to flush. Risk: contamination if your kitchen has pets, kids, or open windows — bags need a still-air inoculation spot that kits don’t. Link: Grow bags after your first kit.
If you want species variety (oyster + lion’s mane + shiitake) and own or will buy a small pressure cooker → Hybrid (Branch 3)
Ship one RTF oyster first, then graduate to a shiitake block on hardwood pellets or a straw-based oyster bag. Action window: plan the second cycle 4-6 weeks after the first kit flush lands. Risk: skipping the clean first cycle and going straight to bag spawn without validating sterile technique.
If 5+ lb/week is the goal and you have a clean kitchen corner to dedicate → Full DIY (Branch 4)
Only after one clean cycle. See sterile workstation setup first, then run a pressure canner plus grain spawn. Action window: ongoing recurring batches at a 4-week turnaround per cycle. Risk: investing in a pressure canner before you’ve validated sterile technique on a single bag.
If you want dinner-only mushrooms forever with no ambition to scale → Stay on kits (Branch 5)
Kits are not a stepping stone to anything; they are a complete answer for low-effort recurring dinner supply. Action window: rotate fresh kits every 6-8 weeks for continuous harvest. Risk: paying a higher per-pound cost than a single DIY batch — only worth it if you don’t want to learn sterile technique.
If your target is outside edible oyster / lion’s mane / shiitake on a kitchen counter → Species hubs (Branch 6)
Out of scope for this picker. See Pink oyster, King oyster, Chestnut, or Lion’s mane species hubs for species-specific frames. Risk: species-specific humidity and temperature ranges don’t transfer from a generic oyster kit.
Quality signals in RTF listings
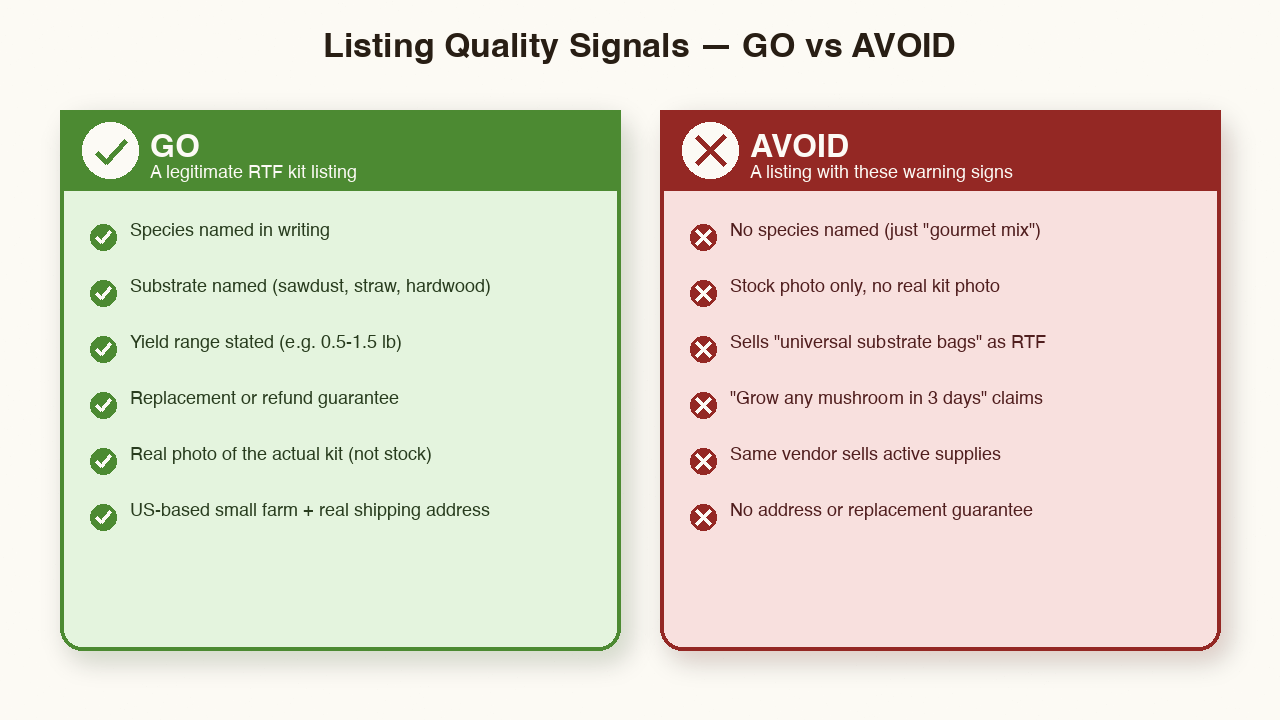
Don’t shop by brand. Shop by listing. The five things below separate a legitimate RTF kit from a universal substrate bag with stock photos.
What a legitimate RTF listing looks like
A good RTF listing shows: species named in writing (oyster, lion’s mane, shiitake — not “gourmet mix”), substrate named (sawdust, straw, supplemented hardwood), yield range stated (e.g. “0.5-1.5 lb first flush”), cut pattern shown in the product photo, and a replacement or refund guarantee in writing from a US-based small farm with a real shipping address. A North Spore pink oyster kit hits all five; it’s the default for that reason.
What to avoid
Skip any listing that says “grow any mushroom in 3 days” without species, uses stock images but no actual photo of the kit, sells “universal substrate bags” as ready-to-fruit, or vendors who also sell actives supplies under the same roof. We will not link to listings like that from this article. If a listing brags about block size without naming a species, it’s a marketing product, not a kit.
Common kit failures → Problems
Even clean RTF kits fail. Four symptoms cover most of what first-time growers see. Each one chains to a Problems page in this site.
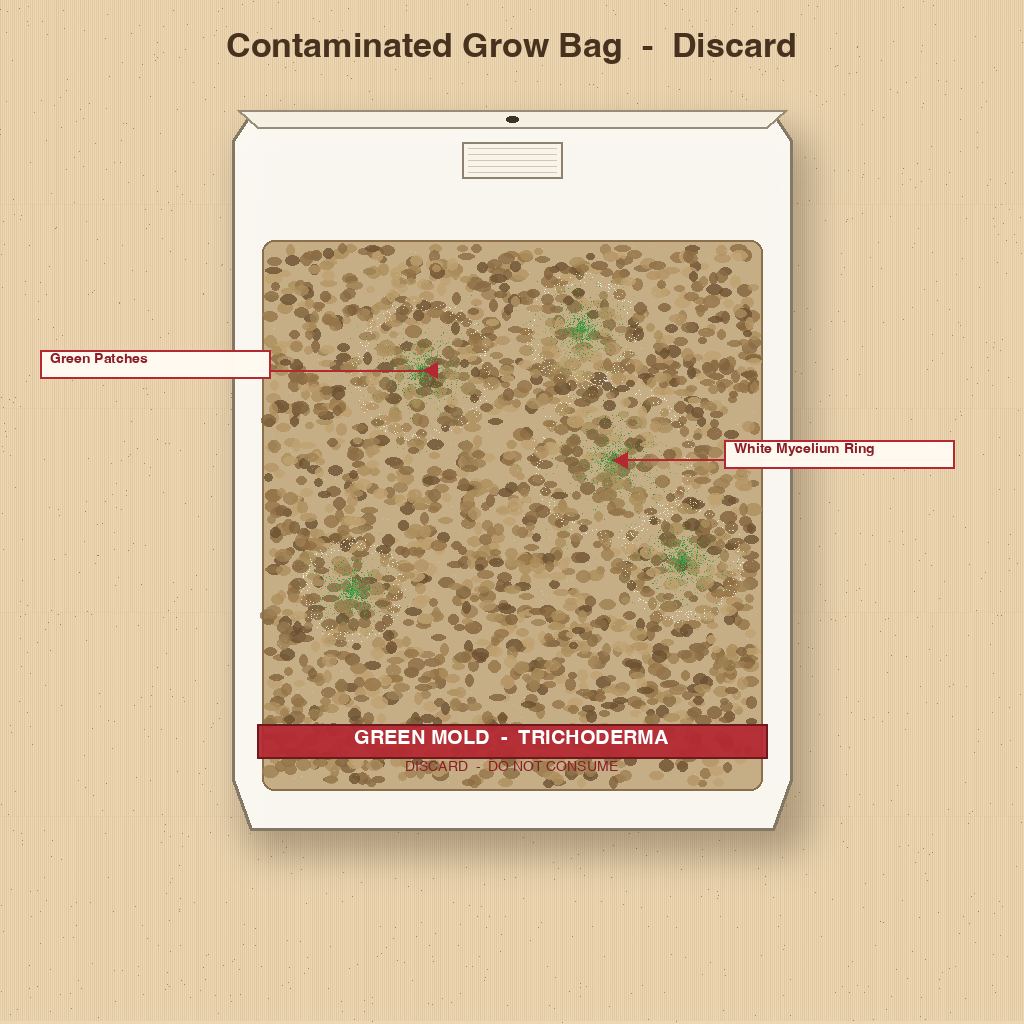
Symptom 1 — Block turns green
Green mold is Trichoderma — almost always a contamination, not a flush. Isolate the bag in a separate room, do NOT open it indoors. Decision tree: green mold → contamination overview if you want to compare to cobweb or bacterial blotch.
Symptom 2 — Block pins but caps stall or dry
This is a humidity problem, not contamination. Humidity and misting tools → pinning problems. A 10-second fix is usually more mist + a humidity tent, not a kit replacement. A fine continuous mister on the cut face 1-3x daily is the standard fix.
Symptom 3 — Block looks healthy but no pins in 21 days
Colonization is done; fruiting conditions aren’t right. Walk the basics: temperature in range, light (indirect daylight is fine), humidity on the cut face, fresh air exchange. Pinning problems has the if-then tree.
Symptom 4 — Smells sour or off
Almost always bacterial contamination. Same triage as green mold: isolate, do not open indoors, and walk the contamination overview. Don’t spray anything on it — that just spreads spores.
What to buy
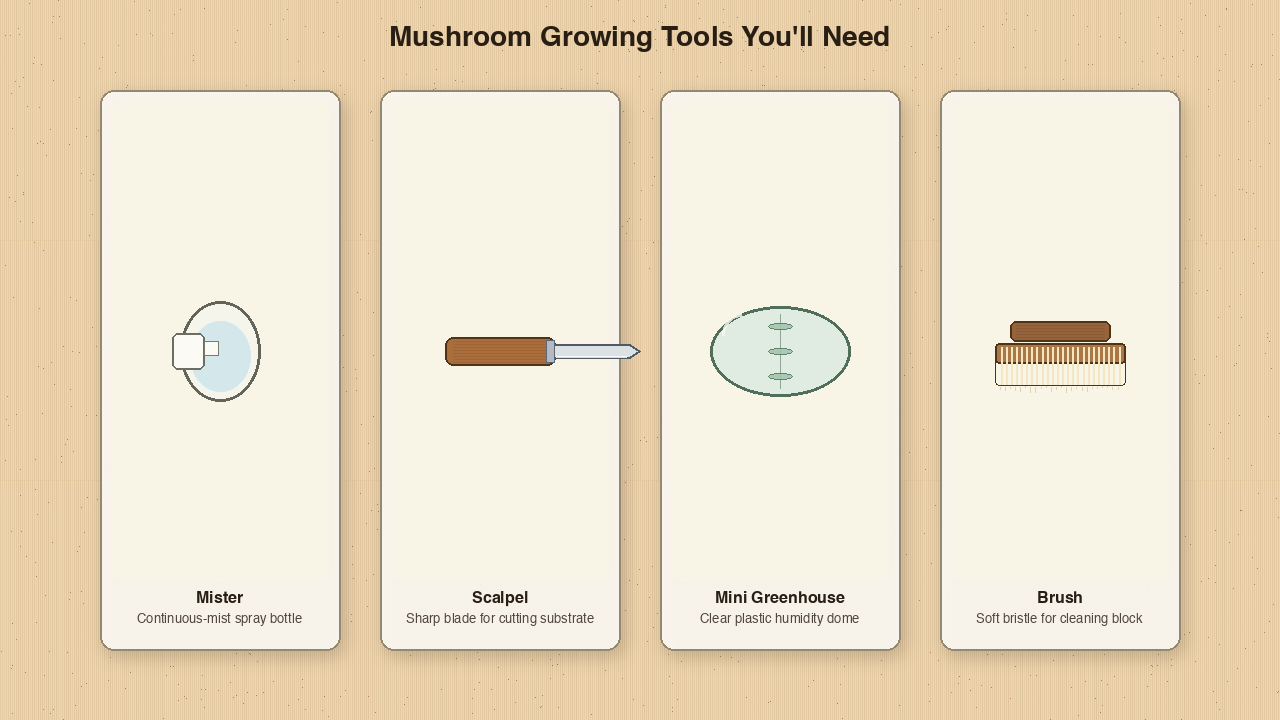
Products below are grouped by role, not by fake ranking. Every kit path needs at minimum a kit, a mister, and a harvest knife. Bag paths add a filter-patch bag, labeled culture, and (for volume) a pressure canner.
Kit role — for Branch A / E (the buy path)
- North Spore Pink Oyster Kit (4 lb RTF) — typical first-kit default for kitchens above 70°F. Warm-tolerant species, pink color contrast on stainless or wood counter.
- Back to the Roots Oyster Kit — budget pick with replacement guarantee; includes a basic mister so you aren’t shopping for two things.
- North Spore Lion’s Mane Kit (4 lb RTF) — showy cluster if you can hold 85%+ humidity at the cut face.
- Root Mushroom Farm Shiitake Kit — patient-grower pick; umami reward for 3-6 weeks of patience.
Bag role — for Branch B / C / D
- Terra Fungus 8”x5”x20” filter-patch bags (55-pack) — repeatable bag format for a small batch.
- Blue Oyster liquid culture — labeled species culture for a single trial bag.
- Spore n’ Sprout 4-pack oyster liquid culture — multi-culture sampler for after one clean trial.
- Presto 23-Quart Pressure Canner — only if you’ve validated your process and want recurring bag volume.
Tools (any branch)
- BeautifyBeauties Continuous Mister — fine mist for the cut face without saturating.
- DRACHENADER Mushroom Knife N-1 — folding 8.15” with brush and leather sheath for clean twist-and-cut at the base.
- CABUGE Mushroom Harvesting Knife — no-lock folding for kitchen drawer storage; brush on the spine.
- Martha-style Mini Greenhouse — kitchen-scale fruiting enclosure when ambient humidity drops below 40%.
Common mistakes
Mistake 1 — Buying a “universal substrate bag” expecting it to fruit in a week
Universal substrate bags are not colonized. You need clean spawn first, and a kitchen has no business inoculating until you’ve validated sterile technique on at least one clean RTF harvest. Skip universal bags for the first three cycles.
Mistake 2 — Choosing DIY to save money before running one clean kit cycle
DIY is cheaper per pound once your process runs clean. Before that, a contaminated bag is full price lost plus a 4-6 week restart — and most first-time contamination comes from the kitchen, not the vendor. Save the DIY math for round 2.
Mistake 3 — Skipping the species match check
Oyster is forgiving in dry air; lion’s mane wants 85%+ humidity; shiitake wants a colder, more patient cycle. Picking lion’s mane for a winter-heated dry kitchen is the most common species mismatch failure. If your kitchen runs dry, oyster is the honest pick.
Mistake 4 — Framing the kit vs DIY decision as a brand question
It’s not “which vendor has the best kit” — it’s “do you want to inherit the contamination risk the vendor already took on for you, or take it on yourself?” The kit answer is yes for first-time; the bag answer is yes for round 2 onward.
Mistake 5 — Assuming a “ready to fruit in 10 days” listing applies to all species
Pink oyster can fruit in 7-10 days; shiitake takes 3-6 weeks. Vendor timelines are species-specific. If the listing says “10 days” but the species is shiitake, the seller is wrong or you’re misreading.
Next: Start + Methods
If you’ve decided kit → How to choose a mushroom grow kit for inner selection, then first-grow-kit walkthrough for the first 14 days, then how grow kits work for the reusable cut-mist-harvest manual.
If you’ve decided bag → Grow bags after your first kit and the sterile workstation setup prerequisite.
If you’re choosing by species → Oyster · Lion’s mane · Shiitake — each species hub has the species-specific kit-vs-bag note.
Key takeaways
- Kit first, bag second. RTF kits are the safest path to a first harvest; bags reward a process that’s already clean.
- Oyster is the default species for kitchens running dry winter air and warm summer air.
- The decision is contamination risk, not price. Kits absorb the lab risk; bags put it on your kitchen.
- Hybrid is the smart path: one kit for confidence, then bags for volume or variety.
- Food-first scope. This article covers edible oyster, lion’s mane, and shiitake on a kitchen counter — nothing else.