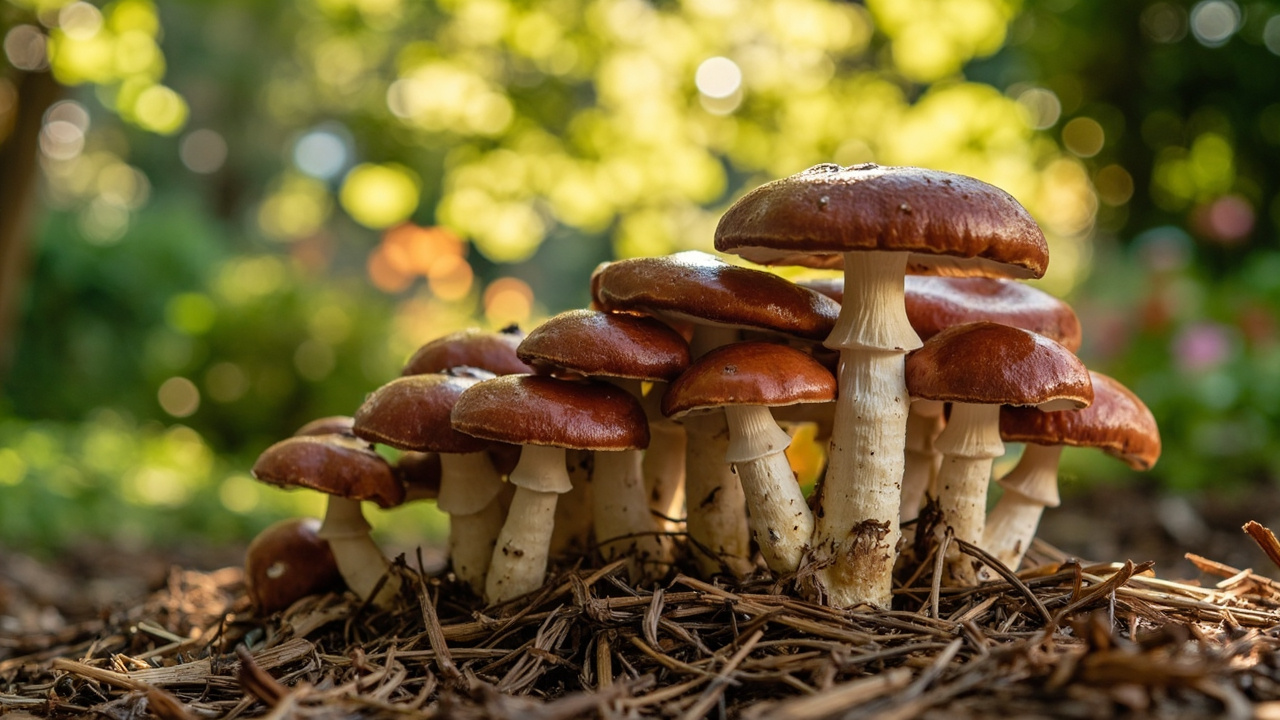
Wine cap is the natural next step after your first indoor oyster or lion’s mane kit — an outdoor species that trades controlled indoor conditions for a wood-chip garden bed and natural rainfall. It’s forgiving, vigorous, and produces mild nutty caps for years once established.
Quick answer
Layer sawdust spawn into a 4-6 inch hardwood chip bed on bare soil in early spring, water weekly in dry spells, and wait 8-16 weeks for the first fruiting. Use coarse hardwood chips (oak, maple, beech) — never softwood. The bed fruits for 3-5 years in the same spot with annual top-dressing.
What this is / is not
What this is
This is a garden-bed guide to Stropharia rugosoannulata, also called wine cap or king stropharia. We focus on outdoor culinary growing — building a wood-chip bed, watering, harvesting, and top-dressing. The species is forgiving, rewarding, and the easiest outdoor gourmet for a home grower to start.
What this is not
This is not a log-cultivation guide — wine cap prefers wood chips and soil contact, not shiitake-style logs. It is also not an indoor grow kit. If you want a kitchen counter species, start with oyster or lion’s mane first. Wine cap is for the backyard, raised bed, or large outdoor container.
Decision tree
Branch A — Have you grown a gourmet kit before?
- Yes (one clean oyster or lion’s mane harvest) → continue.
- No, this is my first project → start with oyster indoors first; wine cap is a step after that.
Branch B — Pick a substrate form
- Sawdust spawn (default, easiest to layer by hand) → Path A.
- Grain spawn (faster colonization, for experienced growers) → Path B.
- Liquid culture (smallest budget, higher contamination risk) → only after one successful sawdust bed.
Branch C — What’s your bed location?
- Raised bed on bare soil, partial shade, easy watering → ideal.
- Container on a balcony (large, drilled for drainage) → workable.
- Pure indoor setup → wine cap will not fruit; pick oyster or lion’s mane instead.
Branch D — How long do you want the bed to fruit?
- 3-5 years (default for an established bed) → standard top-dressing.
- 1-2 seasons (test bed) → smaller bed, easy to dismantle when done.
Why grow wine cap (culinary only)
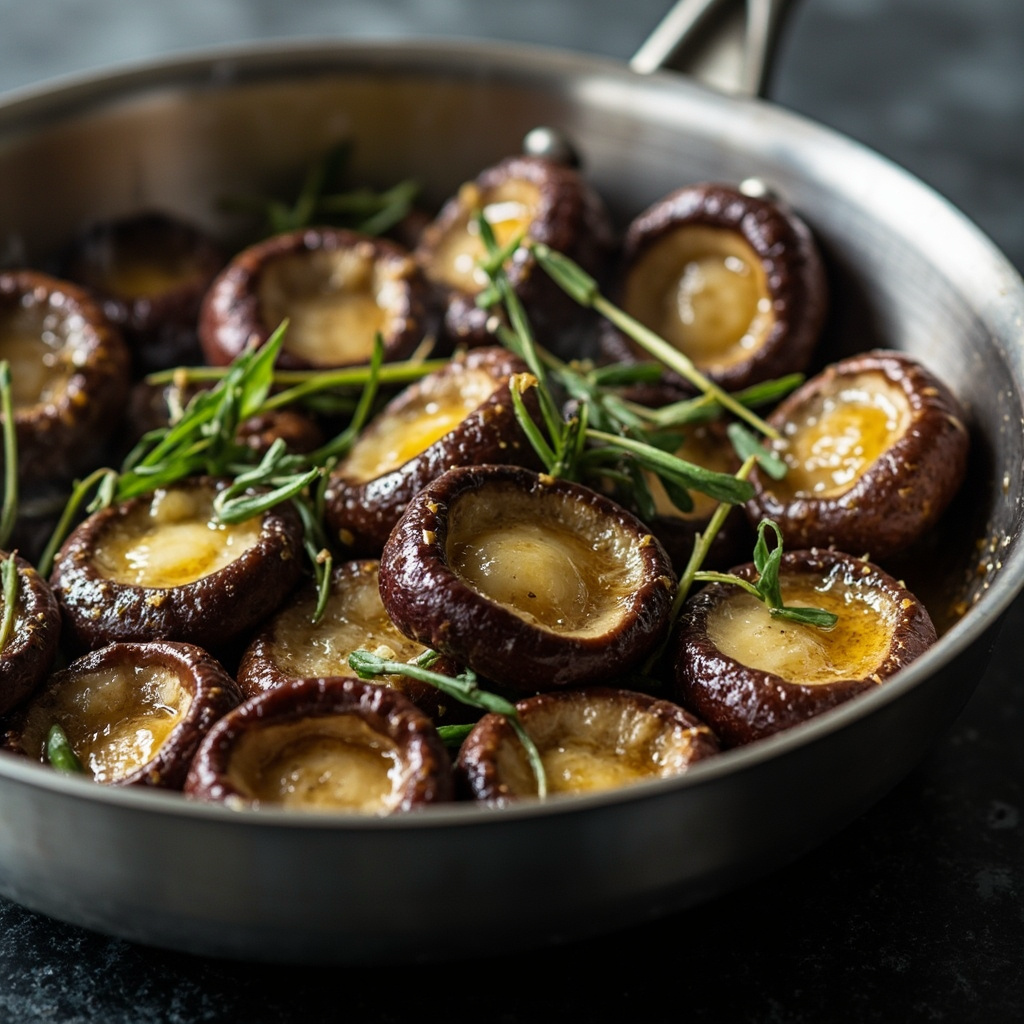
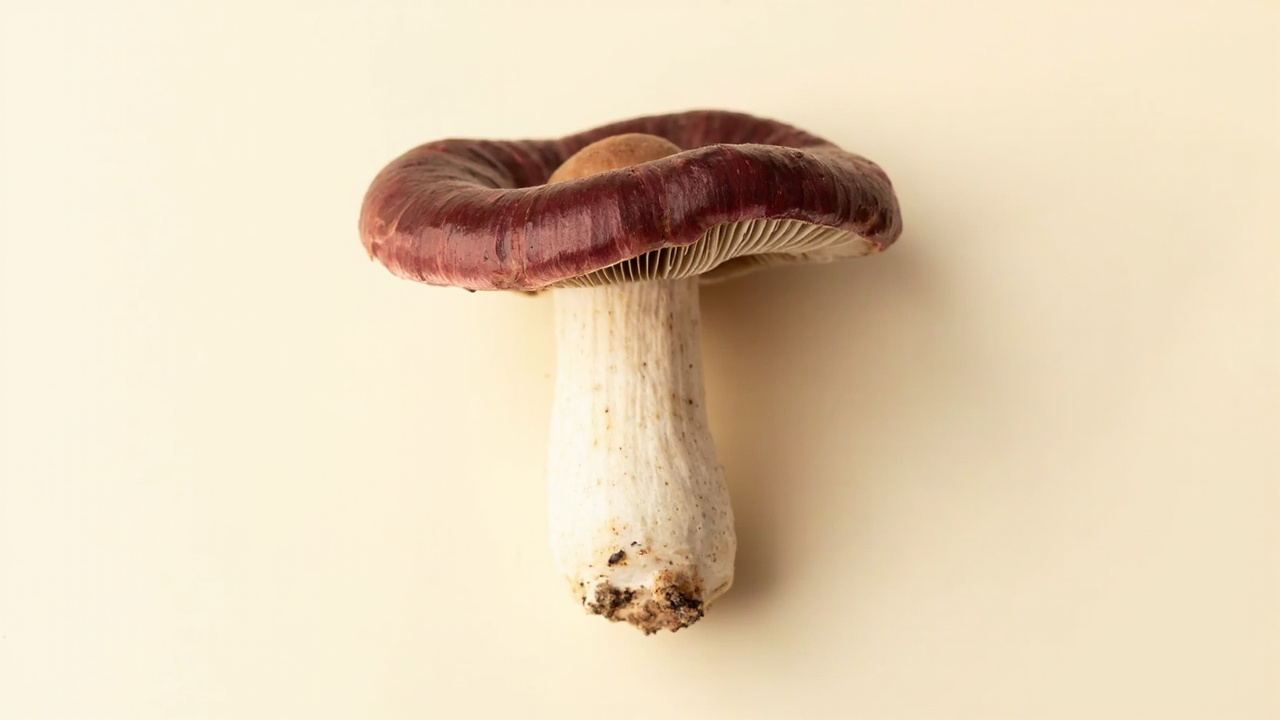
Wine cap is a culinary mushroom: mild, slightly nutty, with a firm potato-like texture that holds up in stir-fries and sautés. The cap is the main culinary part; stems are chewier and best chopped for stocks or sautés alongside other vegetables. We focus on growing and cooking it here — not on supplements, nootropics, or extracted powders.
A well-established wine cap bed yields 2-5 pounds of fresh caps per year, varying with rainfall and chip depth. The flavor is mild enough to use in any mushroom recipe — it absorbs marinades and broths without overwhelming them. Many growers pair it with butter, garlic, and thyme the same way they’d cook a cremini or a baby portobello.
Is this right for you?
Wine cap is the right next step if you have a yard, raised bed, or large outdoor container with partial shade, easy access to water, and the patience to wait 8-16 weeks for the first fruiting. Skip wine cap if you don’t have outdoor space, want a kitchen counter species, or need a harvest inside two weeks.
If you want a strong indoor flavor mushroom that also runs slower than oyster, look at shiitake — it has similar patience demands but lives on a kitchen counter.
Wine cap also makes sense as a parallel project to indoor kits. Many growers run a wine cap bed in the backyard while fruiting oyster or lion’s mane blocks on the kitchen counter. They have different timelines and different conditions, so they don’t compete for attention. Save the wine cap for the weeks when you’re not checking indoor humidity.
Path A: Sawdust spawn on a chip bed (default)
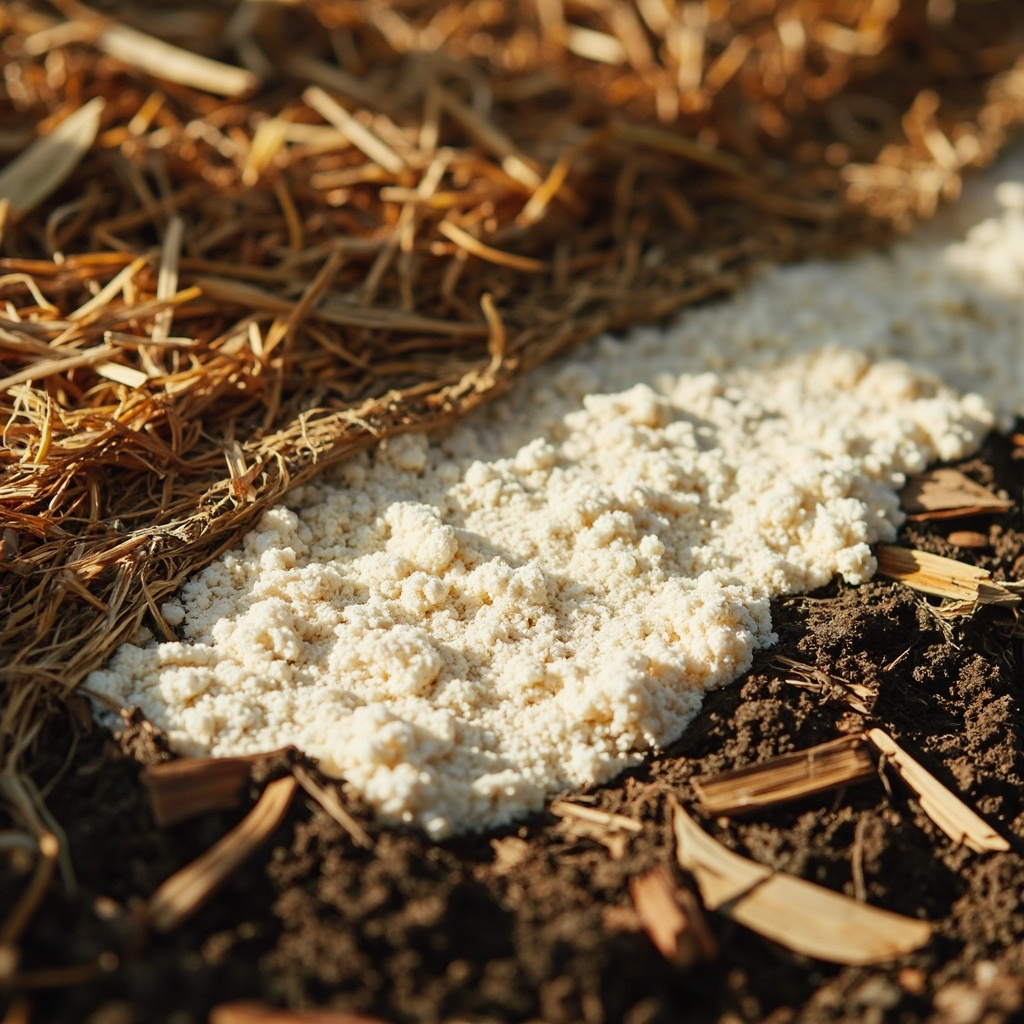
The sawdust-spawn route is the simplest wine-cap start for a first bed. You don’t need to pasteurize anything — the chips are placed raw, and the mycelium is aggressive enough to colonize before most competitors take hold.
Build in early spring. Cold nights are still fine; the mycelium grows slowly through the cool weeks and then accelerates as the soil warms. Build in early spring and you’ll usually see the first fruiting by late summer or early fall of the same year. Fall builds work too, but the bed will sit dormant through winter and fruit the following year.
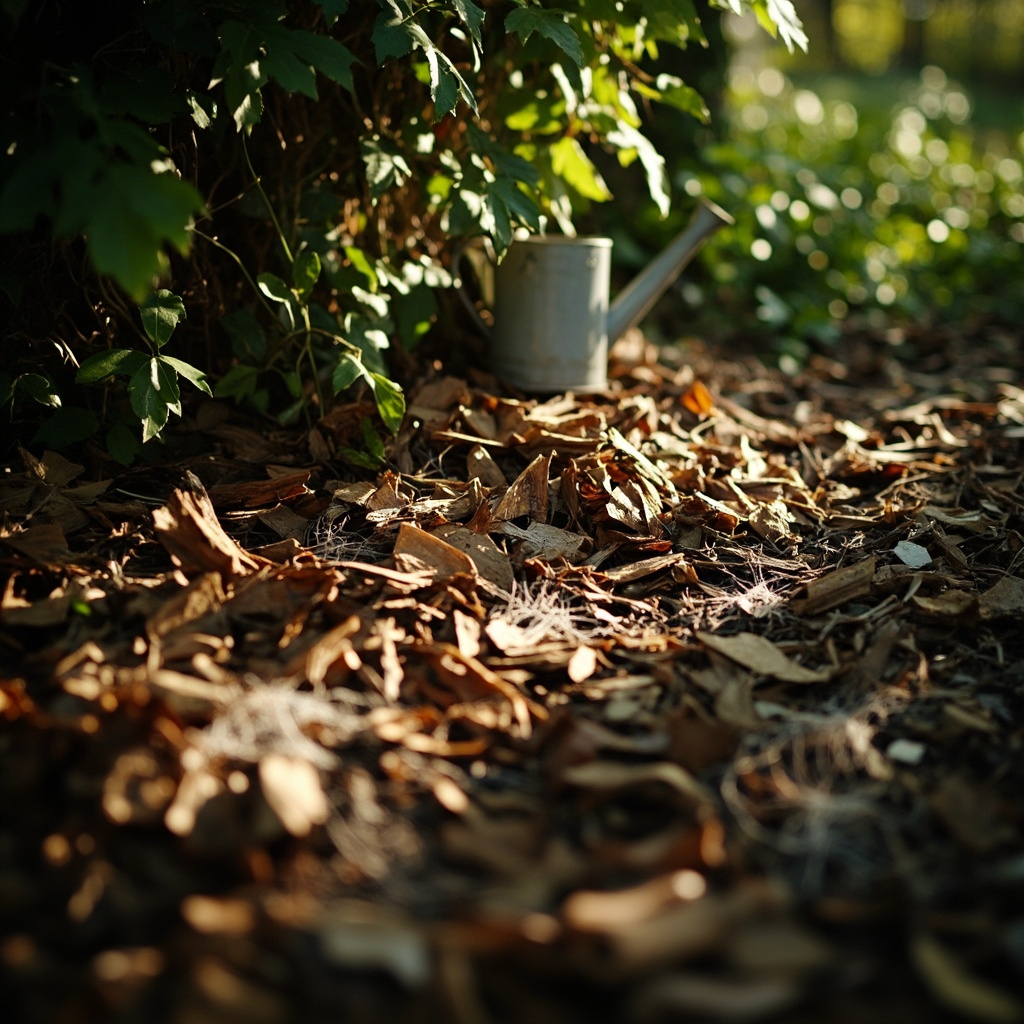
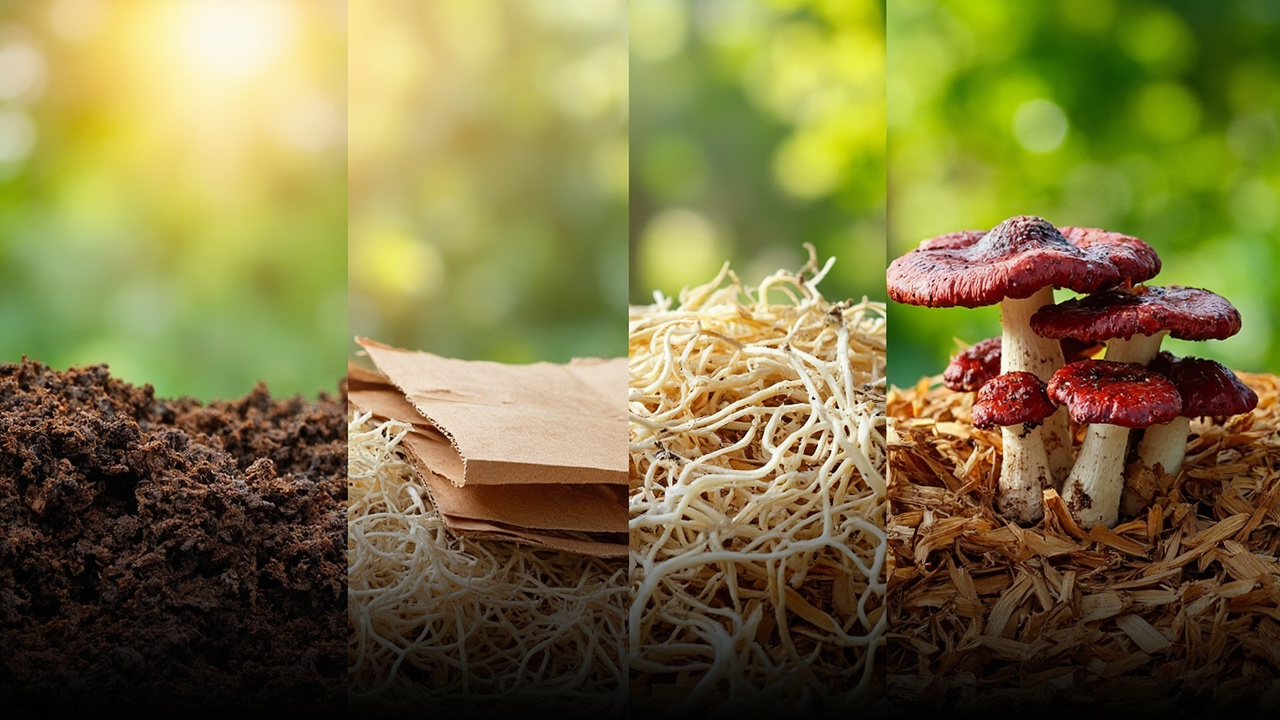
Lay the bed. Pick a spot with partial shade — under a tree canopy, against a north-facing shed wall, or in a corner that gets morning sun and afternoon shade. Lay down cardboard as a weed barrier (remove tape and labels first), then dump 4-6 inches of coarse hardwood chips on top. Wet the chips thoroughly with a hose.
Spawn. Break the North Spore sawdust spawn into marble-sized chunks and layer them 2-3 inches below the surface, roughly one fistful per square foot. Cover with another 1-2 inches of chips and water again. If the spawn bag feels cold when you break it open, let it warm to room temperature for an hour before spawning — cold spawn into a wet chip bed is a contamination risk.
Wait. Mist the surface with a fine-mist spray bottle every day for the first 2-3 weeks if rainfall is sparse. The bed should never dry out completely during colonization. White mycelium creeping through the chips is the sign that colonization is underway.
Skip the pre-sterilized substrate if you want to keep it simple. Hardwood chips from a tree service are usually clean enough for wine cap. If you’d rather skip sourcing chips, a pre-sterilized hardwood substrate drops in directly, but it’s more expensive per square foot than raw chips. For a 4x8 foot bed, raw chips usually run $20-40 delivered; pre-sterilized substrate at the same footprint runs $80-120.
Path B: Grain spawn / next level
Liquid culture lets you inoculate sterilized grain jars, which then colonize a wine-cap bed faster than raw sawdust spawn — usually 4-8 weeks instead of 6-12. The trade-off is an extra step: you’ll need sterilized grain jars and a clean workspace. Use this route if you’ve already done one successful sawdust bed and want to scale up.
Source. A Root Mushroom Farm wine cap liquid culture syringe gives you enough culture to inoculate sterilized grain jars, which you then expand into a wine-cap bed. One 10 ml syringe typically inoculates 4-6 quart jars of grain, each colonizing roughly 1 square foot of bed surface at the standard 5-10% spawn rate.
Inoculate. Once your grain jars are fully colonized (2-3 weeks), break them open and layer the grain into the bed exactly as you would sawdust spawn — 2-3 inches below the surface, one fistful per square foot. Cover with chips and water.
Wait. Same schedule as Path A, but expect pins 2-4 weeks earlier. The trade-off is cost: grain spawn is roughly 2-3x the price per square foot of bed than sawdust spawn.
Liquid culture is also the right choice if you want to do a grain-to-grain expansion later — colonized grain jars can be broken up and used to inoculate a much larger bed from a single syringe.
Conditions table
| Variable | Range |
|---|---|
| Temperature | 50-75°F (soil temp at 4 inches) |
| Humidity | Outdoor rain-fed; supplement with watering in dry spells |
| Light | Partial shade — direct afternoon sun dries the bed |
| Air | Outdoor fresh air; no enclosure needed |
| Colonization | 6-12 weeks for sawdust spawn |
| Fruiting | 8-16 weeks after spawn date in spring or early summer |
Harvest & second flush
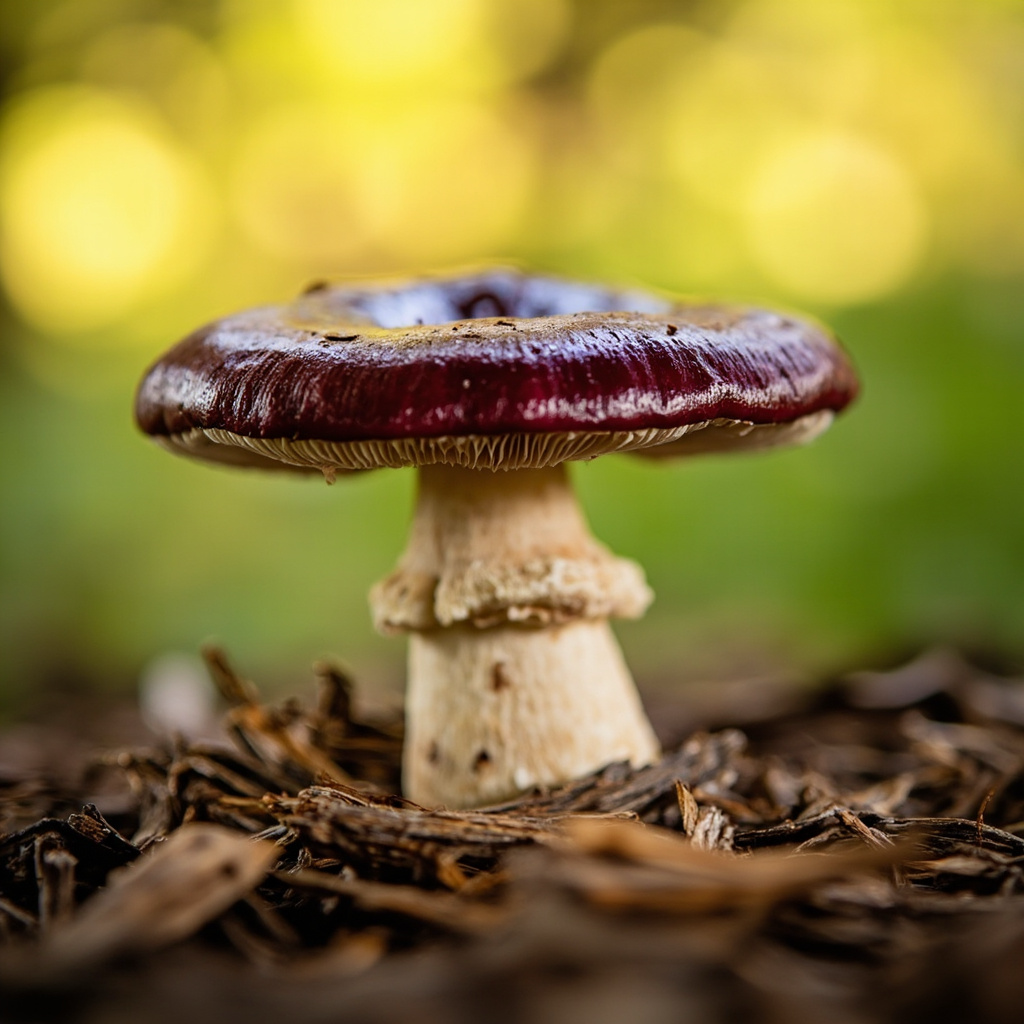
Harvest wine caps when the cap is fully open but the gills under the cap are still pale — once the gills turn dark purple-brown, the cap is past prime. Twist at the base, brush off stray chips with a soft brush, and don’t wash. The cap is the main culinary part; stems are chewier and best chopped for stocks.
A well-colonized bed fruits 2-4 weeks apart during the growing season, especially after rain. Soak the bed with a hose during a dry week to trigger a partial flush. Top-dress the bed in fall with 1-2 inches of fresh hardwood chips — this feeds the mycelium for the next year and keeps yields from declining. A simple fine-mist spray bottle doubles as a gentle sprinkler for the top-dress layer, helping the fresh chips settle into the bed.
Wine cap beds typically fruit for 3-5 years in the same spot. After 5 years, the chips have decomposed into a rich dark humus and the bed is ready to be turned into the soil or replaced with fresh chips.
Common mistakes
Mistake 1 — Softwood contamination
Softwood chips (pine, spruce, cedar) contain resins that inhibit mycelium growth. A wine cap bed on softwood will colonize slowly or stall completely. Stick to hardwood — oak, maple, beech. If your local tree service only has mixed chips, ask for a hardwood-only load or sort it yourself.
Mistake 2 — No soil contact
Wine cap needs soil contact to fruit well. A bed built on concrete, a patio, or a wooden deck will colonize but won’t produce reliably. Pick a spot with bare soil — a backyard corner, a raised bed, or a large container with drainage holes.
Mistake 3 — Wrong spawn depth
Spawning too deep (4+ inches below the surface) delays colonization as the mycelium has to climb through chips to reach the surface conditions. Spawning too shallow (less than 1 inch) risks the spawn drying out. The 2-3 inch depth is the consistent winner.
Mistake 4 — Inconsistent watering
Wine cap beds need consistent moisture during the first 6-8 weeks. A dry bed for 2-3 weeks during colonization can stall the mycelium and let contamination take hold. Water the bed weekly in dry spells, and mist the surface during hot afternoons.
Mistake 5 — Indoor setup won’t work
Wine cap is an outdoor species. Indoor setups with grow lights and humidity tents rarely produce reliable flushes because the air is too still and the light cycles are too artificial. If you only have indoor space, grow oyster or lion’s mane instead — wine cap will frustrate you.
What you’ll need
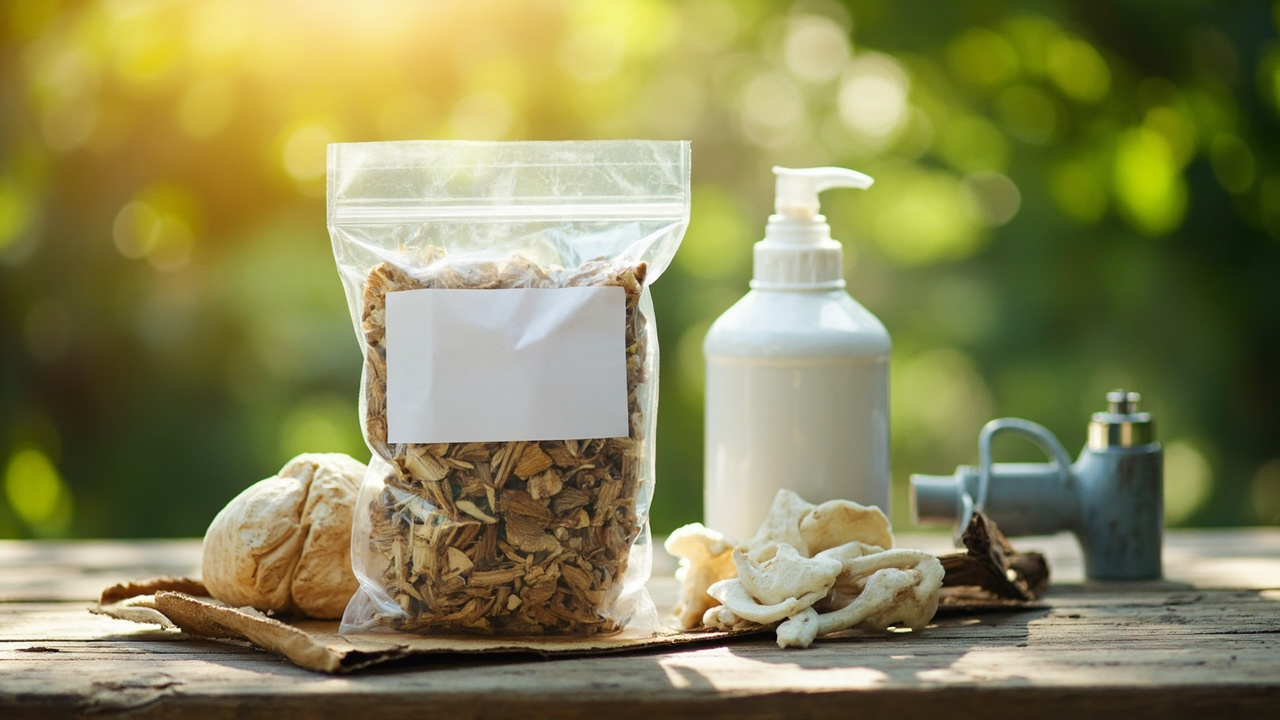
- Hardwood chips (4-6 inches on bare soil)
- North Spore sawdust spawn or Root Mushroom Farm liquid culture
- Optional: pre-sterilized hardwood substrate for a drop-in bed
- Fine-mist spray bottle for the first 2-3 weeks
- Filter-patch grow bags if you’re expanding to grain spawn or doing a parallel indoor oyster project via grow bags
- A humidity meter or simple spray bottle kit to monitor moisture during the first 2-3 weeks of colonization
Related species
- Oyster — the easier indoor on-ramp, do this first
- Lion’s mane — another indoor gourmet option
- King oyster — a larger indoor alternative if you want a meaty oyster variant
Key takeaways
- Wine cap is outdoor, not a kitchen kit
- Hardwood chips only — never softwood, never bark, never flavoring
- Spawn 2-3 inches below the surface in early spring
- Water weekly in dry spells during colonization
- A bed fruits for 3-5 years; top-dress annually with fresh chips
When to compost and replace
A wine cap bed usually runs 3-5 productive years before the chips break down into a dark humus and yields drop. When the bed is mostly dark crumbly material with few visible chips, you’re ready to fork it into the surrounding soil and start a new bed elsewhere. The old bed area is now exceptionally rich soil — ideal for a vegetable plot the following season. The remaining mycelium helps the soil microbiome and gives next year’s tomatoes a head start.
If you’d like to extend the life of an existing bed, layer 2-3 inches of fresh North Spore sawdust spawn on top of the bed each spring, covered with 1-2 inches of fresh hardwood chips. This re-energizes the mycelium and adds another 1-2 years to the bed’s productive life. The water you spray from your fine-mist bottle helps the new spawn colonize the fresh chips quickly, and the simple act of re-applying chips keeps the moisture levels where the bed needs them.
Culinary / edible kitchen growing only. FungiAtHome does not cover psychedelic or actives cultivation.