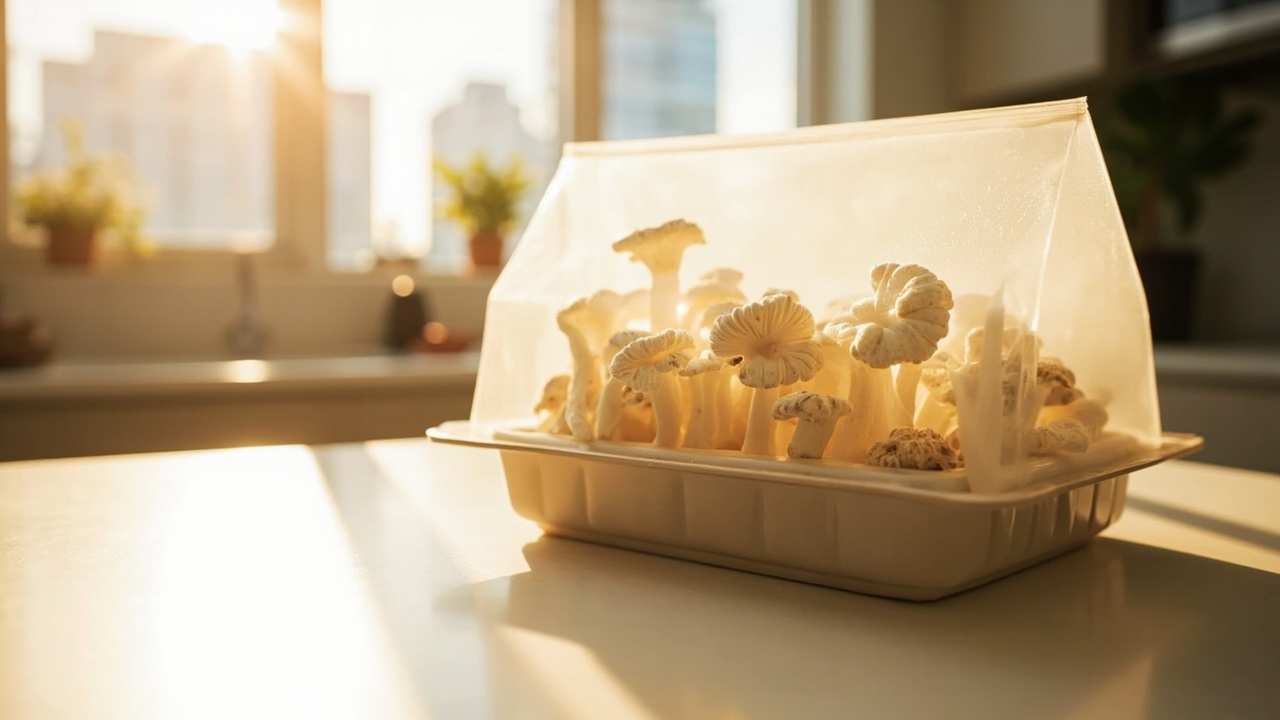
You can grow gourmet edible mushrooms in an apartment with a counter kit and a mister — no backyard, no monotub lab. Pick oyster first, cut an X, mist for dew, and manage HVAC dryness before you buy more gear.
Quick answer
You can grow gourmet edible mushrooms in an apartment with a ready-to-fruit kitchen kit, a mister, and a spot away from HVAC blasts — no backyard, no monotub lab. Choose oyster first for speed, cut an X, mist the face dewy not flooded, and expect pins in about one to two weeks. Manage smell, humidity, and small-space airflow; when something looks wrong, stop and use the contamination guides before buying more gear.
Who this is for
Apartment and small-space growers
Renters with a kitchen counter, spare shelf, or bathroom that isn’t a steam sauna 24/7. People who want gourmet edible harvests without a yard or garage lab. If your “grow room” is a tray on a bookshelf, you’re still in scope.
Who should read first-grow-kit instead (or also)
Pure “how do I open any kit” newcomers still pair this with core first-kit opening steps. This page emphasizes apartment constraints: smell, HVAC dryness, space, and shared air. The open-the-box mechanics are the same; the environment fights back harder in small spaces.
If you share walls with neighbors who hate funk, start with one small oyster kit and harvest on time. That’s the apartment version of good manners.
What this is / is not
What this is
A kitchen-scale ready-to-fruit gourmet kit playbook for apartments. Species-pick guidance biased to oyster-first success. You’ll get placement rules, misting standards, and a decision tree for dry HVAC and smell-sensitive homes.
What this is not
Not a monotub or actives grow guide. Not a whole-home humidity engineering project. Not permission to ignore building rules about water damage — use trays. Not a reason to open four kits the same weekend in a studio.
If you only need the absolute first open-the-box steps, pair this with core first-kit opening steps. This page adds the apartment fight: vents, dry air, space, and shared smell.
What you need
Roles (not a 20-item haul)
One ready-to-fruit gourmet kit (oyster default), a fine mister, optional hygrometer, optional small humidity shell if air is desert-dry, and a tray or plate under the kit (renter-friendly). That’s enough to fruit gourmet edible mushrooms without turning the living room into a lab.
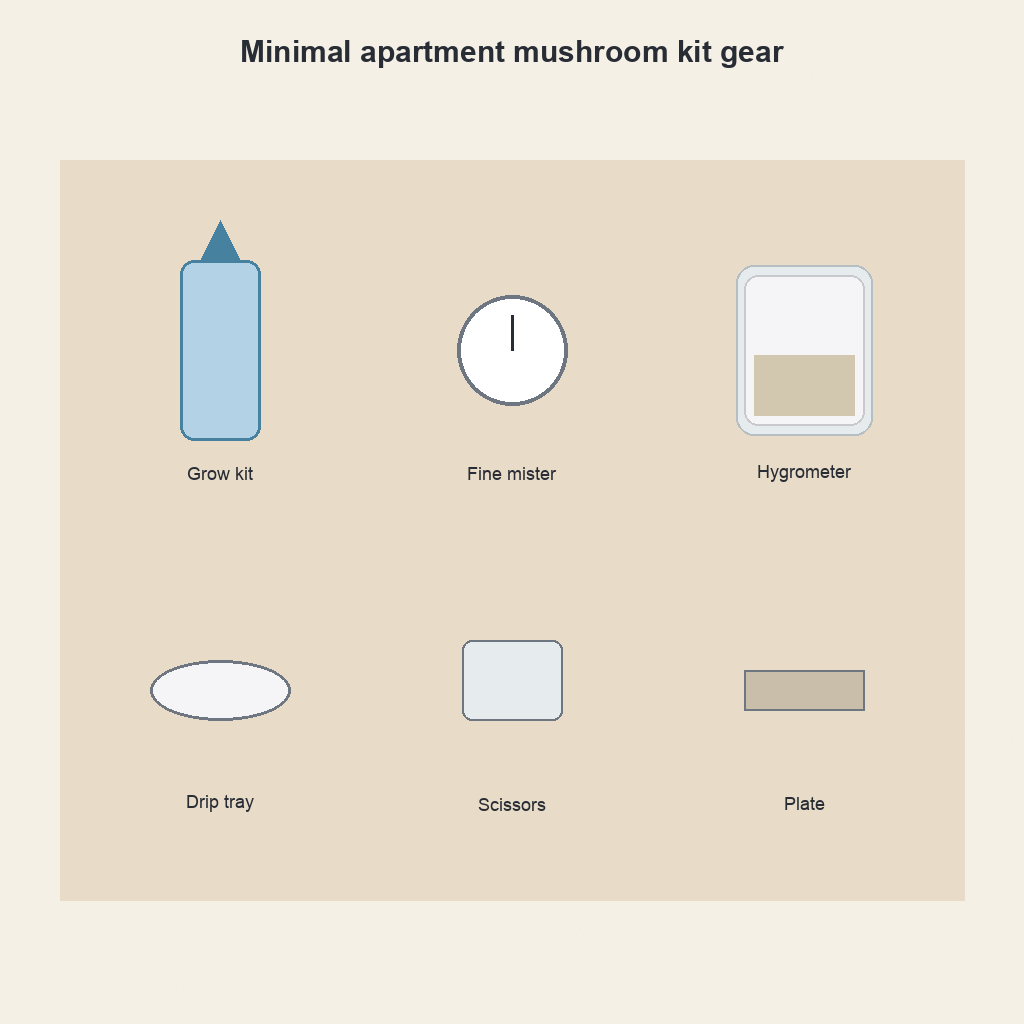
Default compact oyster starter: Back to the Roots oyster grow kit. Tight studio footprint: Back to the Roots mini oyster kit. Dew tool: SUPER+ fine mist 2-pack. Still choosing brands? See how to choose a grow kit or the kit picker tool.
Skip the impulse tent until a TempPro TP50 shows the room is actually desert-dry. Gear should answer a measured problem.
Decision tree
Branch A — First apartment grow, want fastest edible success
Pick an oyster gourmet kit. Follow the X-cut and mist path below. Oyster as apartment default species is the short version of why. Speed and forgiveness matter more than novelty on grow one.
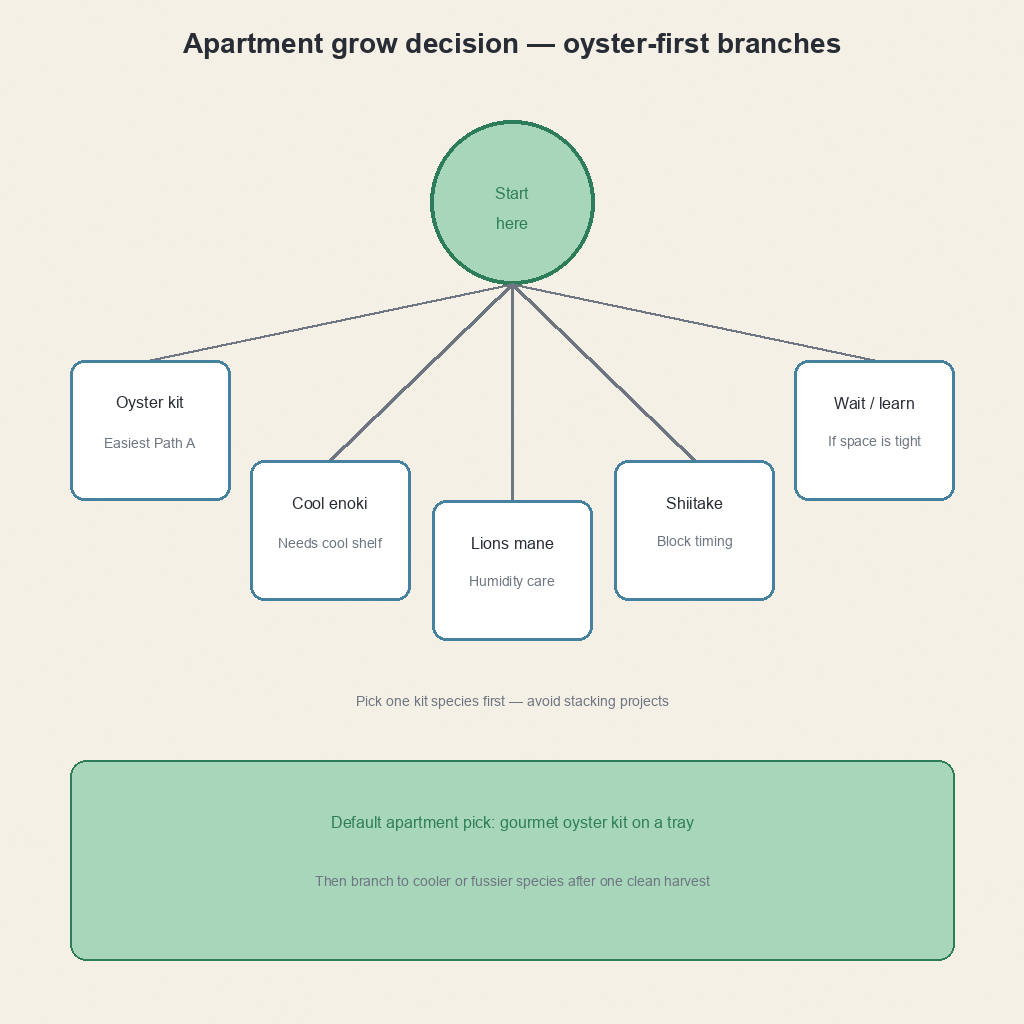
Branch B — Cool room available and you already finished one oyster kit
Consider lion’s mane or enoki-style cool fruiting projects next. A North Spore lion’s mane 4 lb kit is a common second species in small spaces. Don’t start here if HVAC air is dry and you’ve never kept a face dewy.
Branch C — Very dry HVAC air year-round
Oyster kit plus fine mister plus optional tabletop humidity shell with daily air exchange. Measure first with a TempPro TP50 hygrometer. Tool roles: apartment humidity tools. If the meter says dry, light frequent mists beat one heavy soak.
Branch D — Smell-sensitive household or tiny studio
Prefer smaller mini kits. Fruit in a ventilated corner. Harvest promptly. Avoid stacking many open kits. One mini oyster kit teaches the loop without filling the studio with aroma.
Branch E — Something already looks wrong (green / grey web / wet yellow caps)
Stop expansion buys. Jump to when something looks wrong or the matching problem hub. More kits won’t fix a contamination event on the shelf you already have.
Open the right way
X-cut, keep the bag
Cut a modest X on the face. Do not dump the block bare on the counter. The bag is the humidity shell in dry apartments. Full opening habits live in the grow kit method handbook. If the manufacturer scored a face, use that face.
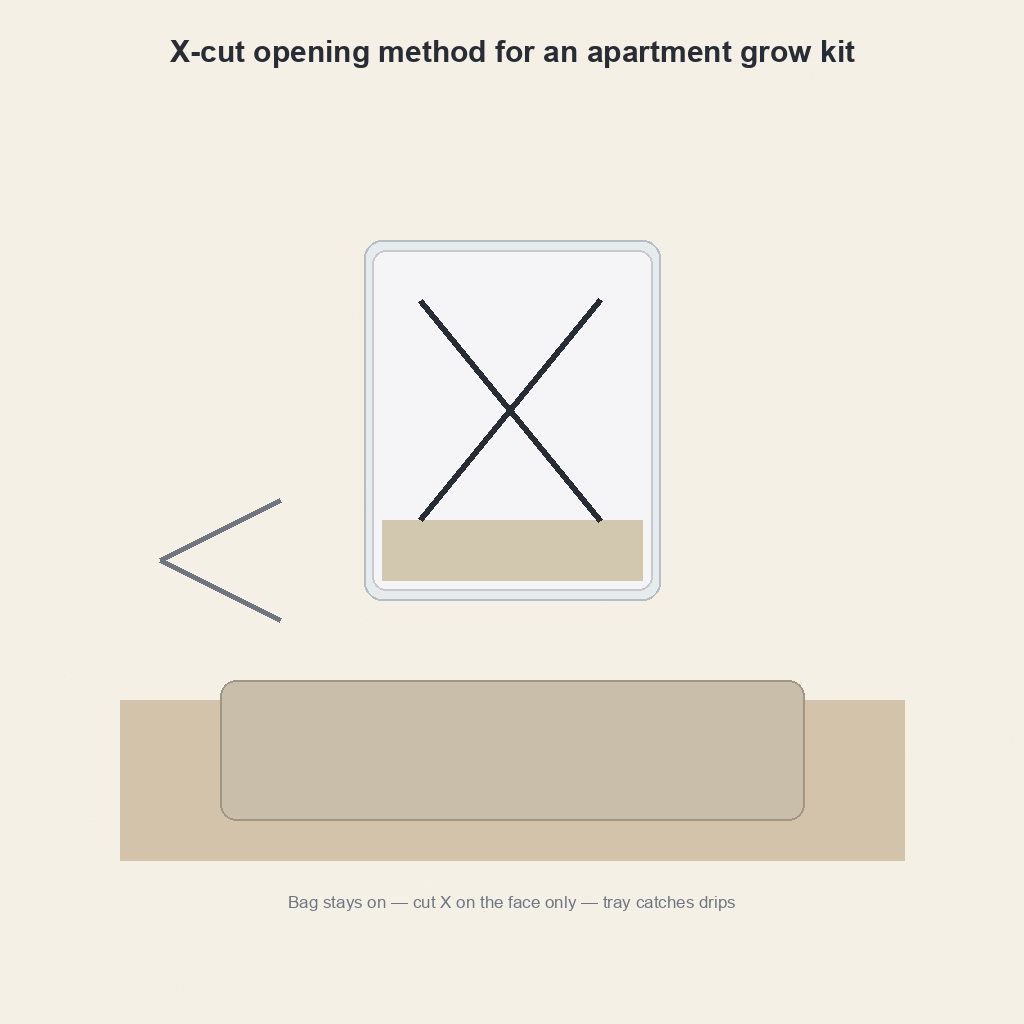
We’ve watched bare blocks dry out overnight next to HVAC vents. The bag isn’t packaging to throw away on day one — it’s the cheapest humidity tool you already paid for. Bigger cuts look bold and dry the face faster in winter apartments.
Placement in apartments
Indirect light. Away from heater vents and sunny windows that cook the face. Use a tray for drips so landlords stay happy. A bookshelf corner often beats the windowsill that bakes at noon.
If every surface feels dry, measure with a TempPro TP50 before you blame the kit. Numbers keep you from over-correcting with heavy spray.
Mist, don’t drown
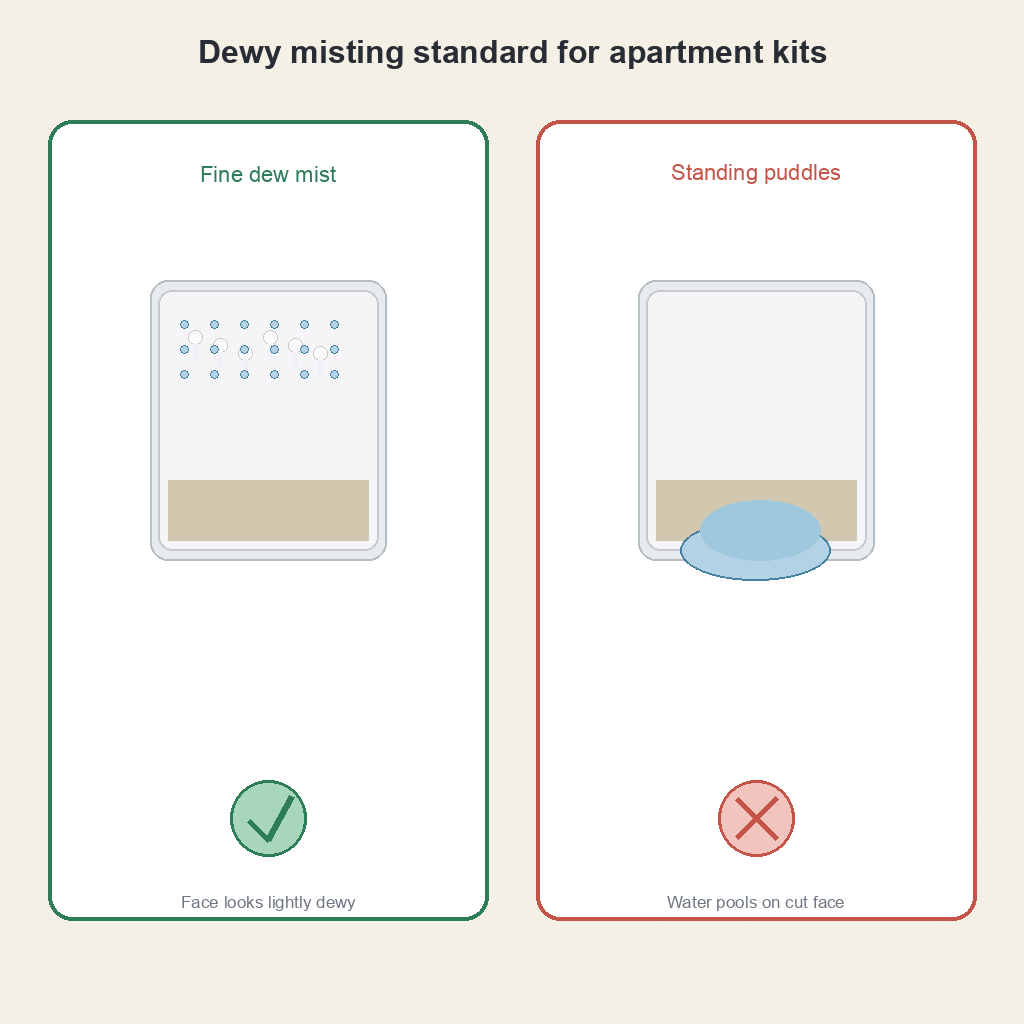
Dewy face standard
Fine mist until the face glistens. Never leave puddles. The SUPER+ continuous mister beats a kitchen sink sprayer for apartment counters. If water runs off the face, you already went too far.
HVAC reality
Dry air means more frequent light mists, not one heavy soak. If numbers say the room is desert-dry, a mini indoor greenhouse tent can help — open it daily so air still moves. A sealed wet box with zero exchange invites soft fruit and later blotch.
Check the face before every mist. Still glossy? Skip. Looking matte and dry? Mist lightly. That two-second check beats a rigid twice-a-day rule in a changing apartment climate.
Wait for pins
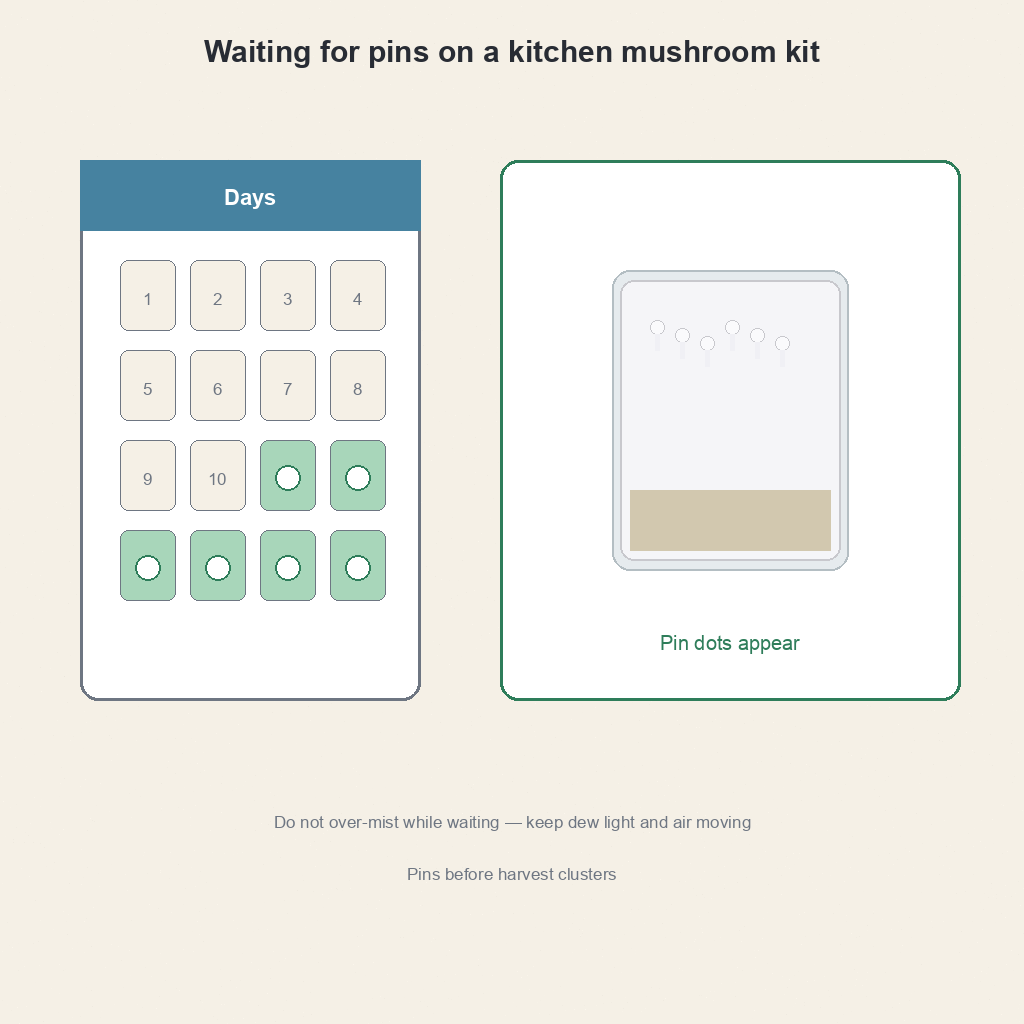
Time window (typical, not guaranteed)
Many oyster kits show pins in about 1–2 weeks with steady care. Use that as a range, not a promise. Cool rooms and dry HVAC stretch the wait. Don’t “boost” a healthy block with random additives while you wait. Keep a simple log: open date, placement, mist count. Patterns show up faster than memory.
White fluff lookalike
Healthy mycelium vs panic contaminants. When unsure, use when something looks wrong before you throw a kit. White fluff that hugs the block and changes slowly is often mycelium. Grey aerial webs and powdery green patches are different stories.
If the face is dry and cracked with no pins, move the kit off the vent and return to dew mist before you declare the block dead. Placement fixes more “failed kits” in apartments than genetics talk does.
Harvest
Twist or cut clusters
Harvest before caps go overly flat or spore-dusty if you want cleaner kitchens. Firm clusters cook better and smell better in a small space. In studios, early harvest is also neighbor-friendly because overdue fruit gets louder in aroma.
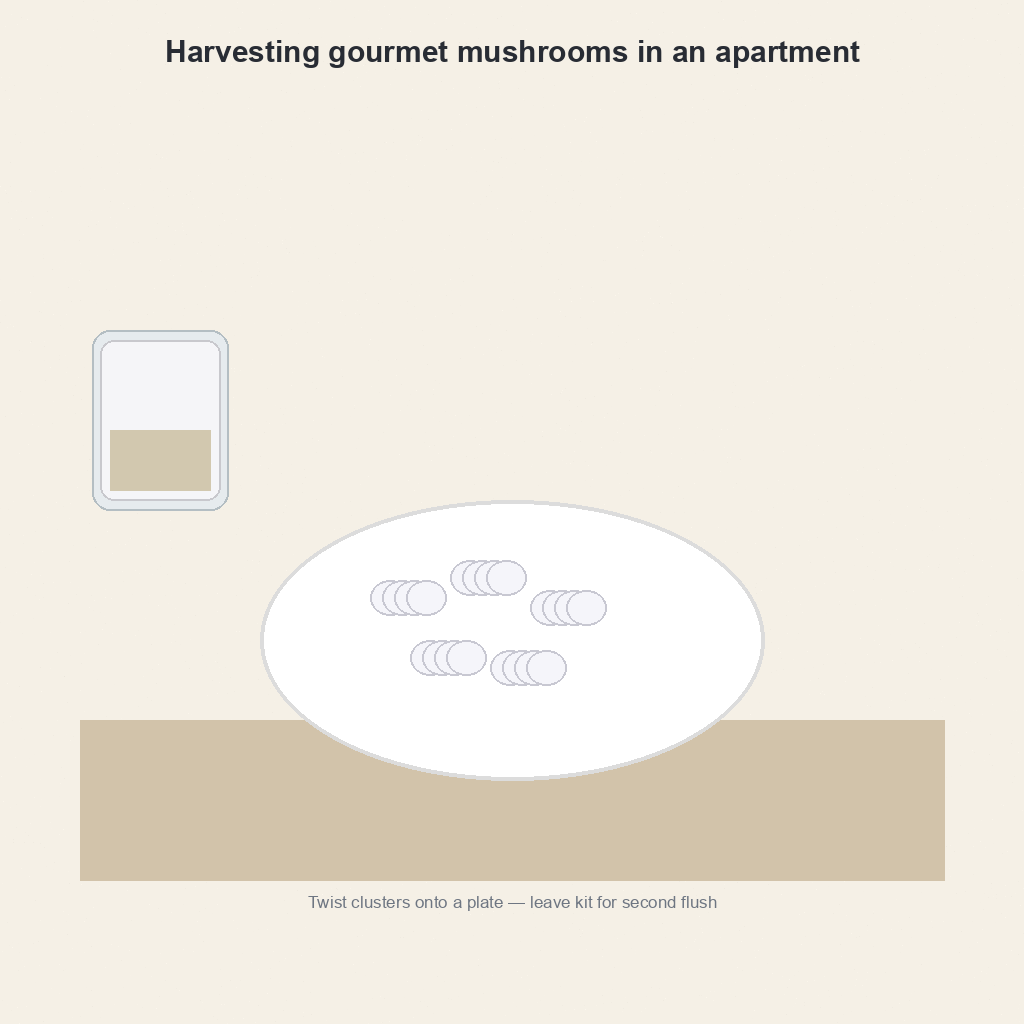
Kitchen use
Cook gourmet harvests. Store leftovers refrigerated, not on the warm counter. Mild mushroom smell is normal; overdue fruit gets funky. Same-day cooking is the apartment-friendly default when you can manage it.
Leave a clean cut face, keep the bag shell on, and decide whether a second flush is worth the shelf space before you start another kit beside it.
Second flush
Rest and re-mist
Light second flushes are common. Smaller is normal. After harvest, keep the bag shell on, ease mist for a day, then return to a dewy face. Don’t soak the block to “force” more fruit in a dry apartment.
When to stop
Contaminated or exhausted blocks → discard path. Don’t force a third flush next to dinner prep if the block smells off. In a small kitchen, retiring a tired block is cleaner than babysitting a funky one for another week.
When something looks wrong
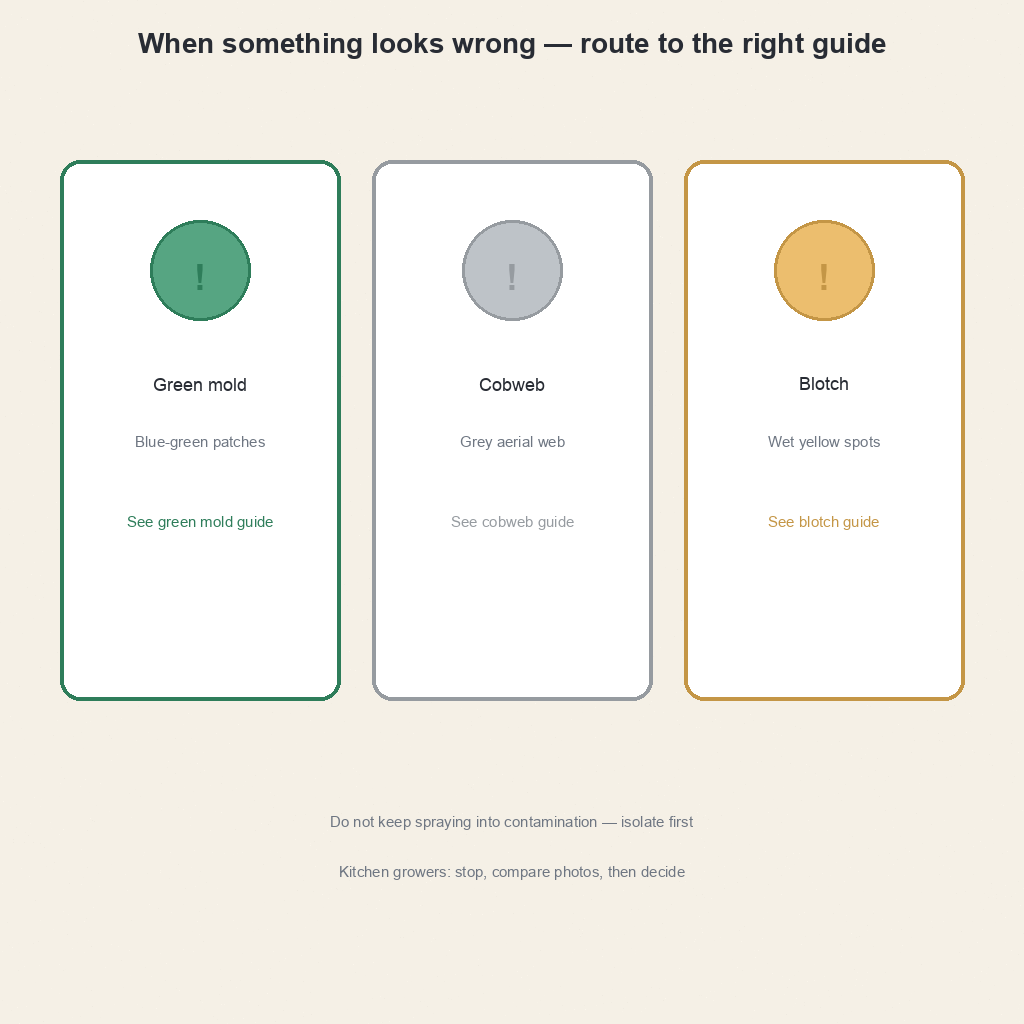
Stop buying expansion kits the same day you notice a real contaminant. Fix or retire the unit you have.
Green patches
Follow green mold. Isolate first. Don’t scrape green patches over the sink.
Grey webs
Follow grey web on a kit. Thin grey cotton that races overnight is not normal mycelium.
Wet yellow cap spots
Follow bacterial blotch guidance on wet spotted fruit during fruiting at wet yellow spots on caps. Ease free water and harvest clean fruit promptly.
No pins / cracked dry face
Open pinning problems plus apartment humidity tools. Dry HVAC faces need dew mist and better placement, not random additives.
When you’re unsure which page fits, start at when something looks wrong with a daylight photo and a smell note.
Common mistakes
- Parking the kit on a blasting HVAC vent — dries the face daily. Move it two feet and the kit often “magically” improves.
- Heavy sink-sprayer misting — floods fruit and invites blotch. Fine mist only.
- Opening four kits in a studio the same weekend — smell, contamination load, and attention split. Start with one.
- Bare block out of the bag “for more air” — kills the humidity shell in dry apartments. Keep the bag on.
- Ignoring early contaminant cues to “wait it out” next to food prep — isolate and decide. Don’t let a suspect kit sit beside dinner prep “just in case.”
Most apartment failures are placement and misting, not “bad genetics.” Fix those before you upgrade gear.
After your first harvest
Next species
Lion’s mane or other culinary hubs once oyster succeeds. The North Spore lion’s mane kit is a common apartment second project. Enoki can wait until you have a cooler corner and patience.
Next method
Grow-kits deep dive. Later grow-bags only after clean wins. Don’t skip kit skills. Bags amplify whatever habits you already have — good or messy.
Gear only if needed
Mister upgrade and hygrometer beat buying random tents first. Keep the TempPro TP50 on the shelf so you stop guessing about HVAC.
If the first kit failed, restart small: Back to the Roots oyster or the mini oyster kit for studios. Optional arid-air helper only after you measure: tabletop humidity tent.
Write down what failed: vent placement, heavy mist, no air, or real contamination. The next kit should change one variable, not five.
Key takeaways
- Apartments can grow gourmet edible kits with counter space and mist discipline.
- Oyster-first is the default success path for small spaces.
- HVAC dryness and over-misting are the two big apartment failure modes.
- Keep the bag on, mist for dew, harvest on time, and isolate problems early.
- Problem hubs exist — use them before you open a second kit.
- No monotub or actives scope on this site.
Culinary / edible kitchen growing only. FungiAtHome does not cover psychedelic or actives cultivation.